We often read about the minicomputers of the 1960s, and see examples of their use in university research laboratories or medium-sized companies where they might have managed the accounts. It’s tempting though to believe that much of the world in those last decades of the analogue era remained untouched by computing, only succumbing in the decade of the microcomputer, or of the widespread use of the Internet.
What could be more synonymous with the pre-computing age than the mail system? Hundreds of years of processing hand-written letters, sorted by hand, transported by horses, boats, railroads and then motor transport, then delivered to your mailbox by your friendly local postman. How did minicomputer technology find its way into that environment?
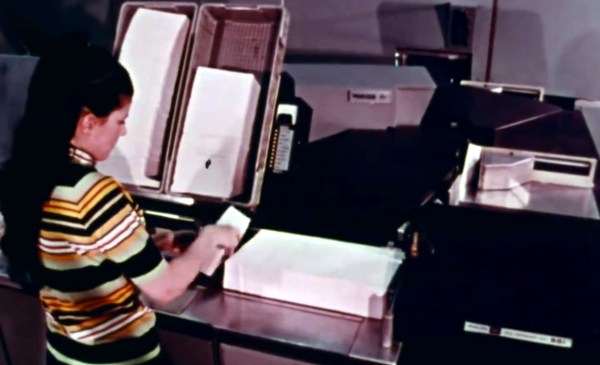
Thus we come to today’s film, a 1970 US Postal Service short entitled “Reading And Sorting Mail Automatically”. In it we see the latest high-speed OCR systems processing thousands of letters an hour and sorting them by destination, and are treated to a description of the scanning technology.
If a Hackaday reader in 2017 was tasked with scanning and OCR-ing addresses, they would have high-resolution cameras and formidable computing power at their disposal. It wouldn’t be a trivial task to get it right, but it would be one that given suitable open-source OCR software could be achieved by most of us. By contrast the Philco engineers who manufactured the Postal Service’s scanners would have had to create them from scratch.
 This they performed in a curiously analogue manner, with a raster scan generated by a CRT. First a coarse scan to identify the address and its individual lines, then a fine scan to pick out the line they needed. An optical sensor could then pick up the reflected light and feed the information back to the computer for processing.
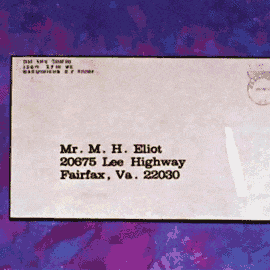
The description of the OCR process is a seemingly straightforward one of recognizing the individual components of letters which probably required some impressive coding to achieve in the limited resources of a 1960s minicomputer. The system couldn’t process handwriting, instead it was reserved for OCR-compatible business mail.
Finally, the address lines are compared with a database of known US cities and states, and each letter is routed to the appropriate hopper. We are shown a magnetic drum data store, the precursor of our modern hard drives, and told that it holds an impressive 10 megabytes of data. For 1970, that was evidently a lot.
It’s quaint to see what seems to be such basic computing technology presented as the last word in sophistication, but the truth is that to achieve this level of functionality and performance with the technology of that era was an extremely impressive achievement. Sit back and enjoy the film, we’ve placed it below the break.
Continue reading “Retrotechtacular: Reading And Sorting Mail Automatically” →