For most of us, our touch-screen smartphones have become an indispensable accessory. Without thinking we tap and swipe our way through our digital existence, the promise of ubiquitous truly portable computing has finally been delivered.
Smartphones present a problem though to some people with physical impairments. A touchscreen requires manual dexterity on a scale we able-bodied people take for granted, but remains a useless glass slab to someone unable to use their arms.
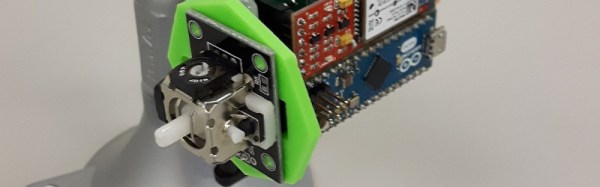
LipSync is a project that aims to address the problem of smartphone usage for one such group, quadriplegic people. It’s a mouth-operated joystick for the phone’s on-screen cursor, with sip-and-puff vacuum control for simulating actions such as screen taps and the back button.
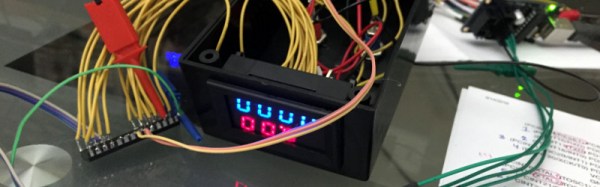
To the smartphone itself, the device appears as a standard Bluetooth pointing device, while at its business end the joystick and pressure sensor both interface to a Bluetooth module through an Arduino Micro. The EAGLE board and schematic files are available on the project’s hackaday.io page linked above, and there is a GitHub repository for the code.
Technology is such a part of our lives these days, and it’s great to see projects like this bridge the usability gaps for everyone. Needless to say, it’s a perfect candidate for the Assistive Technology round of the Hackaday Prize.