Tank aficionado [Daniel Zalega] has enjoyed playing around with armored fighting vehicles in the digital realm for years, but only recently realized he had the technology and skills necessary to take his passion into the physical world. Albeit on a slightly reduced scale. So he bought a 1:35 plastic model kit for the German WWII Panther tank from Tamiya, and started working on a way to make it move.
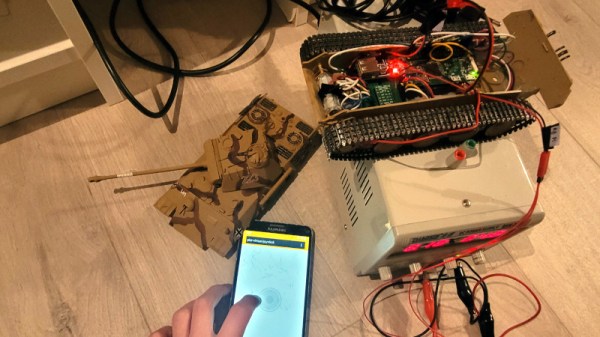
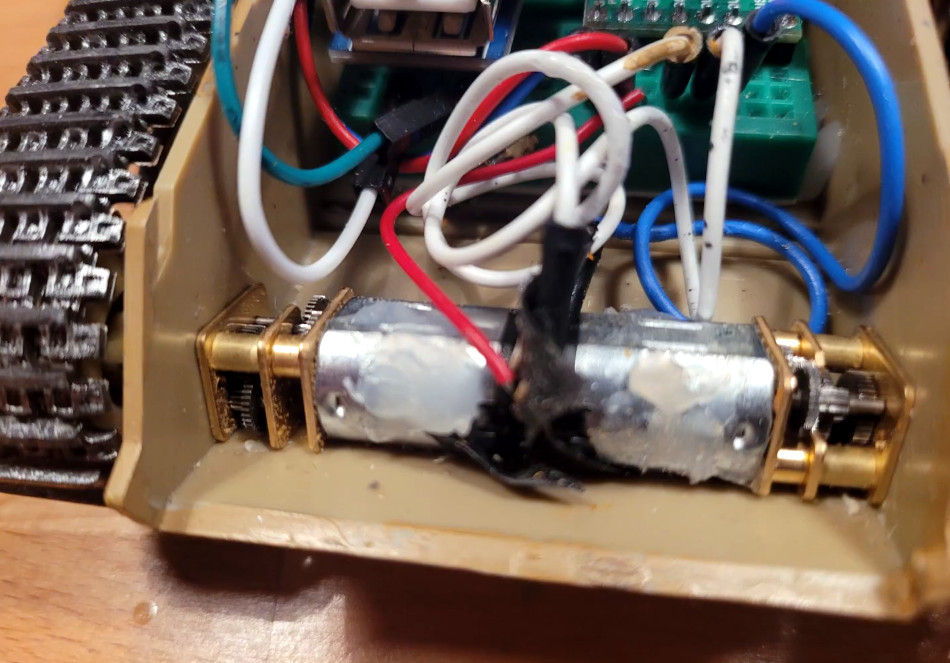
Luckily for [Daniel], the assembled model is essentially hollow. That gave him plenty of room to install the geared drive motors, batteries, motor controllers, voltage regulators, a servo for the turret, and the Raspberry Pi Zero that controls the whole show. Those with an aversion to hot glue would do well not to look too closely at the construction here, but it gets the job done. Besides, it’s not like this little Panther is going to see any front line combat.
 Another element of the model kit that made it well-suited to motorization is the fact that it had real rubber treads. That meant [Daniel] just had to pop some holes in the side of the tank, and figure out how to mount the drive sprockets to his gear motors. Unfortunately it looks like the wheels are static on this model, meaning the tread has to be dragged over them. That’s certainly robbing the tank of some power and speed, but in the video after the break, you can see its movement is still fairly realistic.
To control the tank, he points his phone’s browser to a simple page running on the Raspberry Pi. By simply dragging a finger on the screen, you can operate the tank’s two independent treads and rotate the turret. [Daniel] said his original plan was more elaborate, with the web page displaying a live video feed from an onboard camera as well as the readings from various sensors. But at least for now, things are kept as straightforward as possible.
This certainly isn’t the first souped-up toy tank we’ve seen here at Hackaday. From gorgeous steam powered machines to this Tiger tank with a laser-assisted aiming system, these small tracked platforms have long been a favorite of hardware hackers.
Continue reading “Pi Powered 1:35 Scale Panther Tank” →