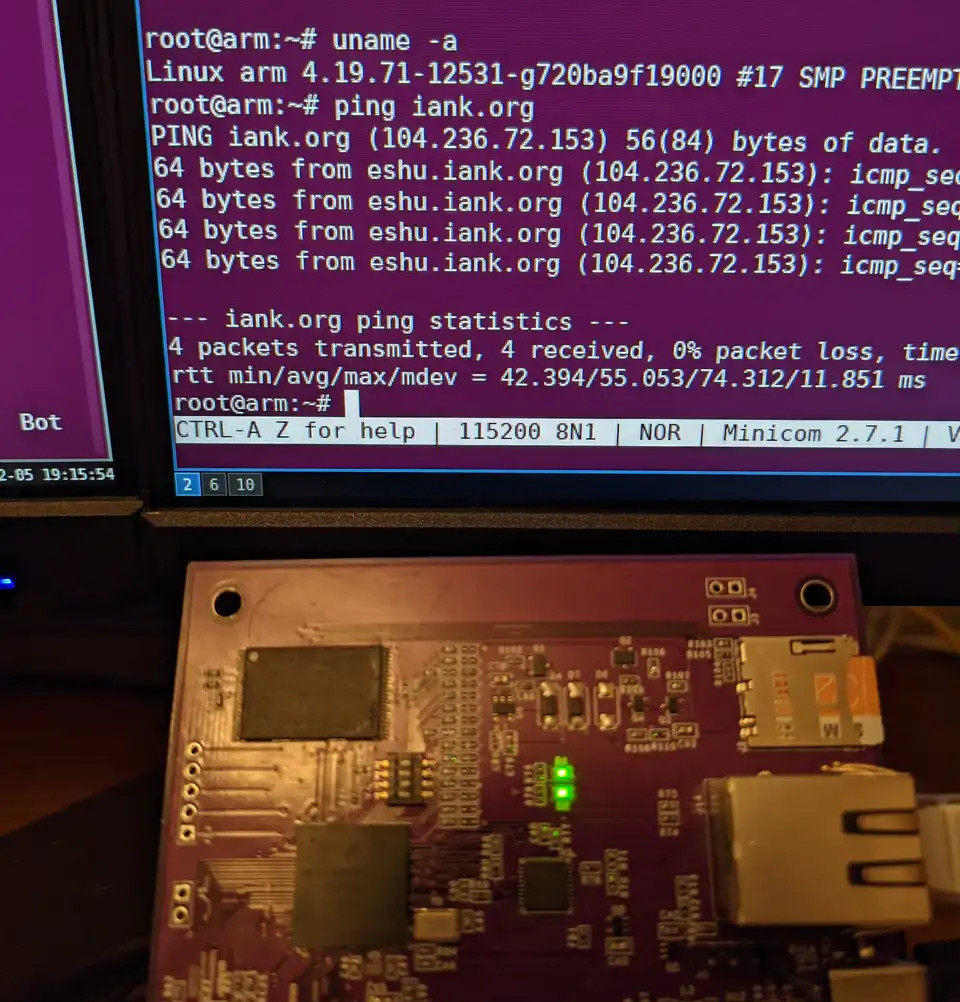
It’s truly incredible what the hobbyist is now capable of. While it would have seemed all but impossible a few years ago, we’re happy to report that yet another dedicated hardware hacker has managed to spin up their own custom Linux single-board computer. Creator [Ian Kilgore] tells us the only goal when developing CATFOOD (yes, that’s the name) was to gain confidence with at-home board production, so it looks like a success to us.
 To those who’ve been keeping an eye on this sort of thing, it will probably come as no surprise to hear [Ian] was inspired by the work of [Jay Carlson], who arguably kicked off this whole trend when he put together a bevy of homebrew Linux boards in an effort to compare different System-in-Package ICs. His incredibly detailed write-up of the experience and lessons learned along the way has emboldened other brave souls to take up the challenge.
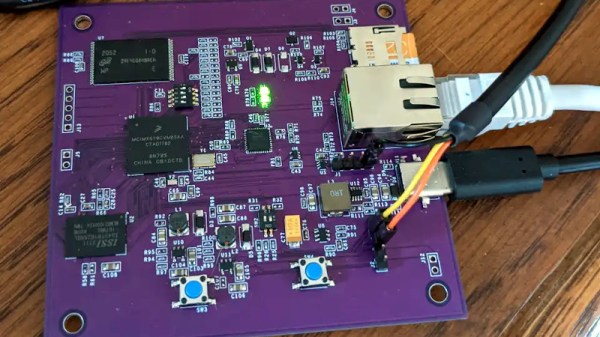
The USB-C powered board uses an ARM i.MX 6ULL processor and features DDR3, NAND flash, and an Ethernet interface. That last one was the biggest deviation from the reference design, which meant it took a little fiddling to get right. For anyone playing along at home, [Ian] collected up the lessons learned while developing CATFOOD, bringing the whole learning experience full circle.
If you’re interested in more homebrew Linux SBCs, we’d highly recommend reading up on the WiFiWart developed by [Walker]. Over the course of about six months, we got to watch the open hardware board go from concept to a diminutive first prototype.