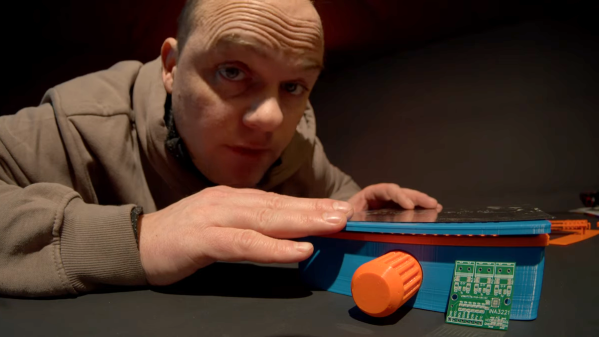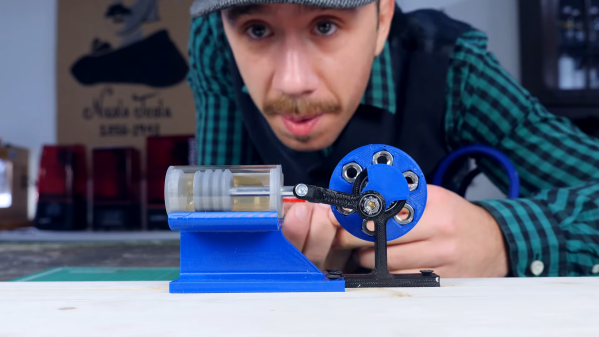
It isn’t an uncommon science fiction trope for our hero to be in a situation where there is no technology. Maybe she’s back in the past or on a faraway planet. The Professor from Gilligan’s Island comes to mind, too. I’d bet the average Hacakday reader could do pretty well in that kind of situation, but there’s one thing that’s often overlooked: materials. Sure, you can build a radio. But can you make wire? Or metal plates for a capacitor? Or a speaker? We tend to overlook how many abstractions we use when we build. Even turning trees into lumber isn’t a totally obvious process.
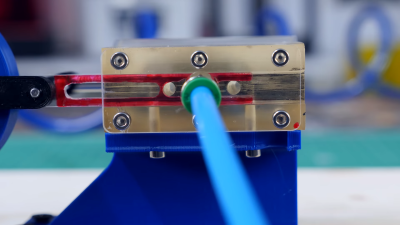
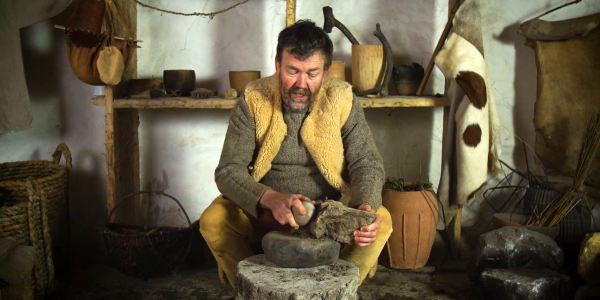
People are by their very nature always looking for ways to use the things around them. Even 300,000 years ago, people would find rocks and use them as tools. It wasn’t long before they found that some rocks could shape other rocks to form useful shapes like axes. But the age of engineered materials is much younger. Whether clay, metal, glass, or more obviously plastics, these materials are significantly more useful than rocks tied to sticks, but making them in the first place is an engineering story all on its own.
Continue reading “Tech In Plain Sight: Primitive Engineering Materials”