The Amazon Dash Button: A Retrospective

The Internet of Things will revolutionize everything! Manufacturing? Dog walking? Coffee bean refilling? Car driving? Food eating? Put a sensor in it! The marketing makes it pretty clear that there’s no part of our lives which isn’t enhanced with The Internet of Things. Why? Because with a simple sensor and a symphony of corporate hand waving about machine learning an iPhone-style revolution is just around the corner! Enter: Amazon Dash, circa 2014.

The first product in the Dash family was actually a barcode scanning wand which was freely given to Amazon Fresh customers and designed to hang in the kitchen or magnet to the fridge. When the Fresh customer ran out of milk they could scan the carton as it was being thrown away to add it to their cart for reorder. I suspect these devices were fairly expensive, and somewhat too complex to be as frequently used as Amazon wanted (thus the extremely limited launch). Amazon’s goal here was to allow potential customers to order with an absolute minimum of friction so they can buy as much as possible. Remember the “Buy now with 1-Click” button?
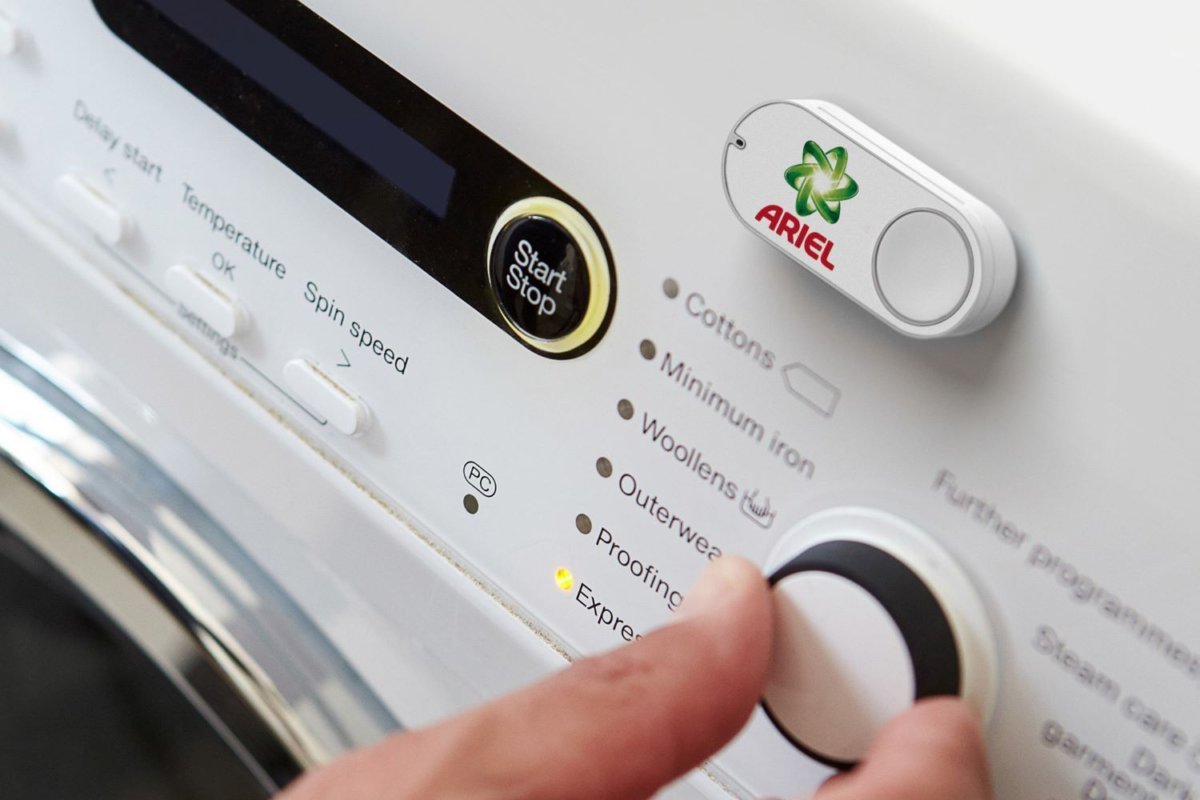
That original Dash Wand was eventually upgraded to include a push button activated Alexa (barcode scanner and fridge magnet intact) and is generally available. But Amazon had pinned its hopes on a new beau. Mid 2015 Amazon introduced the Dash Replenishment Service along with a product to be it’s exemplar – the Dash Button. The Dash Button was to be the 1-Click button of the physical world. The barcode-scanning Wands require the user to remember the Wand was nearby, find a barcode, scan it, then remember to go to their cart and order the product. Too many steps, too many places to get off Mr. Bezos’ Wild Ride of Commerce. The Dash Buttons were simple! Press the button, get the labeled product shipped to a preconfigured address. Each button was purchased (for $5, with a $5 coupon) with a particular brand affinity, then configured online to purchase a specific product when pressed. In the marketing materials, happy families put them on washing machines to buy Tide, or in a kitchen cabinet to buy paper towels. Pretty clever, it really is a Buy now with 1-Click button for the physical world.

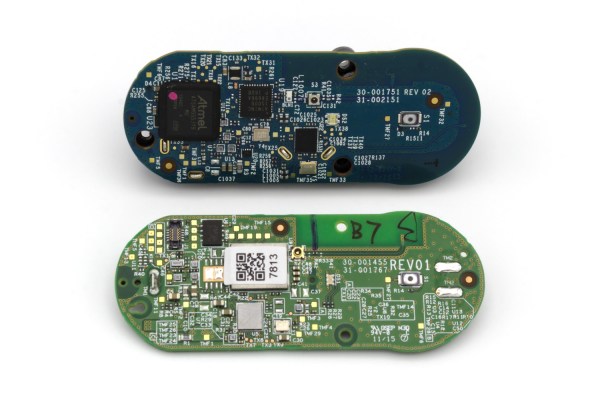
There were two versions of the Dash button. Both have the same user interface and work in fundamentally the same way. They have a single button (the software can recognize a few click patterns), a single RGB LED (‘natch), and a microphone (no, it didn’t listen to you, but we’ll come back to this). They also had a WiFi radio. Version two (silently released in 2016) added Bluetooth and completely changed the electrical innards, though to no user facing effect.

In February 2019, Amazon stopped selling the Dash Buttons. Continue reading “The Amazon Dash Button: A Retrospective”

A New KiCAD Tutorial Hits The Scene

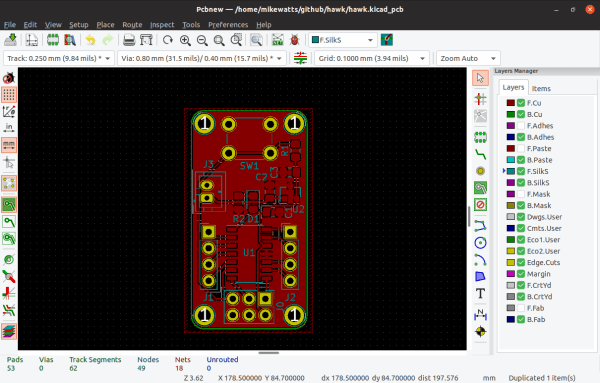
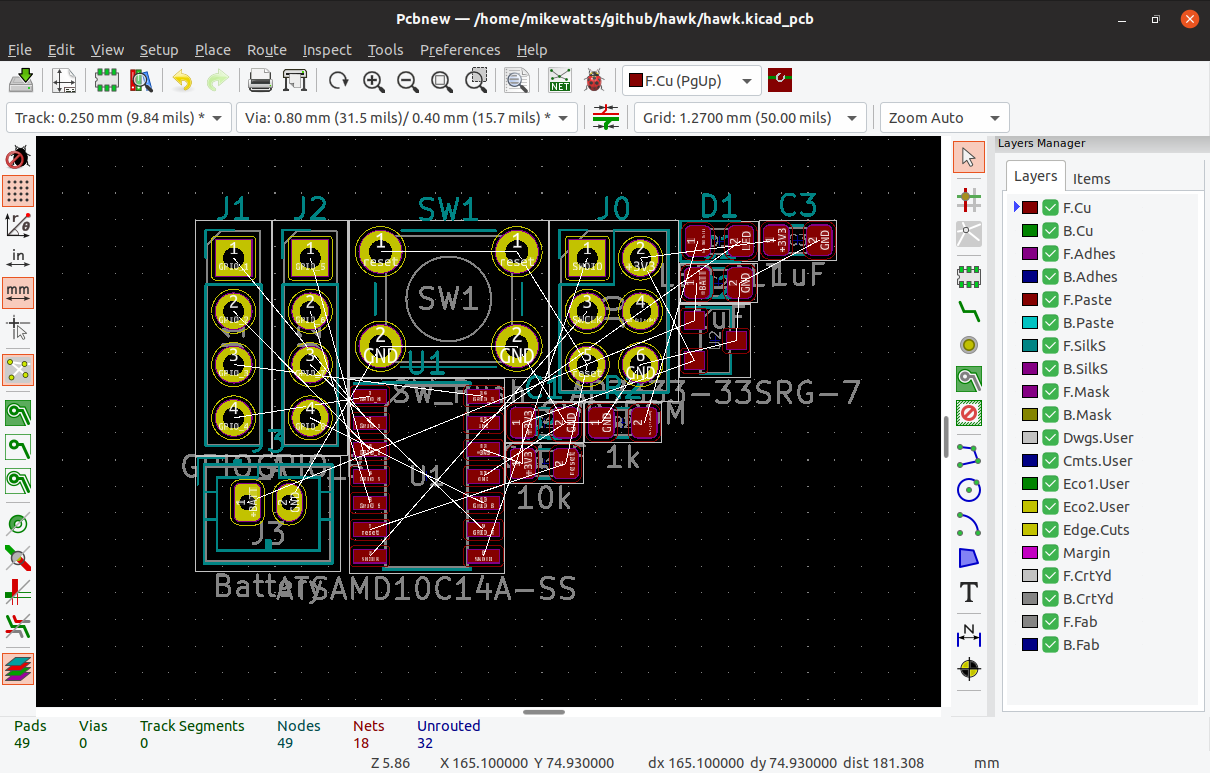
KiCAD has a rightfully earned image problem regarding beginners. The shiny new version 5 has improved things (and we’re very excited for v6!) but the tool is a bit obtuse even when coming from a electronics design background, so we’re always excited to see new learning material. [Mike Watts] is the latest to join the esteemed group of people willing to export their knowledge with his KiCAD tutorial series on GitHub that takes the aspiring user from schematic through fab and assembly.

The tutorial is focused around the process of creating a development board for the dimuitive Microchip née Atmel ATSAMD10 Cortex M0 ARM CPU. It opens by asking the reader to create a schematic and proceeds to teach by directing them to perform certain actions then explaining what’s going on and which shortcuts can accelerate things. This method continues through layout, manufacturing, and assembly.

Of note is that when defining the board outline [Mike] describes how to use OpenSCAD to parametrically define it; a neat micro-tutorial on using the two great tools to compliment each other. We also love that upon successful completion of the tutorial series the user will have developed a tiny but useful development board that can be assembled for about $3 in single quantities!

As with all open source work, if you have quibbles or want to contribute open a pull request and give [Mike] a hand!

KiCad Community Shines At First Ever KiCon

Last weekend was KiCon, a gathering of hardware developers from all over the world who use KiCad open source EDA software. This included many of the software engineers who drive development, people who use KiCad in their business, and those who simply love it for being a professional quality tool available for anyone to use.

From hardware show-and-tell, to the lineup of talks, and the social events each evening, there was so much packed into two (plus) days. Join me after the break for a whirlwind tour of the people and the hardware found at 2019 KiCon.

Continue reading “KiCad Community Shines At First Ever KiCon”

Rad-Hard ARM Microcontrollers, Because Ceramic Components Are Just Cooler

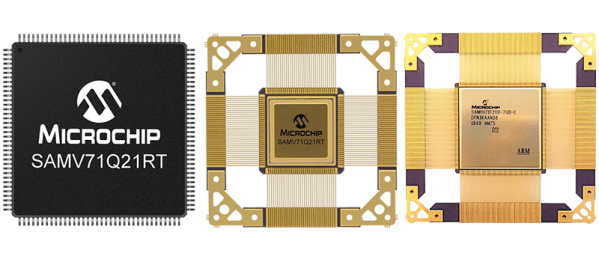
If you’re building a cubesat, great, just grab a microcontroller off the shelf, you probably don’t need to worry about radiation hardening. If you’re building an experiment for the ISS, just use any old microcontroller. Deep space? That’s a little harder, and you might need to look into radiation tolerant and radiation hardened microcontrollers. Microchip has just announced the release of two micros that meet this spec, in both radiation-tolerant and radiation-hardened varieties.

The new devices are the SAMV71Q21RT (radiation-tolerant) and the SAMRH71 (rad-hard), both ARM Cortex-M7 chips running at around 300 MHz with enough RAM to do pretty much anything you would want to do with a microcontroller. Peripherals include CAN-FD and Ethernet-AVB, analog front-end controllers, and the usual support for I2C, SPI, and other standards. This chip does it in space, and comes in a ceramic quad flat package with gold lead frames. These are beautiful devices.

Microchip has an incredible number of space-rated, rad-hard hardware; this is mostly due to their acquisition of Atmel a few years ago, and yes, it absolutely is possible to build a rad-hard Arduino Mega using the chip, space rated.

Of course, there are very, very, very few people who would actually ever need a rad-hard microcontroller; I would honestly expect this to be relevant to only one or two people reading this, and they too probably got the press release. If you’ve ever wanted to build something that goes to space, and you’d like to over-engineer everything about it, you now have the option for an ARM Cortex-M7.

TI-83 Gets CircuitPython Upgrade

Graphing calculators are an interesting niche market these days. They’re relatively underpowered, and usually come with cheap, low resolution screens to boot. They remain viable almost solely due to their use in education and the fact that their limited connectivity makes them suitable for use in exams. The market is starting to hot up, though – and TI have recently been doing some interesting work with Python on their TI-83.

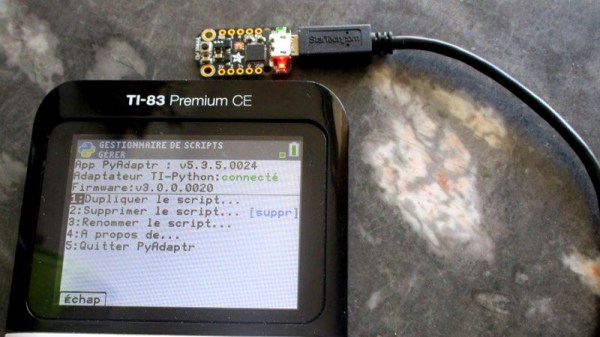
Rumor has it that TI have been unable to get Python to run viably directly on the TI-83 Premium CE. This led to the development of the TI-Python peripheral, which plugs into the calculator’s expansion port. This allows users to program in Python, with the TI-Python doing the work and the calculator essentially acting as a thin client. The chip inside is an Atmel SAMD21E18A-U, and is apparently running Adafruit’s CircuitPython platform.

This discovery led to further digging, of course. With some hacking, the TI-Python can instead be replaced with other boards based on Atmel SAMD21 chips. For those of you that aren’t in Atmel’s sales team, that means it’s possible to use things like the Adafruit Trinket M0 and the Arduino Zero instead, when flashed with the appropriate CircuitPython firmware. It’s a tricky business, involving USB IDs and some other hacks, but it’s nothing that can’t be achieved in a few hours or so.

This is a hack in its early days, so it’s currently more about building a platform at this stage rather then building fully-fledged projects just yet. We’re fully expecting to see Twitter clients and multiplayer games hit the TI-83 platform before long, of course. When you’ve done it, chuck us a link on the tip line.

[Thanks to PT for the tip!]

Ben Heck Can Program The Smallest Microcontroller

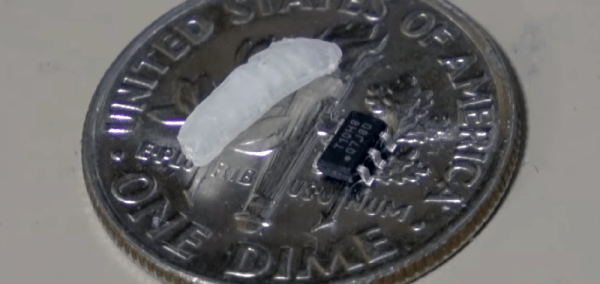
Microcontrollers are small, no one is arguing that. On a silicon wafer the size of a grain of rice, you can connect a GPS tracker to the Internet. Put that in a package, and you can put the Internet of Things into something the size of a postage stamp. There’s one microcontroller that’s smaller than all the others. It’s the ATtiny10, and its brethren the ATtiny4, 5, and 9. It comes in an SOT-23-6 package, a size that’s more often seen in packages for single transistors. It’s not very capable, but it is very small. It’s also very weird, with a programming scheme that’s not found in other chips from the Atmel/Microchip motherbrain. Now, finally, we have a great tutorial on using the ATtiny10, and it comes from none other than [Ben Heck].

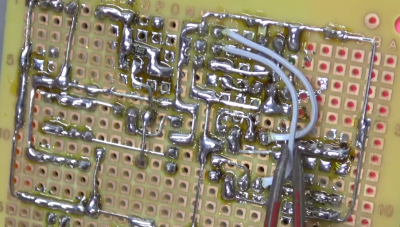
The key difference between the ATtiny10 and other AVRs is that the tiny10 doesn’t use the standard AVR ISP protocol for programming. Instead of six pins for power, ground, MISO, MOSI, SCK, and RST, this is a high-voltage programming scheme that needs 12 Volts. The normal AVR programmer can do it, but you need to build an adapter. That’s exactly what [Ben] did, using a single-sided perf board, a lot of solder, and some headers. It looks like a lot, but there’s really not much to this programmer board. There’s a transistor and an optocoupler. The only thing that could make this programmer better is an SOT-23 ZIF socket. This would allow bare tiny10s to be programmed without first soldering them to a breakout board, but ZIF sockets are expensive to begin with, and the prices on SOT-23 sockets are absurd.

Programming the device was a matter of loading Atmel Studio and going through the usual AVR rigamarole, but Ben was eventually able to connect a light sensor to the tiny10 and have it output a value over serial. This was all done on a device with only 32 Bytes of RAM. That’s impressive, and one of the cool things about the smallest microcontroller you can buy.

Continue reading “Ben Heck Can Program The Smallest Microcontroller”

Compiling NodeMCU For The ESP32 With Support For Public-Private Key Encryption

When I began programming microcontrollers in 2003, I had picked up the Atmel STK-500 and learned assembler for their ATtiny and ATmega lines. At the time I thought it was great – the emulator and development boards were good, and I could add a microcontroller permanently to a project for a dollar. Then the ESP8266 came out.

I was pretty blown away by its features, switched platforms, except for timing-sensitive applications, and it’s been my chip of choice for a few years. A short while ago, a friend gave me an ESP32, the much faster, dual core version of the ESP8266. As I rarely used much of the computing power on the ESP8266, none of the features looked like game changers, and it remained a ‘desk ornament’ for a while.

About seven weeks ago, support for the libSodium Elliptic Curve Cryptography library was added. Cryptography is not the strongest feature of IoT devices, and some of the methods I’ve used on the ESP8266 were less than ideal. Being able to more easily perform public-private key encryption would be enough for me to consider switching hardware for some projects.

However, my preferred automated build tool for NodeMCU wasn’t available on the ESP32 yet. Compiling the firmware was required – this turned out to be a surprisingly user-friendly experience, so I thought I’d share it with you. If I had known it would be so quick, this chip wouldn’t have sat on my desk unused quite so long!  Continue reading “Compiling NodeMCU For The ESP32 With Support For Public-Private Key Encryption”