We’ve written lot about the ESP8266 lately, but people keep finding more awesome uses for this inexpensive module. [Martin] decided that using the ESP8266 with an external microcontroller was overkill, and decided to implement his project entirely on the module with a built-in web server.
[Martin] started out with the ESP8266 web server firmware developed by [sprite_tm]. This firmware provides a basic web server that supports multiple connections and simple CGI scripts right on the module. The web server firmware opens up a ton of possibilities with CGI scripting. When booting up in AP mode, you can even connect the ESP8266 to another access point right from the your browser.
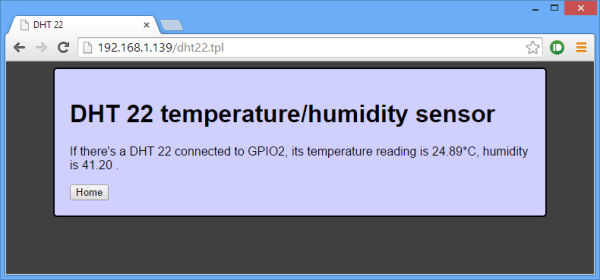
[Martin] decided to connect a DHT22 temperature/humidity sensor to the module as a proof of concept. He used a DHT22 library written for the ESP8266 to read data from the sensor, and wrote a CGI script to display the data on a web page. [Martin] also added buttons to control a GPIO pin as a proof of concept. He posted his source code and a binary (see the end of his post) so you can try out his application and mod it for your own project.