It’s hard to read the headlines today without feeling like the world couldn’t possibly get much worse. And then tomorrow rolls around, and a fresh set of headlines puts the lie to that thought. On a macro level, there’s not much that you can do about that, but on a personal level, illustrating your news feed with mostly wrong, AI-generated images might take the edge off things a little.
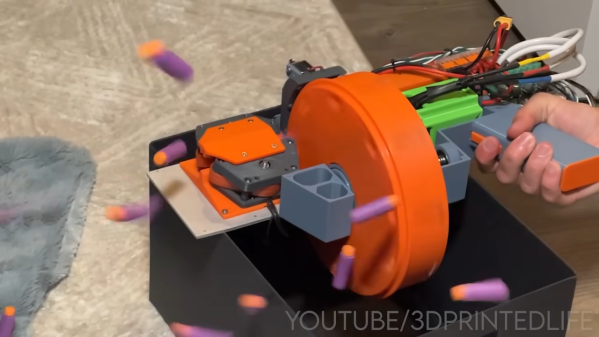
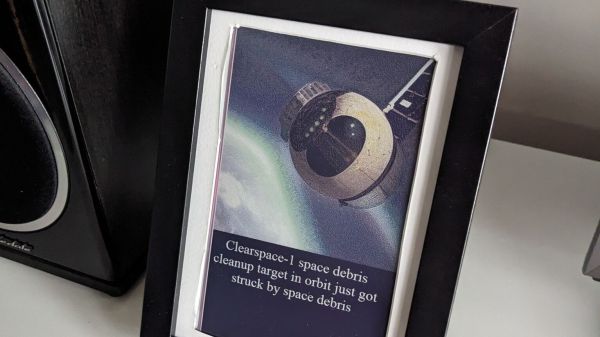
Let us explain. [Roy van der Veen] liked the idea of an e-paper display newsfeed, but the crushing weight of the headlines was a little too much to bear. To lighten things up, he decided to employ Stable Diffusion to illustrate his feed, displaying both the headline and a generated image on a 7.3″ Inky 7-color e-paper display. Every five hours, a script running on a Raspberry Pi Zero 2W fetches a headline from a random source — we’re pleased the list includes Hackaday — and composes a prompt for Stable Diffusion based on the headline, adding on a randomly selected prefix and suffix to spice things up. For example, a prompt might look like, “Gothic painting of (Driving a Motor with an Audio Amp Chip). Gloomy, dramatic, stunning, dreamy.” You can imagine the results.
We have to say, from the examples [Roy] shows, the idea pretty much works — sometimes the images are so far off the mark that just figuring out how Stable Diffusion came up with them is enough to soften the blow. We’d have preferred if the news of the floods in Libya had been buffered by a slightly less dismal scene, but finding out that what was thought to be a “ritual mass murder” was really only a yoga class was certainly heartening.