As hobbies go, trainspotting is just as valid a choice as any — we don’t judge. But it does present certain logistical challenges, such as having to be in visual range of a train to be able to spot it. There’s also the fact that trains are very large objects, and they tend to move very fast. What’s a railfan to do?
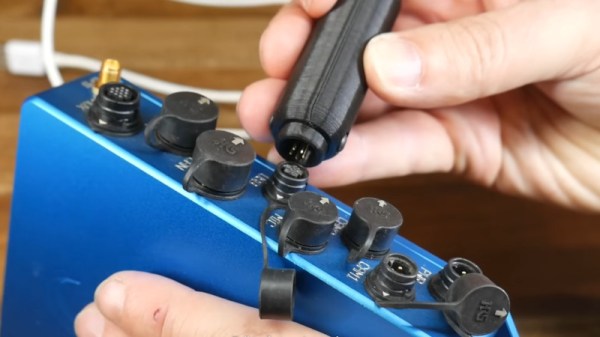
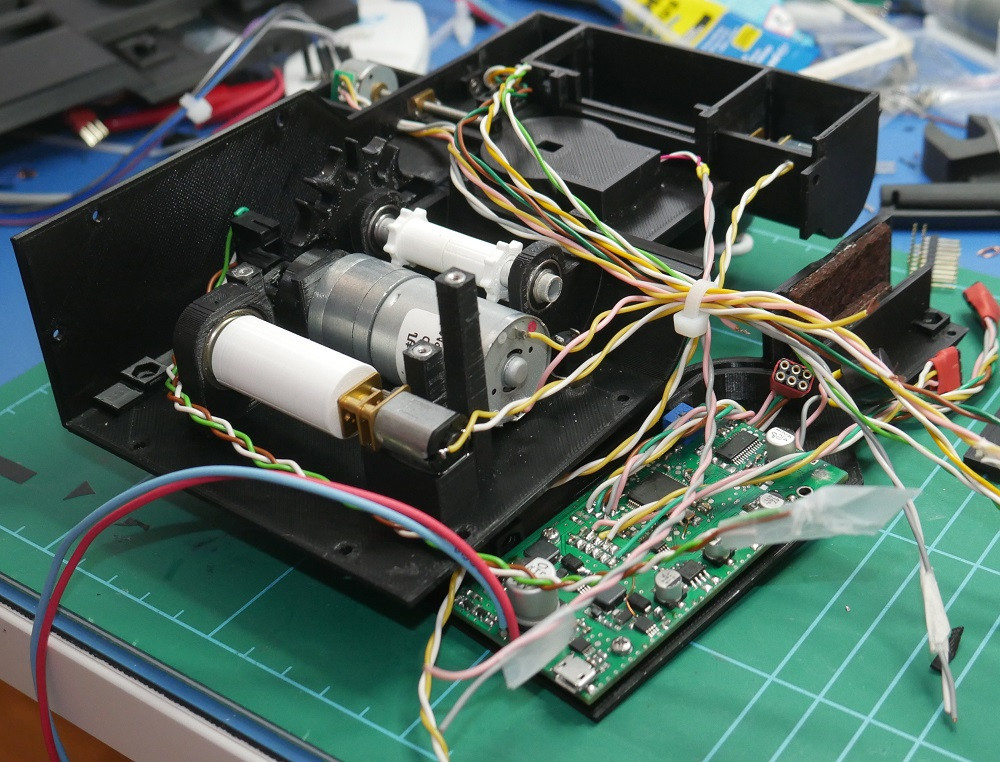
If you’re also technically minded, you might try building an automatic trainspotting bot like [jo-m] has. It looks like the hardware end of “Trainbot” is pretty simple since it has been tested on both x86 and Raspberry Pi, and supports both video4linux and Pi cam. The magic is in the software, which is able to detect a train entering the frame, record images, and then stitch them together into one long image. The whole thing is coded in Go and has some interesting bits, like a custom image patch mapping package.
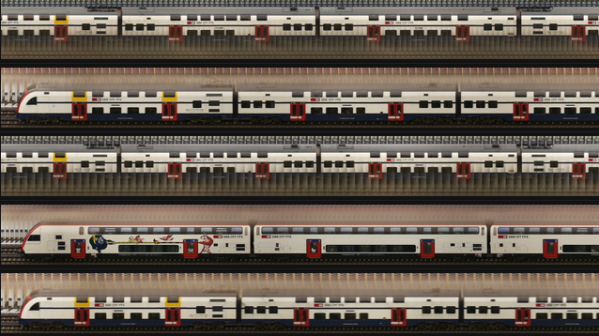
Trainbot gives an unusual view of a train, one that most of us accustomed to watching a train pass at a crossing have never seen. By stitching small chunks of the train as it passes, Trainbot is able to show the entire train in a single image, which would be impossible to do except for being very, very far away from the track. [jo-m] also built a web interface for Trainbot where you can check out the comings and goings yourself. Each passing train’s image is accompanied by data like its velocity and acceleration, length of the train, and time of passage. There’s also a GIF of the original source video, which is pretty cool.
Here in the States, we don’t have a lot of passenger trains to spot, but we do have some really long freight trains. It’d be interesting to see how this works with a train that’s over a mile long; that would be quite an image. Looks like someone at least has the hardware in place to give it a try.


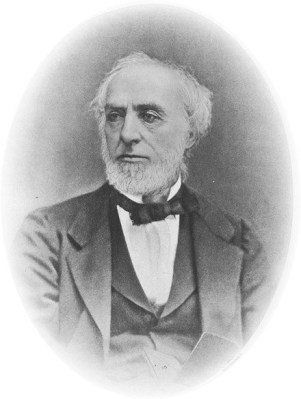 He was born in Glasgow in 1821 and was the son of a successful shipbuilder, Robert Napier, into whose business he followed once he’d received his education. He’s probably most well known today for his work in nautical engineering and for inventing


