In the olden days, you would have a roll of film that you could take to your local drug store and have them develop it. But a serious photographer would likely develop their own photos to maintain complete creative control. While photo editing software has largely replaced the darkroom of old, the images are still held on physical media, and that means there’s room for improvement and customization. In an article for photofocus, [Joseph Nuzzo] shows how you can make your own CFexpress card — the latest and greatest in the world of digital camera storage tech — for less than $100 USD.
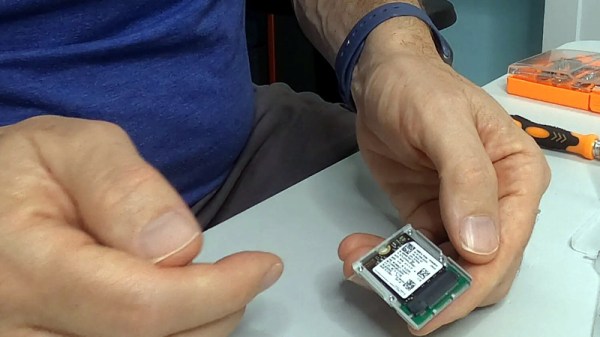
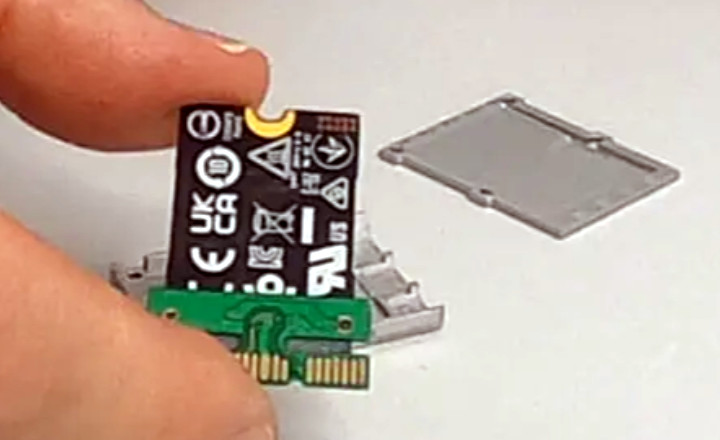 The idea here is pretty simple, as CFexpress uses PCIe with a different connector. Essentially all you have to do is get a M.2 2230 NVMe drive and put it into an adapter. In this case [Joseph] is using a turn-key model from Sintech, but we’ve shown in the past how you can roll your own.
Now you might not give it much thought normally, but NVMe devices get pretty hot. This usually isn’t problem inside a large computer case, where they often have large amounts of air blowing over them. But inside a camera you need to dissipate that heat, so thermal compound is a must. With everything screwed together, you have your own card that’s faster and cheaper than commercial offerings.
It’s no secret that there’s a lot of love for NVMe. It’s easy, fast, and adaptable. Since the M.2 slot format includes SATA and PCIe, there’s a likely chance there is a PCIe bus in many cameras. The PCIe bus on the Pi has been convenient for hacking, and we wonder what sort of hacks are out there for cameras.