[Editor’s note: There is a second, fake iteration of this column out today. This is obviously the real column.]
An alert from CISA, combined with an unsealed pair of indictments, sheds some new light on how Russian hackers pursue high-value targets. The key malware here is Triton, essentially a rootkit designed for the Tricon safety systems, widely deployed at refineries and other infrastructure facilities. One of the early deployments of this was to a Saudi oil plant in 2017. This deployment seems to have been botched, as it caused malfunctions and shut the plant down for about a week.
The new information is confirmation that the same operators, out of the “Central Scientific Research Institute of Chemistry and Mechanics”, attempted to target US facilities with the same campaign. The Wired coverage initially struck me as odd, as it detailed how these Russian attackers researched US refineries, looking for the most promising targets. How exactly did US intelligence agencies know about the research habits of agents in Russia? The details of the indictment has the answer: They were researching US refineries by downloading papers from the US Department of Energy. As the IP addresses of this Russian research group is known and tracked, it was easy enough for US agencies to make the connection.
Continue reading “This Week In Security: More State-Sponsored Activity, Spring4Shell”
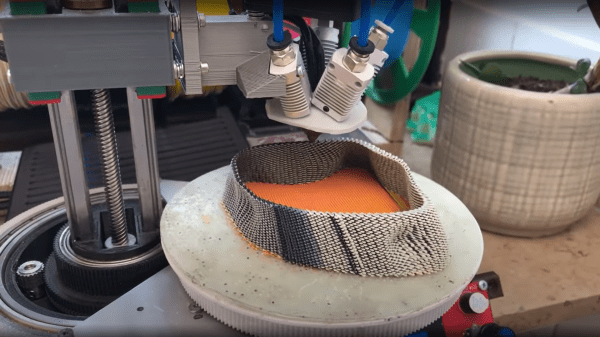
 trick is to use the same weight maps and simply map colours to blender text blocks which are injected into the gcode at export time. These gcode blocks can be used swap tool heads or extruders, enabling blending of multiple filament colours or types in the same object.