Three Conceptual Approaches To Driving A WS2811 LED Pixel

driving-a-ws2811

[Cunning_Fellow] published a post with three proof-of-concept approaches to driving a WS2811 LED pixel. We looked at a project early in December that used an AVR microcontroller to drive the RGB package. [Cunning_Fellow] saw this, and even though he doesn’t have any of these parts on hand he still spent the time hammering out ways to overcome the timing issues involved with address the device. His motto is “put up or shut up” when it comes to criticizing projects featured on Hackaday. We love seeing someone pick up an idea and run with it.

The approach in all three cases aims to conserve clock cycles when timing the communications. This leaves the developer as many cycles as possible to perform other tasks than simply telling the lights what to do. One approach is an assembly routine that is just a shade slower but groups all 14 free cycles into one block. The next looks at using external 7400 series hardware. The final technique is good old-fashioned bit banging.

[Photo Credit]

Driving A WS2811 RGB LED Pixel

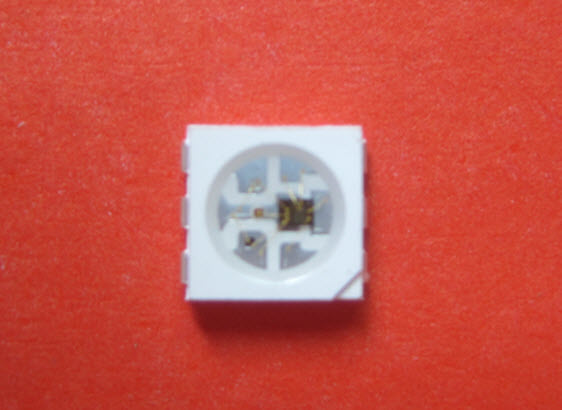
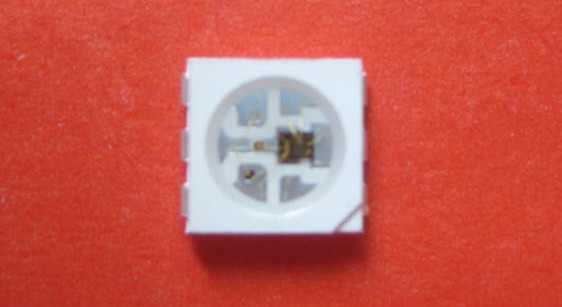
[Alan] has been working on driving this WS2811 LED module with an AVR microcontroller. It may look like a standard six-pin RGB LED but it actually contains both an LED module and a microcontroller to drive it. This makes it a very intriguing part. It’s not entirely simple to send commands to the module as the timing must be very precise. But once the communication has happened, the LED will remain the same color and intensity until you tell it otherwise. You can buy them attached to flexible strips, which can be cut down to as few as one module per segment. The one thing we haven’t figure out from our short look at the hardware is how each pixel is addressed. We think the color value cascades down the data line as new values are introduced, but we could be wrong. Feel free to discuss that in the comments.

The project focuses on whether or not it’s even possible to drive one of these pixels with a 16MHz AVR chip. They use single-wire communications at 800 kHz and this really puts a lot of demand on the microcontroller. He does manage to pull it off, but it requires careful crafting in assembly to achieve his timing constraints. You can see a quick clip of the LEDs fading between colors after the break.

Continue reading “Driving A WS2811 RGB LED Pixel”

LED Christmas Lights Optimized For Max Twinkleage

Old-school filament-based Christmas lights used to be available in twinkling form. LEDs, with their hard-on and hard-off nature, aren’t naturally predisposed to such behavior. To rectify this, some time ago, [Mark Kriegsman] built an Arduino program that makes LEDs twinkle beautifully.

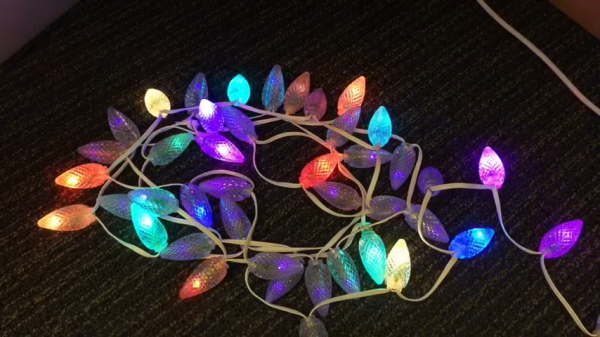
The program is known as TwinkleFOX, and relies on the popular FastLED library for addressable LEDs. [Mark’s] demo setup is built around using WS2811 LEDs, put together in a string with plastic diffusers on each bulb. The Arduino is programmed to vary the brightness of each LED according to a triangle wave function. To create the twinkling effect, each LED has its own unique clock signal, so they vary in brightness at different times and at different rates.
Using an Arduino Uno or Leonardo, [Mark] reports its possible to twinkle 300 individual LEDs at a rate of over 50 updates a second. Using a faster microcontroller should net reliable performance with longer strings. Meanwhile, if you’re wondering how the older-style lights used to twinkle, we’ve covered that before too. Video after the break.

Continue reading “LED Christmas Lights Optimized For Max Twinkleage”

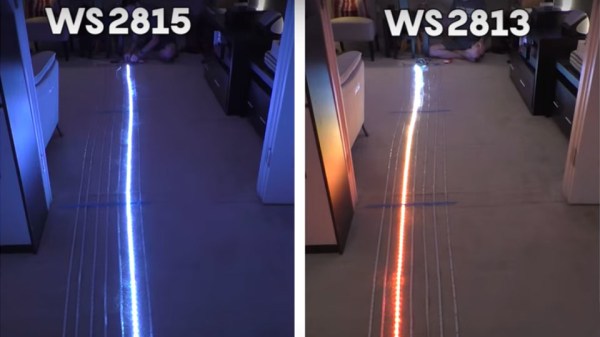
Image showing differences between WS2815 and WS2813 LED strips - the WS2815 strip lighting is more uniform throughout the strip's length.

Teaching You Everything You Might Have Missed About Addressable LEDs

Often, financial motivation results in people writing great educational material for hackers. Such is absolutely the case with this extensive documentation blog post on addressable LEDs by [DeRun]. This article could very be named “Addressable LEDs 101”, and it’s a must-scroll-through for anyone, whether you’re a seasoned hacker, or an artist with hardly any technical background and a desire to put LEDs in your creations.

This blog post is easy to read, painting a complete picture of what you can expect from different addressable LED types, and with apt illustrations to boot. Ever wonder which one of the addressable strips you should get from your retailer of choice, and what are the limitations of any specific type? Or, perhaps, you’d like to know – why is it that a strip with a certain LED controller is suspiciously cheap or expensive? You’re more than welcome to, at least, scroll through and fill into any of your addressable LED knowledge gaps, whether it’s voltage drops, color accuracy differences, data transfer protocol basics or dead LED failsafes.

Addressable LEDs have a special place in our hearts, it’s as if the sun started shining brighter after we’ve discovered them… or, perhaps, it’s all the LEDs we are now able to use. WS2812 is a staple of the addressable LED world, which is why we see them even be targets of both clone manufacturers and patent trolls. However, just like the blog post we highlight today mentions, there’s plenty of other options. Either way do keep coming cover a new addressable LED-related hack, like rewriting their drivers to optimize them, or adding 3.3V compatibility with just a diode.

We thank [Helge] for sharing this with us!

Big RGB LED Cube You Can Build Too

LED cubes are really nothing new, many of us consider the building of a good sized one almost an electronics rite of passage that not so many manage to find the time or have the skill to pull off. It’s our pleasure to draw your attention to a lovely build, showing all the processes involved, the problems and the solutions found along the way.

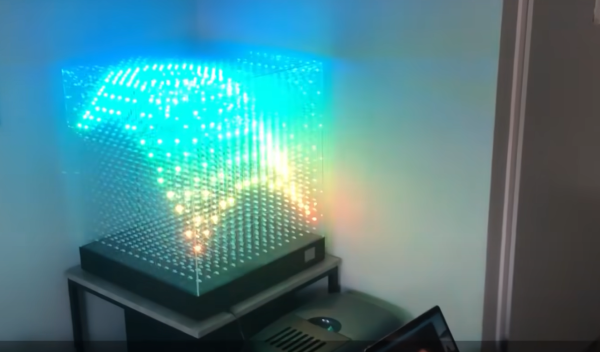
Building a small cube is somewhat of a trivial affair, especially without considering PWM colour mixing, however as simple maths will illustrate, as you increase the number of LEDs on each side, the total number will quickly get quite large. More LEDs need more power and increase control complexity considerably. A larger matrix like this 16 x 16 x 16 LED build, has a total of 4096. This would be a nightmare to drive with plain RGB LEDs, even with cunning multiplexing, but luckily you can buy indexable LEDs in a through-hole package similar to the ubiquitous WS2812-based SMT LEDs you see around. These are based on the PD9823 controller, which can be programmed as if they were a WS2812, at least according to this analysis. Now you can simply chain a column of LEDs, with the control signal passed from LED to nearest neighbour.

Early on in the video build log, you will note there are four power supply modules needed to feed this juice. If we assume each LED consumes 60 mA on full-white (the data for this product link shows a peak value of 100 mA) that is still a total of 246 A or around 1 kW of power. The video does shows a peak power measurement of around this figure, for the whole array on full white, so the maths seems about right.

Control is via a Teensy 4.0 using the FlexIO function of the IMXRT1060RM CPU, and a bunch of 74AHCT595 shift registers giving 32 channels of up to 1000 LEDs per channel if needed. Roughly speaking, using the DMA with FlexIO, the Teensy can drive up to 1 Million LED updates per second, which works out about 32 channels of 100 LEDs per channel updated at 330 frames/sec, so plenty of resource is available. All this is with almost no CPU intervention, freeing that up for handling the 2.4-inch LCD based UI and running the animations, which looks pretty darn slick if you ask us. You can checkout the description of the firmware in the firmware section of the GitHub project. 3D printed jigs allowed for bending and clipping the LEDs leads as well as fixing and aligning the LED column units, so there really is enough detail there to allow anyone so inclined reproduce this, so long as you can swallow the cost of all those LEDs.

For a different approach to LED cubes, checkout this sweet panel based approach, and here’s a really small 4x4x4 module for those with less space to spare.

Continue reading “Big RGB LED Cube You Can Build Too”

Hackaday Podcast 129: Super Clever 3D Printing, Jigs And Registration Things, 90s Car Audio, And Smooth LED Fades

Hackaday editors Mike Szczys and Elliot Williams have found a critical mass of projects this week that wouldn’t be possible without 3D printers. There’s an absolutely astounding model roller coaster that is true to the mechanisms and physics of the original (and beholden to hours of sanding and painting). Adding sheet material to the printing process is a novel way to build durable hinges and foldable mechanisms. Elliot picks out not one, but two quadruped robot projects that leverage 3D-printed parts in interesting ways. And for the electronics geeks there’s a server rack stuffed with Raspberry Pi, and analog electronic wizardry to improve the resolution of the WS2811 LED controller. We wrap it all up with discussions of flying boats, and adding Bluetooth audio to old car head units.

Take a look at the links below if you want to follow along, and as always, tell us what you think about this episode in the comments!

Direct download (60 MB or so.)

Places to follow Hackaday podcasts:

Continue reading “Hackaday Podcast 129: Super Clever 3D Printing, Jigs And Registration Things, 90s Car Audio, And Smooth LED Fades”

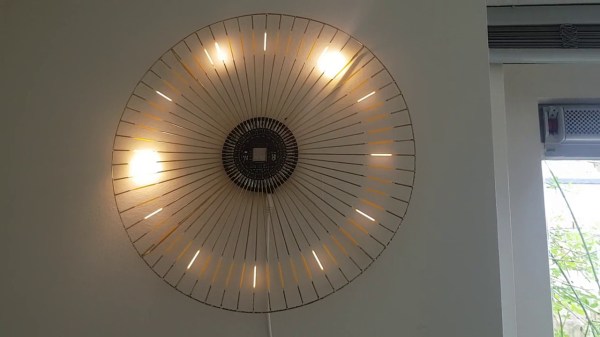
A Custom Clock With LED Filament Hands

LEDs have become so ubiquitous in our projects that just hearing that term probably conjures images of tiny illuminated domes in an array of single-spectrum colors. It’s easy to forget that these efficient sources of light come in a variety of form factors, including the retro-tacular filaments that [bitborked] used to make his beautiful analog LED wall clock.

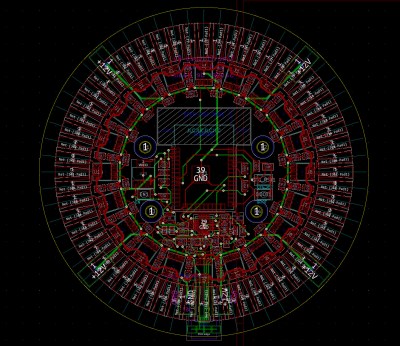
Aside from its aesthetics, this timepiece features some great design. A custom PCB acts as a hub for all the LED filament spokes. The onboard brains come in the form of an ESP32, which means it can keep extremely accurate time via NTP. WS2811 LED controllers, which we’re so accustomed to seeing alongside RGB LEDs that they almost feel strange to see here, provide the 12 volts required for each filament and make individual addressing a breeze.

[bitborked] takes advantage of that addressability to display other animations in addition to the standard clock face. They also plan to implement MQTT for eventual alerts from other home automation devices. When it comes to just telling time, you can discern the individual “hands” by differences in their brightness, which sadly does not show up as well in video as it does in real life.

We would certainly be happy to have this clock on our walls, and we hope to eventually see more of its PCB designs. In the meantime, though, we can drool over a more digital take on the LED filament clock. Although, filaments are certainly not required to make a beautiful LED timekeeper.