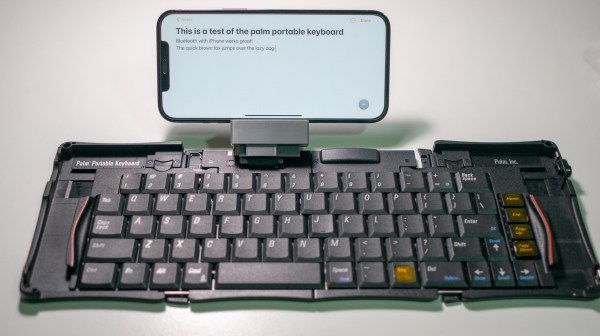
Long ago when digital portables where in their infancy, people were already loath to type on tiny keyboards, stylus or not. So Palm made a sweet little portable keyboard that would fold up and fit in your cargo pocket. And what do we have now for luxury typing on the go? Rubber roll-up jelly keebs? That’s a hard no from this scribe.
 But why mess with the success of the the Palm Portable Keyboard? It just needs to be updated for our times, and that’s exactly what [Xinming Chen] did with their PPK Bluetooth adapter.
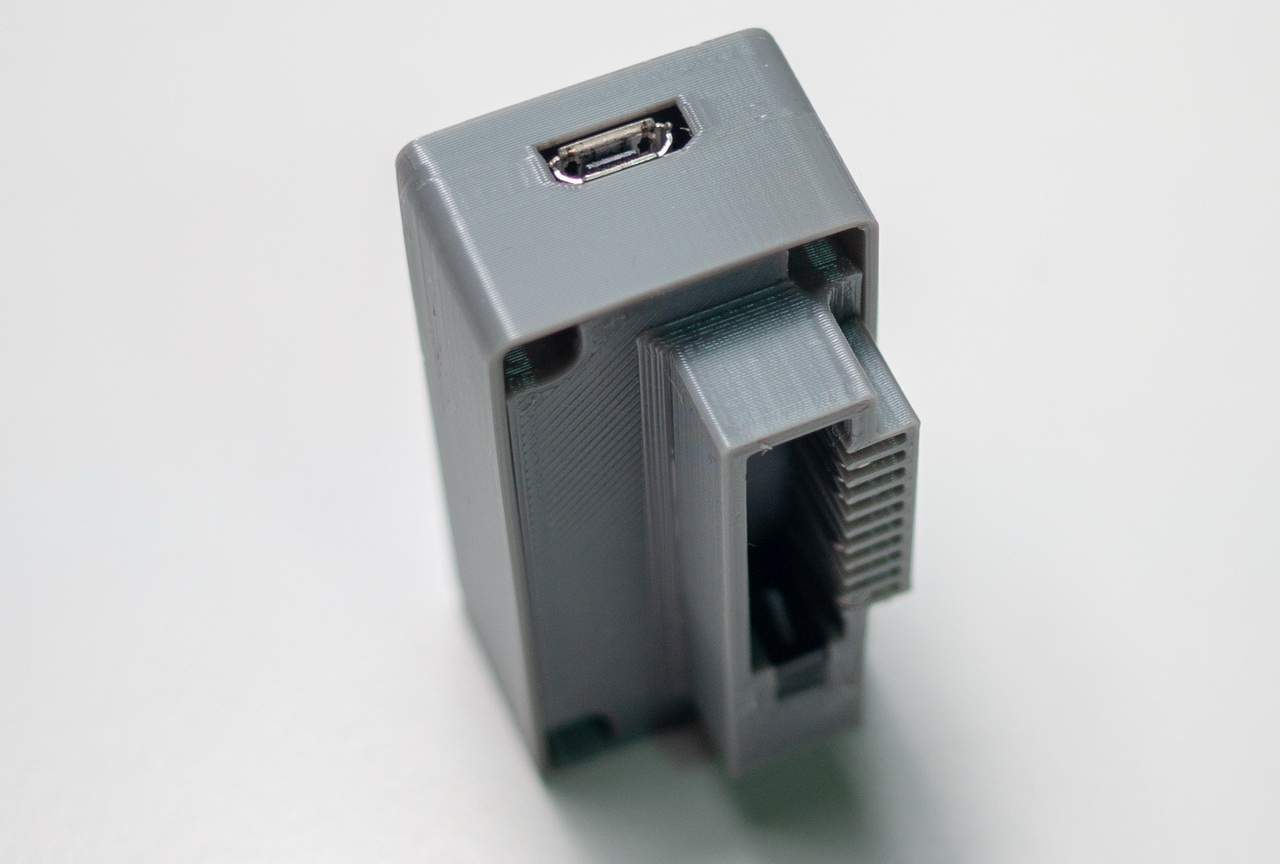
Inspired by the work of [cy384] to make a USB adapter as well as [Christian]’s efforts with the ESP32, [Xinming Chen] points out that this version is more power efficient, easier to program, and has a built-in Li-Po charging circuit. It also uses the hardware serial port instead of the software serial, which saves brainpower.
There’s really not much to this build, which relies on the Adafruit Feather nRF52840 and will readily work with Palm III and Palm V keyboards. Since the PPK is RS-232 and needs to be TTL, this circuit also needs a voltage level inverter which can be made with a small handful of components. We love that there’s a tiny hidden switch that engages the battery when the adapter clicks on to the connector.
The schematic, code, and STL files are all there in the repository, so go pick up one of these foldy keebs for cheap on the electronic bay while they’re still around. Watch the demo video unfold after the break.
Want an all-in-one solution for typing on the go? Check out the history of tiny computers.

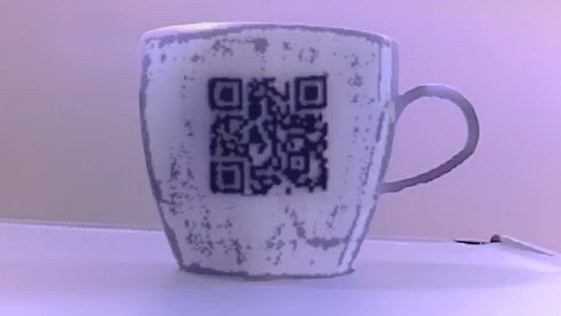
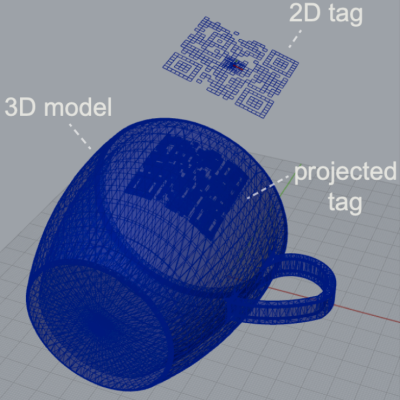 One simple proof of concept is a wireless router with its SSID embedded into the side of the device, and the password embedded into a different code on the bottom to ensure that physical access is required to obtain the password. Mundane objects can have metadata embedded into them, or provide markers for augmented reality functionality, like tracking the object in 3D.