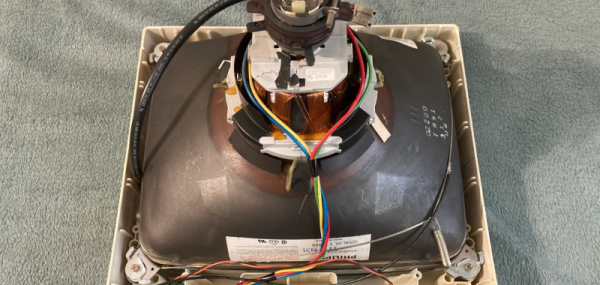
While internet-connected devices can be very useful around the house, and it is pretty cool to be able to monitor your dishwasher from half a world away, it’s important to be mindful of privacy and security issues. For instance, the Cecotec Conga 1490 robot vacuum [Rastersoft] bought came with an Android app, which upon installation asked for near-total access to the user’s phone. Not content with such an invasion of privacy, let alone the potential security implications, [Rastersoft] set to work trying to reverse engineer the robot’s communications (translated) to find out what exactly it was doing when online. He did this by configuring a Raspberry Pi as an access point, letting the vacuum connect to it, and logging all the data flowing through.
As it turned out, the robot phoned home to its manufacturer, reporting its serial number and some configuration settings. The server then passed control to the mobile app, but not without routing all subsequent commands through the remote server. Not only is this creepy, it also means that if the manufacturer were to shut down the server, the app would stop working entirely. [Rastersoft] therefore got the idea to write custom software to control the robot. He began by reconfiguring the Pi’s network setup to fool the vacuum into thinking it was connecting to its manufacturer’s server, and then wrote some Python code to emulate the server’s response. He was now in control of all data flowing back and forth.
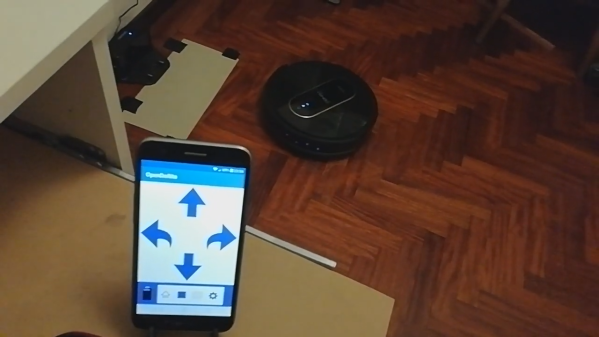
After a lot of experimentation and data analysis, [Rastersoft] managed to decipher the commands sent by the app, enabling him to write a complete replacement app seen in the video after the break that includes control of all the vacuum’s standard actions, but also a new feature to manually control the vacuum’s movement. All code is available on GitHub for those who would like to hack their Congas too.
We think this is a great example of software hacking to future-proof devices that you own, while also mitigating many of the dangers to your security and privacy posed by the default software. The fact that the commands you send from your phone to your vacuum go all the way around the world, potentially being stored and read by others, is rather ridiculous in the first place. After all, we’ve already seen how robot vacuums could spy on you.
Continue reading “Hacking A Robot Vacuum To Write A Replacement App” →