We rarely see teardowns this detailed. [txyzinfo] wanted to know what hardware was under the hood, and did an amazing Amazon Halo Teardown.
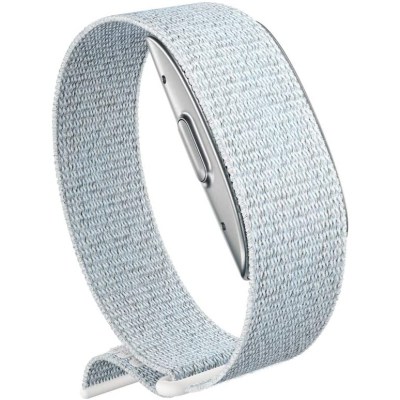
Sometime around the middle of 2020, Amazon jumped on to the health and fitness tracker space with the introduction of the Halo — a $100 device with an add on $4 monthly subscription service if you wanted additional features, which Amazon calls “labs”, many of which are third-party services. The device does not have any display at all, and any metrics that need to be displayed (heart rate, steps, calories, etc.) show up on the Halo phone app. Halo’s focus is more on health, rather than fitness. It helps monitor your active and sleep states, keeps track of body fat, and reports your emotional state.
 We won’t delve much in to the pros and cons of the device, other than mention two features which have the potential to creep out most folks. The device has a pair of microphones, which listen to the “tone” of your voice and report on your emotional state. The other is its use of your phone via the companion app, to take photos of you, preferably dressed in your undergarments. Your front, back and side photos get uploaded to Amazon servers, get converted to a 3D model, and then downloaded back to your phone. Amazon mentions that the photos are never retained and deleted from their servers once your 3D model is transferred back to the phone. Amazon’s ML algorithms then calculate your body fat percentage. More worryingly, the app offers a slider which you can move to see how you will “look” if you have higher or lower body fat percentages.
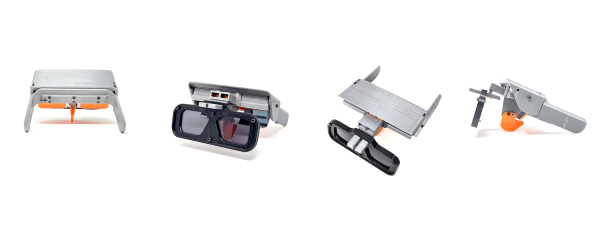
Fortunately for us hardware hacker types, [txyzinfo] wanted to unlock all the secrets Amazon poured into this design. Even if the device in particular does not interest you, the techniques he uses are very educational and will prove a useful addition to your skills. The device does not have any external fasteners, with the back cover being held together with glue. [txyzinfo] starts off by applying a solvent around the back cover to soften the glue, then works with his spudger to pry it open. The back cover appears to have an antenna with touch-contact terminations without a connector. The main body holds the rest of the electronics, and can be easily removed by unscrewing the four corner screws. Using a combination of solvent to soften the glue at various points, and snips to cut off retaining plastic tabs, he manages to untangle the hybrid rigid-flex PCB assembly from its plastic-metal clam-shell.
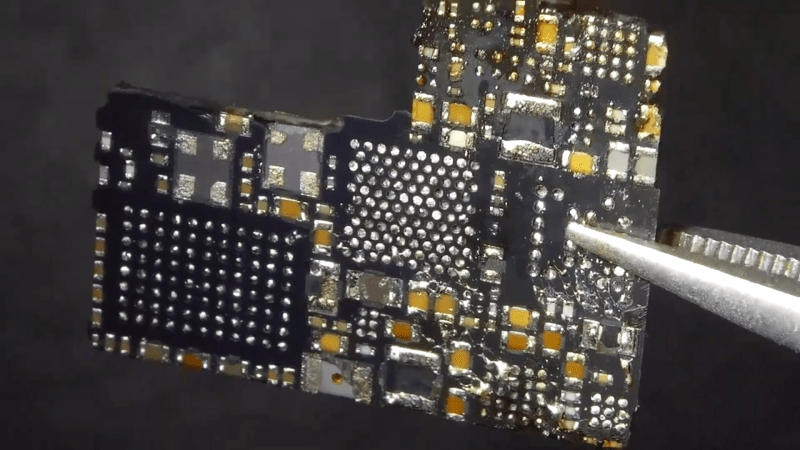
He uses a hot-air blower to cleanly separate the flex PCB parts attached to the rigid PCB. With all the flex pieces removed, he is left with the main part of the device — the rigid PCB with most parts potted under a metal shield filled with what appears to be a soft, grey compound. At this point, we are not sure if the potting compound is for heat dissipation, or just to obfuscate reverse engineering. His next action gives us a severe case of the heebie jeebies, as he clamps the PCB to a milling machine, and mills away the sides of the metal shield. Next, he heats the whole assembly with the hot air gun to melt all the solder, applying some generous amounts of flux, using the spudger to pull apart the PCB from the components embedded in the potting compound. Check out the video after the break to see his tear down techniques in action.
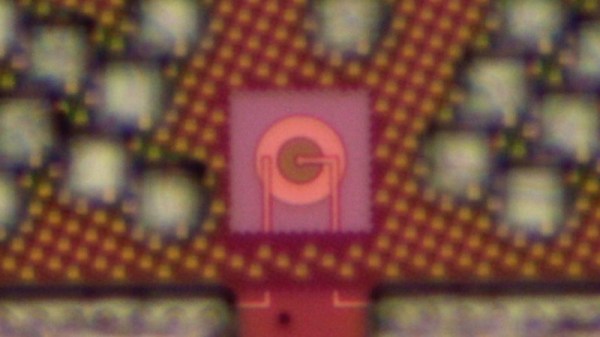
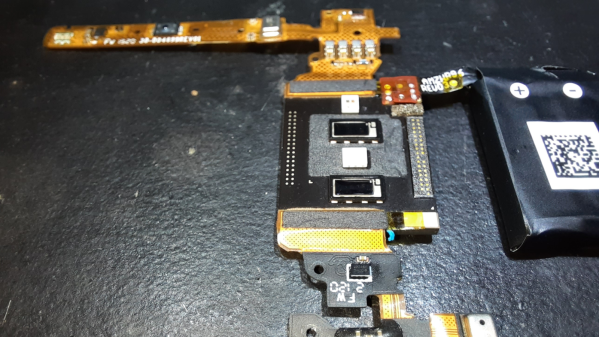
 His plan was to identify as many parts as he could, but he wasn’t very successful, and managed to identify just a few — the two MEMS microphones, two temperature sensors and the LED driver on the flex PCB, and the photo-diodes, 6-axis IMU, battery charger and flash memory on the main board. The board has an uncommon 5-layer stack up, with the centre layer being ground. PCB de-layering is a time consuming process and requires a lot of patience, but in the end, he was able to get a pretty good result. He found some oddities in the track layout and was able to identify some of the more common connections to the I2C bus and between the micro-controller and its memory. He also located several test points which seem promising for a second round of investigations. Sometime in the future, he plans to get another Halo and have a go at it using the JTAGulator and GoodFET.
Tear downs are a favourite for all hackers, as is evident by the regularity with which we keep seeing them. If this one hasn’t whetted your appetite, then check out this other Fitness Tracker Teardown which is a lesson in Design for Manufacture.
Continue reading “Amazon Halo Teardown Is Supremely Thorough”