Making Your Own VR Headset? Consider This DIY Lens Design

Lenses are a necessary part of any head-mounted display, but unfortunately, they aren’t always easy to source. Taking them out of an existing headset is one option, but one may wish for a more customized approach, and that’s where [WalkerDev]’s homebrewed “pancake” lenses might come in handy.

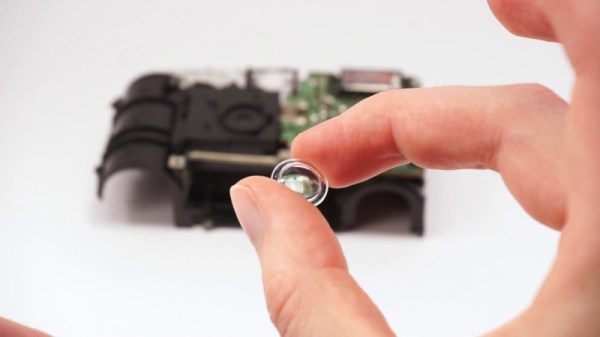
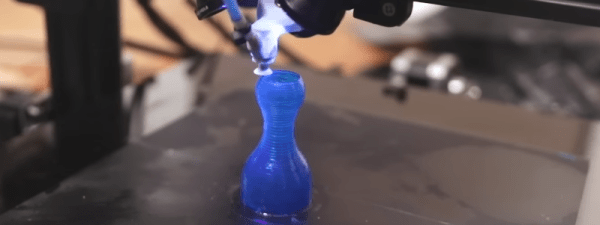
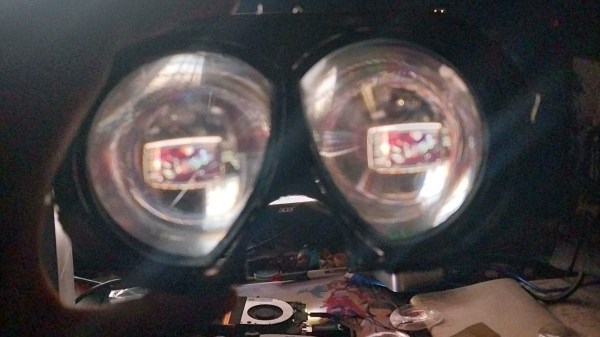
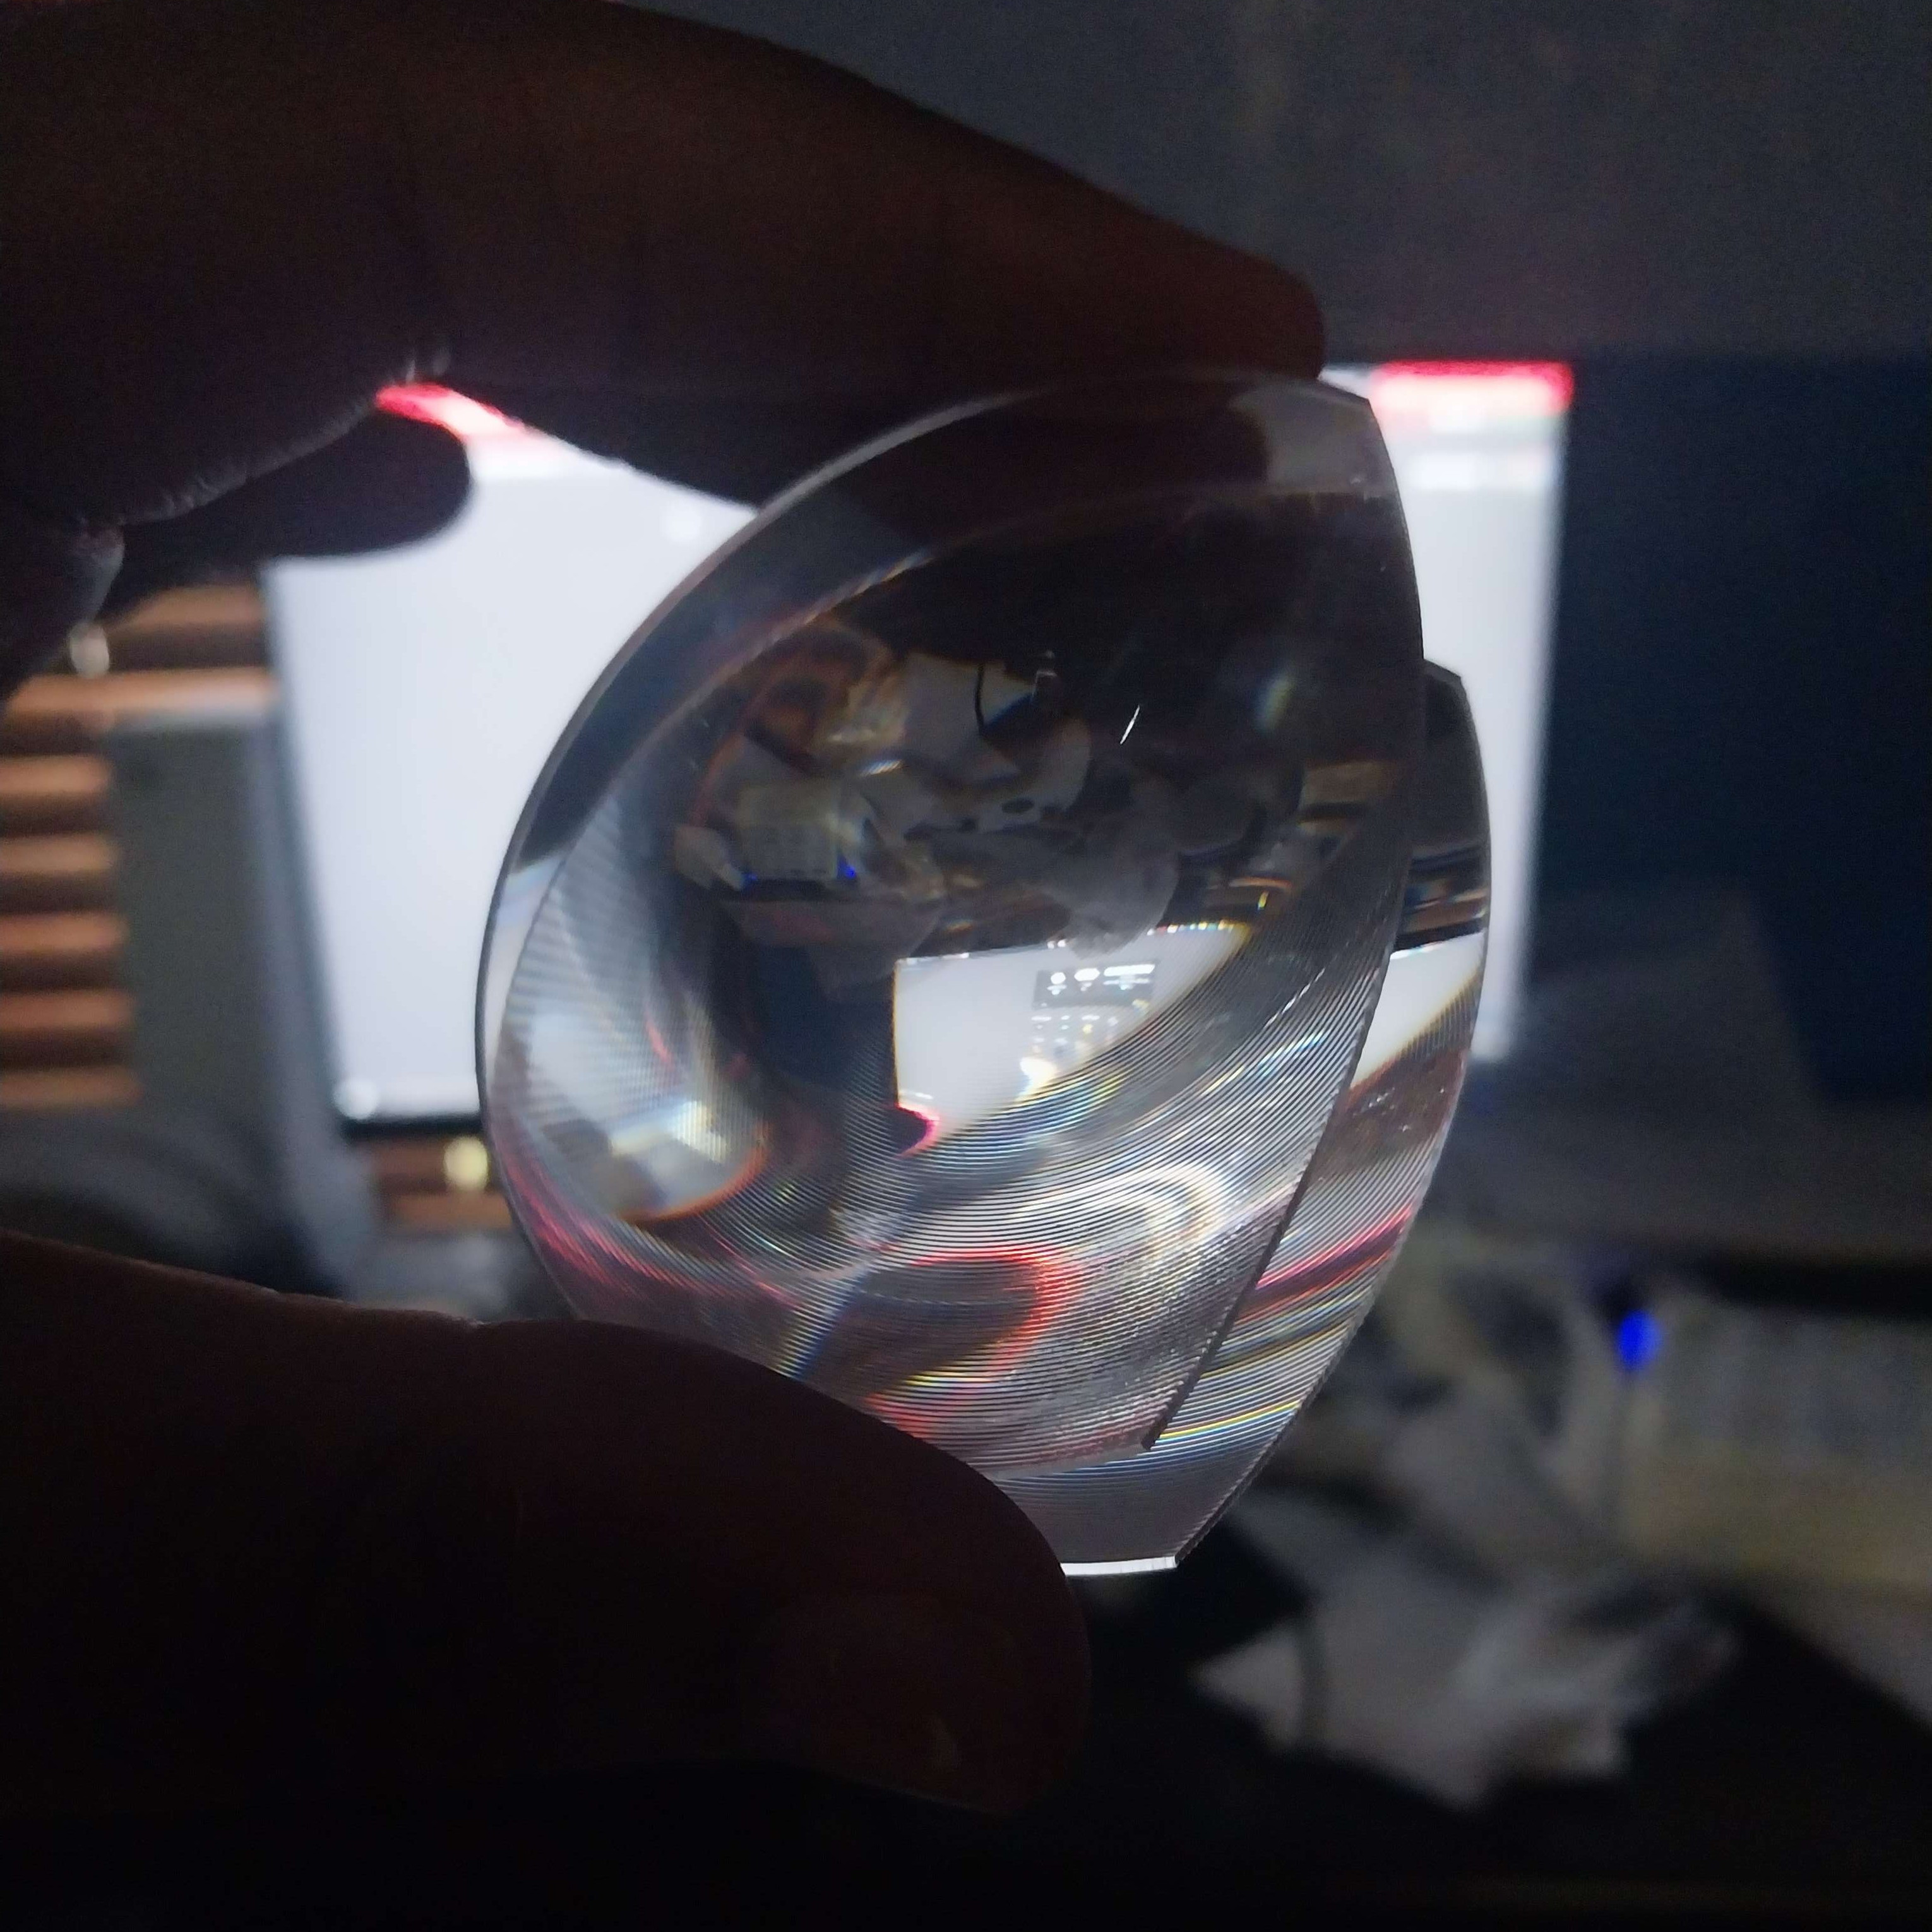
Engineering is all about trade-offs, and that’s especially true in VR headset design. Pancake lenses are compact units that rely on polarization to bounce light around internally, resulting in a very compact assembly at the cost of relatively poor light efficiency. That compactness is what [WalkerDev] found attractive, and in the process discovered that stacking two different Fresnel lenses and putting them in a 3D printed housing yielded a very compact pancake-like unit that gave encouraging results.

This project is still in development, and while the original lens assembly is detailed in this build log, there are some potential improvements to be made, so stay tuned if you’re interested in using this design. A DIY headset doesn’t mean you also must DIY the lenses entirely from scratch, and this option seems economical enough to warrant following up.

Want to experiment with mixing and matching optics on your own? Not only has [WalkerDev]’s project shown that off-the-shelf Fresnel lenses can be put to use, it’s in a way good news that phone-based VR is dead. Google shipped over 10 million cardboard headsets and Gear VR sold over 5 million units, which means there are a whole lot of lenses in empty headsets laying around, waiting to be harvested and repurposed.

A Wigglegram Lens With Variable Aperture

Wigglegrams are those weird animated pictures you’ve seen that seem to generate a 3D-like effect. [scealux] had built lenses to take such pictures before, but wanted to take things to the next level. Enter the Wigglegram Lens, version 2.

In building a new lens for the Open Sauce ’23 event, [scealux] wanted to get variable aperture working, while also improving focus speed. The lens was also intended for use with a Sony A7R3. Unlike his previous effort, this lens would only work on the full-frame Sony FE mount cameras.

The lens uses a bevy of 3D printed parts, along with plastic lenses salvaged from old disposable cameras. When assembled, it takes three photos simultaneously on one single frame. They can then be reassembled into a Wigglegram by post-processing on a computer. The results are grainy and rough, but yet somehow compelling.

If you want to see [scealux]’s original build for Sony E-mount cameras, we covered it here. Video after the break.

Continue reading “A Wigglegram Lens With Variable Aperture”

Probably The Cheapest Lens You Will Ever Use

Photographic enthusiasts will invariably amass an extensive collection of lenses, and in their communities there are near-mythical and sought-after lenses that change hands for incredible prices. It’s probably the oldest photographic adage though, that the best camera in the world is the one in your hand when the scene presents itself, and probably one of the simplest cameras in the world remains the disposable film camera. Their tiny plastic lenses are not in the same league as the pricey ones, but can they be used by a more serious photographer? [Volzo] set out to find out.

Disposable cameras aren’t the most environmentally friendly items, and he rightly points out that a cheap compact camera can deliver the same in a more sustainable package. There’s also the point to make that the flash capacitor if it has one can deliver a nasty shock, but once past that it’s easy to remove the lens itself.

A single element lens brings with it some significant distortion, and it’s a surprise to find that the focal plane of a disposable camera is curved to take account of that. His first 3D printed mount and adapter for a Sony mirrorless compact camera uses a small aperture to reduce the distortion effects from the edge of the lens but he’s not out of tricks yet. Using a pair of the lenses back-to-back he halves the focal length but further corrects the distortion and delivers a consequent wider angle. Take a look, in the video below.

The result is a usable lens for the toy-camera look on your digital camera, and since the files can all be found at the link above it’s something you can try too. If a disposable camera comes our way, we certainly will.

This isn’t the first disposable camera lens project we’ve brought you.

Continue reading “Probably The Cheapest Lens You Will Ever Use”

FDM Printing With Resin Update

[Proper Printing] is at it again. He’s trying to perfect his hybrid printer that works like an FDM printer but uses UV-curable resin gel instead of filament. You can see the latest update video below. If you missed our take on his early attempts, you might want to catch up with those earlier videos first.

The latest update brings a new nozzle, an improved light source, and changes to the formula of the resin. The nozzle and light source improvements hinge on conical lenses that convert the laser beams from a spot to a ring. The initial nozzles looked like the business end of a syringe, but this wasn’t very stable. The new video shows a conventional nozzle which also had some issues. This resulted in a custom-made nozzle that solved all the issues with the conventional nozzle and the syringe tips.

The resin formula is particularly crucial. The second attempt used resin with glass beads to give thickness. That wasn’t without problems, though, so it was switched this time with fused silica, as suggested by some comments on a previous video. They also used aggressive mixing and air removal. The consistency of the previous resins was that of a paste, but according to the video, the new mixture is more like a gel.

At some point, things started going badly. There were several equipment failures. Exasperated, he was ready to give up and was editing the video when he had an epiphany. We’re glad he didn’t give up because the new results are pretty impressive.

These printers remind us of some strange laser CNC. It also reminds us a little of people curing resin outside of the normal print process.

Continue reading “FDM Printing With Resin Update”

3D Printing Antennas With Dielectric Resin

[Machining and Microwaves] has long wanted to use a 3D printer to print RF components for antennas and microwave lenses. He heard that Rogers — the company known for making PCB substrates, among other things — had a dielectric resin available and asked them if he could try some. They agreed, with some stipulations, including that he had to visit their facility and show his designs in a video. Because of that, the video seems a little bit like a commercial, but we think he is genuinely excited about the possibility of the resin.

Since he was in their facility, he was able to interview several of the people behind the resin, and they had some interesting observations about keeping resin consistent during printing and how the moonbounce feed he wanted to print would work.

Some of the exotic RF test equipment was interesting to see, too. The microwave lenses look like some kind of modern art. According to the Roger’s website:

Radix Printable Dielectric materials are a ceramic-filled, UV-curable polymer designed for use with photopolymer 3D-printing processes like sterolithography (SLA) and digital light processing (DLP) printing. These materials and printing processes enable the use of high-resolution, scalable 3D-printing for complex RF dielectric components such as gradient index (GRIN) lenses or three-dimensional circuits. The 2.8Dk printable dielectric is designed to have low loss characteristics through millimeter wave (mmWave) frequencies and low moisture absorption for end-use applications.

It isn’t clear to us that you could use this resin in your own printers, but they did look pretty similar to what we have hanging around except, perhaps, for the continuous circulation of the resin pool. We figured the resin wasn’t inexpensive. In fact, we found a liter online for $1,863. We don’t know if that’s the suggested retail price or not, but we also suppose if you need this material, you won’t be that surprised at the cost.

If you don’t need microwave frequencies, you might be able to get by with some easier techniques. Or, you can even do something slightly more difficult but probably a lot cheaper.

Continue reading “3D Printing Antennas With Dielectric Resin”

Image from the paper with items a-d. a) Schematic of the EC navigation system integrated with a smart contact lens consisting of GPS receiver module, Arduino UNO as a processor, and PB display. b) Photograph of contact lens placed on the 3D printed replica eyeball. c) Camera setup of the navigation system on the dashboard of a car. d) Driving schemes updating the direction signal: (1–4) images show the four cases of operational principles used in the navigation system. Based on 0.2 V applied to the common pin, 0 V (off-state) and 0.7 V (on-state) are applied alternately in 5 WEs, and operating voltages with relative voltages of −0.2 V and 0.5 V are obtained (From the figure reads left to right: the name of 6 pins used in the system, their on–off status, the applied voltage, and relative voltage). Scale bar is 2 mm.

Smart Contact Lenses Tell You Where To Go

Augmented Reality (AR) promises to relieve us from from the boredom of mundane reality and can also help you navigate unfamiliar environments. Current AR tech leaves something to be desired, but researchers at the Korea Electrotechnology Research Institute have brought AR contact lenses closer to actual reality.

The researchers micro-printed FeFe(CN)6 ink onto the contact substrate and thermally reduced it at 120˚C for nine seconds to form Prussian Blue, an electrochromic pigment. By confining the material with the meniscus of the ink, resolution was better than previous techniques to display data on contact lenses. While the ability to reversibly change from clear to blue faded after 200 cycles, the researchers were targeting a disposable type of smart contact lens, so degradation of the display wasn’t considered a deal breaker.

Since voltages applied were constant, it seems this isn’t a true bi-stable display like e-ink where power is only required to change states. The on condition of a section required 0.5 V while off was -0.2 V. The researchers printed a contact with straight, left, and right arrows as well as STOP and GO commands. Connected to a GPS-equipped Arduino Uno, they used it to navigate between ten different checkpoints as a demonstration. Only a 3D printed eyeball was brave enough (or had IRB approval) to wear the contact lens, so watching the state change through a macro lens attached to a smartphone camera had to do.

With more AR devices on the way, maybe it’s time to start embedding household objects with invisible QR codes or cleaning your workshop to get ready for your AR workbench.

Smiling ad family with 3D printer

Ask Hackaday: Do Kids Need 3D Printers?

Mattel holds a fond place in most people’s hearts as they made many of the toys we played with as kids. You might remember the Thingmaker, which was essentially an Easy Bake Oven with some goop and molds that let you make rubbery creatures. But back in 2016, Mattel had an aborted attempt to bring 3D printing to kids under the Thingmaker label. You can see a promo video of the device below. You might not have seen one in real life, though. The product was delayed and eventually canceled. Even so, we frequently see press releases for “kids printers” and we’ve been wondering, should this be a thing? Continue reading “Ask Hackaday: Do Kids Need 3D Printers?”