[Aldric Negrier] is no stranger to the 3D printing world. Having built a few already, he designed and built an SLA/DLP 3D printer, named RooBee One, sharing the plans on Instructables. He also published tons of other stuff, like a 3D Printed Syringe Pump Rack and a 3D Scanning Rig And DIY Turntable. It’s really worth while going through his whole Instructables repository.
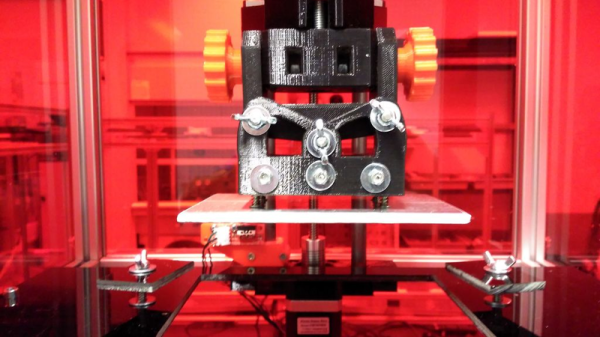
This open-source 3D printer was inspired by the Cristelia – SLA/LCD 3d printer and the Vulcanus MAX 3D printer (that he designed). RooBee One has an aluminium frame and an adjustable print area of 80x60x200 mm, with up to 150x105x200mm build volume using an ACER DLP projector. In addition, a fan on top of the printer was added to extract the toxic vapours outside and away from the printer operator. The electronics are based on the Arduino MEGA with the RAMPS 1.4 shield and one NEMA 17 stepper motor. As for the Arduino Mega firmware, [Aldric] choose to use Repetier, which he usually uses in his other printers.
The SLA resin he used is the Standard Blend Resin from Fun to Do Resins. These resins tend to release toxic airborne particles, so extra care should be taken to ventilate the area while printing and also do a proper cleaning afterwards.
You can get a glimpse of the printer making a small gear come to life in the following video:
Continue reading “RooBee One, An Open-source SLA/DLP 3D Printer”

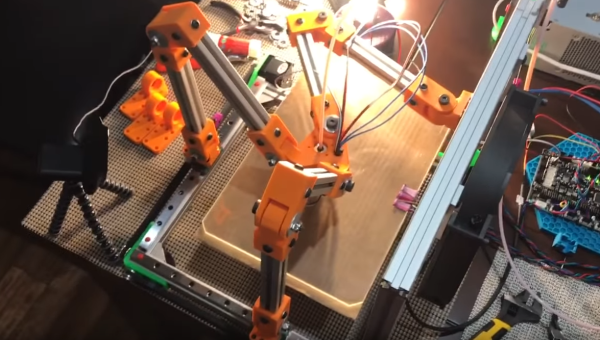
 A few people have experimented with Tripteron printers over the years, but as far as we can see, no one has ever demonstrated a working model. Enter [Apsu], who showed up about a month ago. She started a post on the RepRap forums discussing her particular design. She works fast, and has now demonstrated a working prototype making prints. Sure they’re just calibration cubes, but this is a huge step forward.