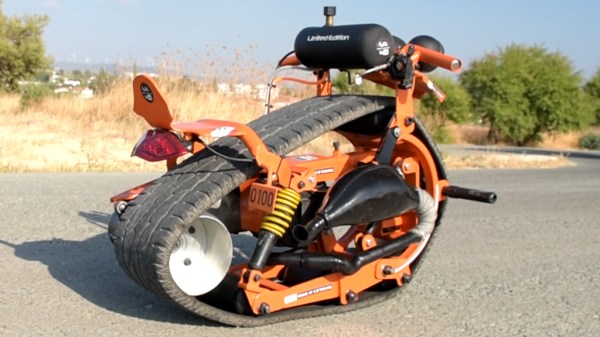
There will always be those of us who yearn for an iron steed and the wind through your hair. (Or over your helmet, if you value the contents of your skull.) If having fun and turning heads is more important to you than speed or practicality, [Make it Extreme] has just the bike for you. Using mostly scrapyard parts, they built a monotrack motorcycle — no wheels, just a single rubber track.
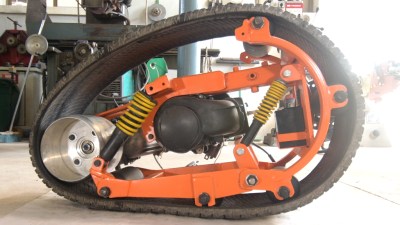
[Make it Extreme] are definitely not newcomers to building crazy contraptions, and as usual the entire design and build is a series of ingenious hacks complimented by some impressive fabrication skills. The track is simply a car tyre with the sidewalls cut away. It fits over a steel frame that can be adjusted to tension the track over a drive wheel and a series of rollers which are all part of the suspension system.
Power is provided by a 2-stroke 100cc scooter engine, and transmitted to the track through a drive wheel made from an old scuba tank. What puts this build over the top is that all of this is neatly located inside the circumference of the track. Only the seat, handlebars and fuel tank are on the outside of the track. The foot pegs are as far forward as possible, which helps keep your center of gravity when stopping. It’s not nearly as bad as those self-balancing electric monocycles, but planning stops well in advance is advisable.
While it’s by no means the fastest bike out there it definitely looks like a ton of fun. Build plans are available to patrons of [Make it Extreme], but good luck licensing one as your daily driver. If that’s your goal, you might want to consider adding a cover over the track between the seat and handlebars to prevent your khakis from getting caught on your way to the cubicle farm.

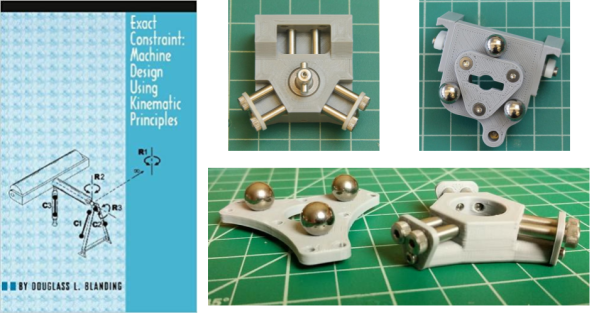
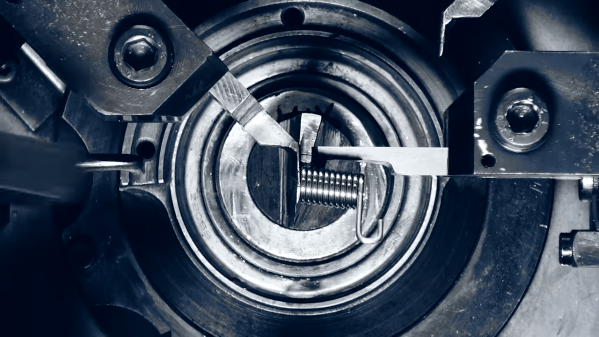
 While this promise might seem abstract, consider the movements made by a 3D printer. Many styles of this machine rely on motor-driven movement along three orthogonal axes: X, Y, and Z. We usually restrict individual motor movement to a single axis by constraining it using a precision part, like a linear rod or rail. However, the details of how we physically constrain the motor’s movements using these parts is a non-trivial task. Overconstrain the axis, and it will either bind or wiggle. Underconstrain it, and it may translate or twist in unwanted directions. Properly constraining a machine’s degrees of freedom is a fundamental aspect of building a solid machine. This is the core subject of the book: how to join these precision parts together in a way that leads to precision movement only in the directions that we want them.