With the notable exception of the now retired Space Shuttle orbiters, essentially every object humanity ever shot into space has been single-use only. But since December of 2015, SpaceX has been landing and refurbishing their Falcon 9 boosters, with the end goal of operating their rockets more like cargo aircraft. Today, while it might go unnoticed to those who aren’t closely following the space industry, the bulk of the company’s launches are performed with boosters that have already completed multiple flights.
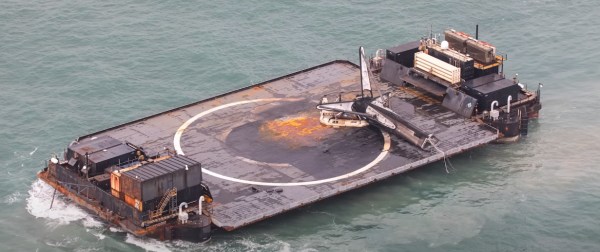
This reuse campaign has been so successful these last few years that the recent announcement the company had lost B1058 (Nitter) came as quite a surprise. The 41 meter (134 foot) tall booster had just completed its 19th flight on December 23rd, and had made what appeared to be a perfect landing on the drone ship Just Read the Instructions. But sometime after the live stream ended, SpaceX says high winds and powerful waves caused the booster to topple over.
Continue reading “Veteran SpaceX Booster Lost Due To Rough Seas”