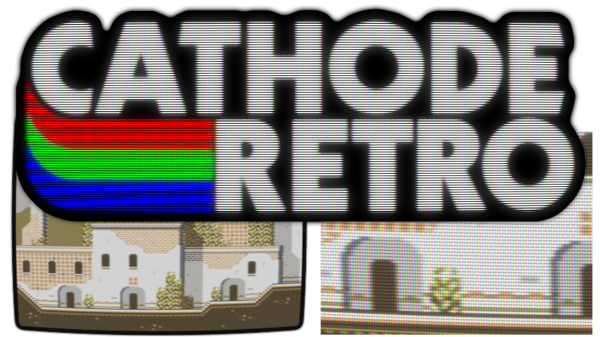
Cathode-Retro is a collection of shaders and sample C++ code for reliving the glorious days when graphics were composite video signals displayed on a CRT screen. How? By faking it in software and providing more configuration options than any authentic setup ever had.
Not satisfied with creating CRT-style color images with optional scanlines and TV picture controls like tint and saturation, Cathode-Retro can emulate more nuanced elements as well.
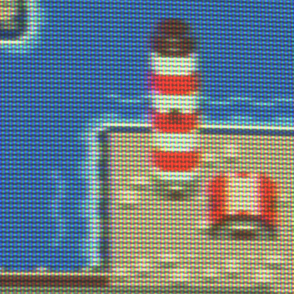
The tool includes the ability to imitate things like the slight distortion of a period-correct curved screen, the subtle effects of different methods CRT displays used to actually work (such as shadow mask vs aperture grille), and even taking into account the slight distortion of light refracting imperfectly through the glass face of the CRT. There’s even options for adding noise and ghosting, which may spark some artistic ideas.
If all you need is software to recreate an old-school CRT terminal, we have you covered. But if your needs are a bit more low-level, Cathode-Retro might be what you’re missing.