Sequencers are useful for bringing regular structure to your music, particularly if you enjoy noodling around with rackmount synthesizers. [little-scale] is here to share an ADC Binary Gate sequencer for your setup.
In a quest for ever greater minimalism, the build relies on a barebones ATMega328p without an external oscillator. Instead, the chip’s internal RC oscillator is used instead. It’s possible to still use this with the Arduino IDE, as [little-scale] shares here.
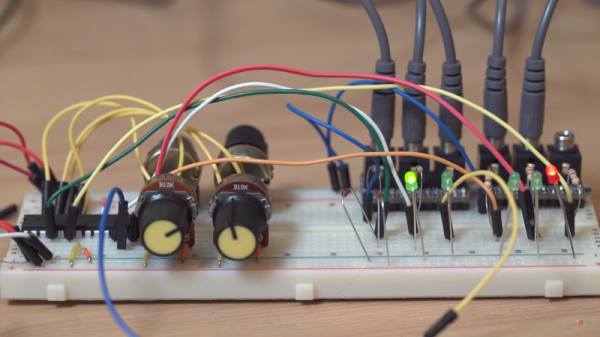
The music production begins with a clock input signal, which is patched in from elsewhere in the rack synth. The sequencing is controlled with potentiometers. There are four potentiometers, and four corresponding output channels. The pots are all read with the onboard analog to digital converters, and the position transformed into an 8-bit value, from 0 to 255. Our best understanding is that the 8-bit number is then used as the sequence to follow. For example, if the potentiometer is set to 255, which is 11111111 in binary, the sequencer will trigger on every beat. If instead the potentiometer was turned to around 2/3rds of the maximum, and the ADC reads a value of 170, in binary this is 10101010 which would trigger on every second beat.
It’s an interesting way to sequence several channels with the bare minimum of input devices. While it may not be the most intuitive system, it really suits the knob-and-dial noodling so relished by rackmount fanatics. Be sure to check out the video below for [little-scale]’s rackmount sounds and impressively pretty videography. Never before did breadboards look so good.
New to rack mount synths? Check this one out.