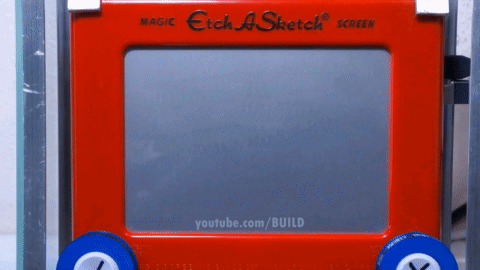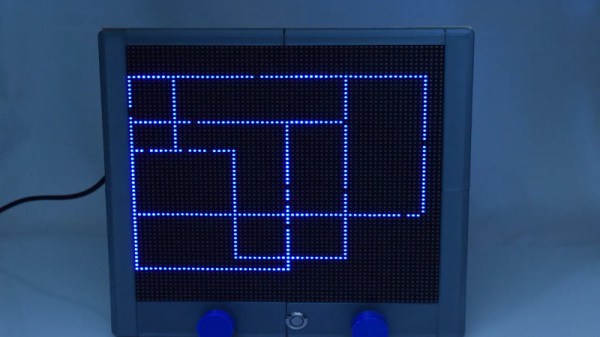
The Etch-A-Sketch was a toy that demanded mastery. Some grew capable of creating masterful artworks, while others struggled to do more than a jumbled mess of angry, angular lines. The inherent limitations of being able to only draw a singular, connected line are all part of the fun, of course, and [gatoninja236] recreated that in a modern, LED form.
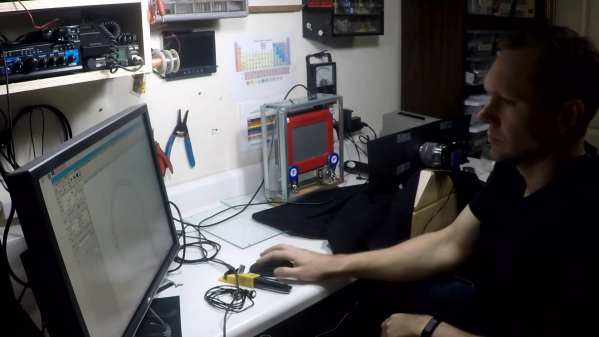
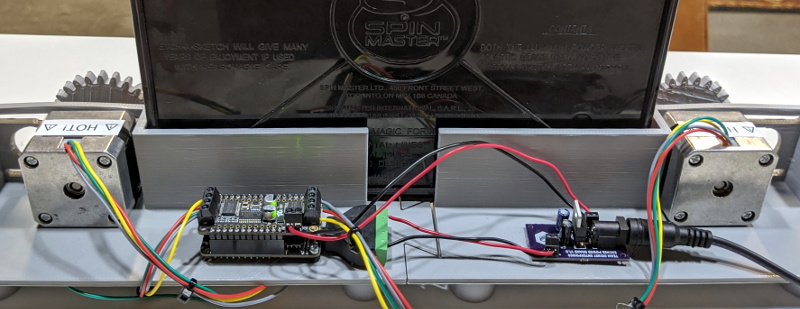
The build uses a Raspberry Pi to run the show, with a 64×64 LED matrix hooked up to the GPIO pins serving as a display. Two encoders are used to recreate the famous Etch-A-Sketch interface, hooked up to an Arduino Nano that then communicates encoder data to the Pi over I2C, due to the limited GPIOs available. There’s also an MPU6050 accelerometer board, used to enable the intuitive shake-to-clear functionality.
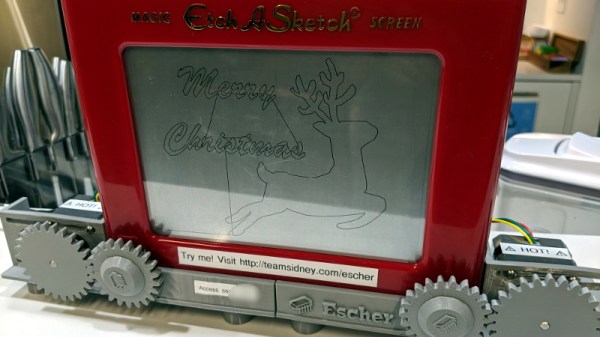
The final result is a fun LED toy that, unlike a real Etch-A-Sketch, you can play in the dark. We’ve seen other sneaky hacks on the classic toy before, too – like this Samsung TV cleverly hidden in a lookalike shell. Video after the break. Continue reading “Building An LED Etch-A-Sketch”