How far can you stretch a measuring tape before it buckles? The answer probably depends more on the tape than the user, but it does show how sturdy the coiled spring steel rulers can be. [Gengzhi He et. al.] may have been playing that game in the lab at UC San Diego when they hit upon the idea for a new kind of low-cost robotic gripper.
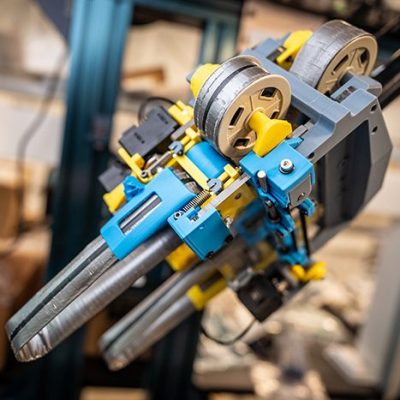
With the lovely backronym “GRIP-tape” — standing for Grasping and Rolling in Plane — you get a sense for what this effector can do. Its two “fingers” are each made of loops of doubled-up measuring tape bound together with what looks suspiciously like duck tape. With four motors total, the fingers can be lengthened or shortened by spooling the tape, allowing a reaching motion, pivot closer or further apart for grasping, and move-in-place like conveyor belts, rotating the object in their grasp.
The combination means it can reach out, grab a light bulb, and screw it into a socket. Or open and decant a jar of spices. Another video shows the gripper reaching out to pick a lemon, and gently twist it off the tree. It’s quite a performance for a device with such modest components.
At the moment, the gripper is controlled via remote; the researchers plan on adding sensors and AI autonomous control. Read all the details in the preprint, or check below the fold to watch the robot in action.
This is hardly the first time we’ve highlighted a grabby robot. We’ve seen belts, we’ve seen origami — but this is the first time we’ve seen a measuring tape. Have you seen a cool robot? Toss us a tip. We’d love to hear from you. Continue reading “Robot Picks Fruit And Changes Light Bulbs With Measuring Tape”