This year at Maker Faire, laser cutters were all the rage. Dremel announced a 40W laser cutter, but it won’t be available for purchase until this time next year, there is no price yet, and therefore doesn’t deserve further mention. Glowforge was out in full force, but the most interesting aspect of the Glowforge — a compact filter system that sits right underneath the laser — was not to be found. It looks like lasers are the next 3D printer.
Of course, those in the know have already been using laser cutters for years, and there are options for desktop CO2 laser cutters that cost less than a kilobuck. I speak, of course, of the ubiquitous K40 laser, a machine you can get off of eBay or AliExpress for the price of a generic, off-brand 3D printer. There is a downside to the K40, though: the control electronics and software are notoriously terrible. Fix that, though, and you have something really spectacular.
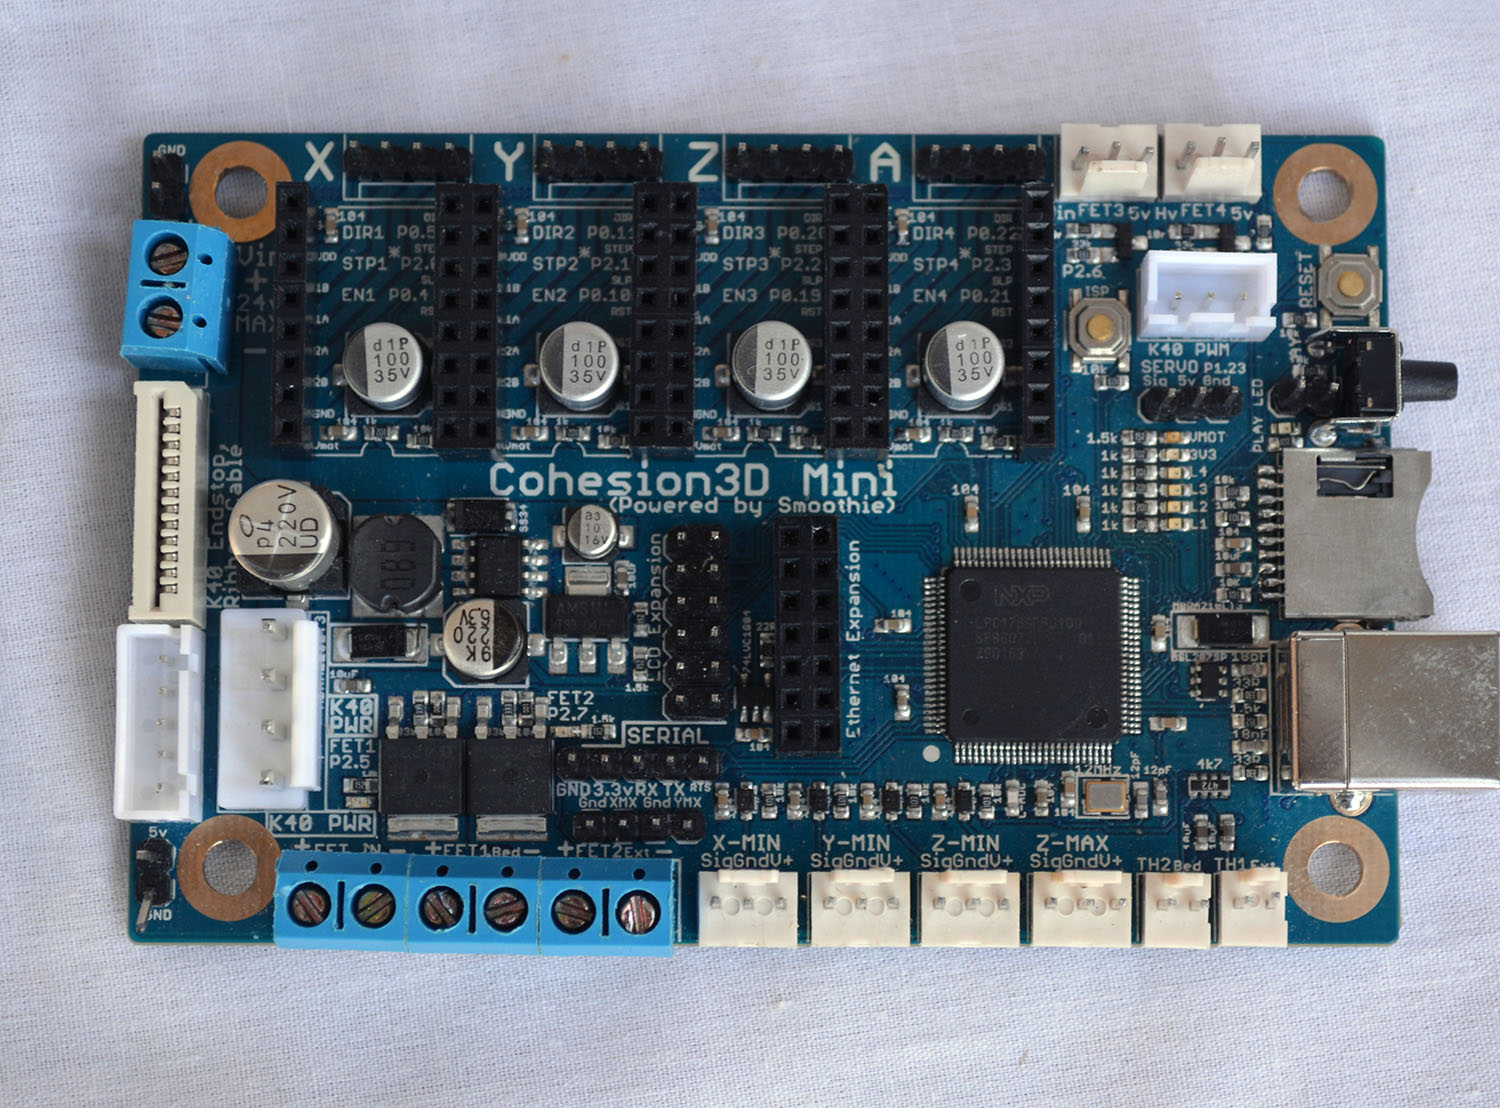
This year at Maker Faire, [Ray Kholodovsky] of Cohesion3D brought out his Smoothie-derived control boards for CNC machines and laser cutters. Of note is his K40 upgrade that turns the eBay special laser cutter into a 32-bit professional machine. This is the cheapest way to start lasing in your workshop.
We saw [Ray] at the Faire last year when he was demoing his Smoothie-derived boards for 3D printers and CNC machines. These are tiny, relatively low-cost boards that use Smoothieware, an Open Source, 32-bit CNC control system that is extremely extensible and very powerful. Basically, if you’re building a normal, ordinary DIY 3D printer, a RAMPS or RAMBO will do. If you’re doing something weird, like a 3D printer with strange kinematics, a 5-axis milling machine, or you’d like awesome engraving on a laser cutter, Smoothie is the way to go.
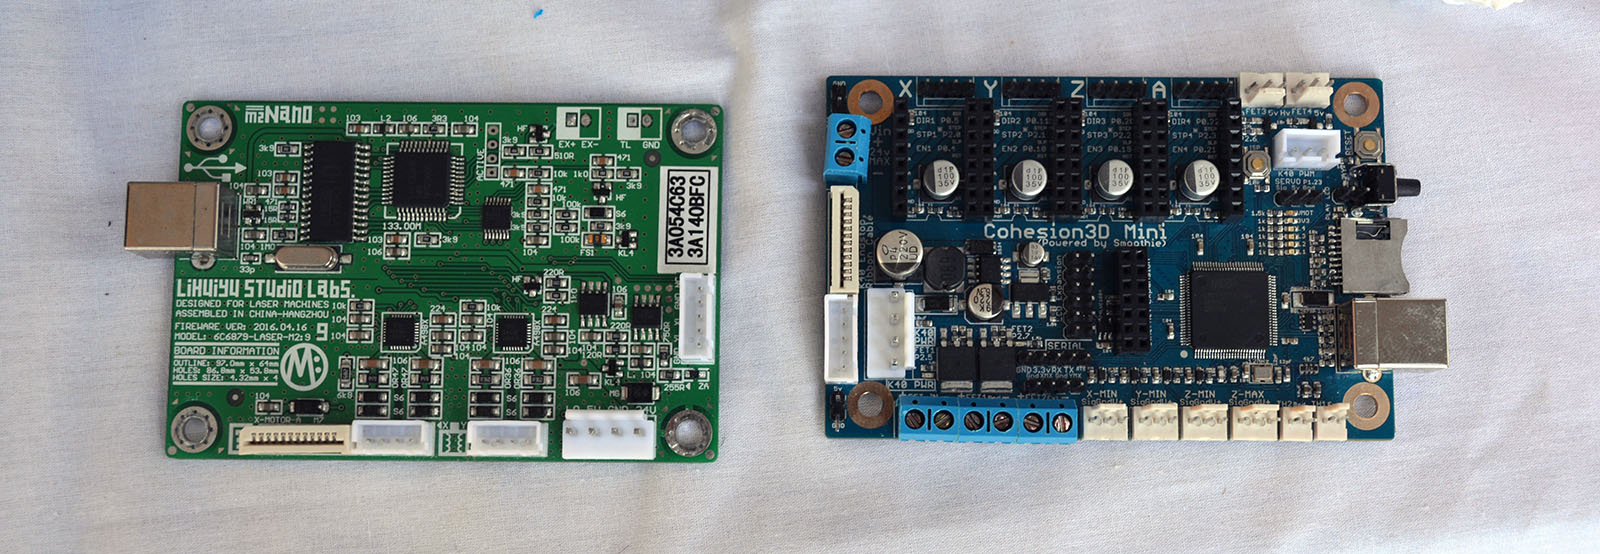
The Cohesion3D board is a direct, drop-in replacement for the control board found in the K40 laser. Since all of the K40 laser cutters are the same, and they’re really only a power supply and a CNC gantry, this is the one-stop-shop of K40 upgrades. The terrible electronics are gone, you don’t have to use Corel, and for a hundred bucks, you have something resembling a professional laser cutter.
The K40 laser has been around for several years now, but only recently have a few very interesting hacks and mods come out that push this blue light special laser cutter into semi-professional territory for people willing to get their hands dirty. A few months ago [Scorch] published K40 Whisperer, a piece of software that makes the stock electronics tolerable and able to accept normal SVGs and DXFs. The K40 has also been modified for a larger bed, and LaserWeb has been handling the software side of things for about two years now. Things are looking great for the K40 hacking scene, and Hackaday already has a, ‘I just bought a K40, now what?’ series in the works. Things are looking up for cheap laser cutters, and a Smoothie upgrade is just the cherry on top.

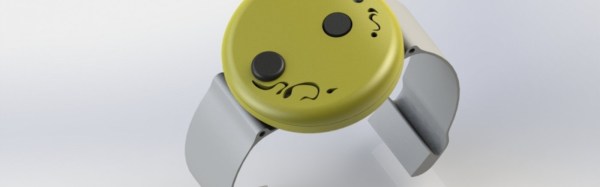


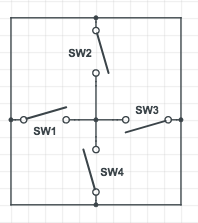 [Vejdemo-Johansson] figured a circle of 4 tilt sensors mounted on the one and twenty face would be enough to detect critical rolls. If any of the switches were tilted beyond 30 degrees, the switch would close. He mounted eight ball-tilt switches and glued in the LEDs. A hackerspace friend also helped him put together an astable multivibrator to generate the pulses for non-critical rolls.