You could say that it is the essence of a site like this one, that the kind of people who form our readership are also the kind of people who examine the specs of the devices in front of them to reveal hidden features. Such was the case with [Ryan], who noticed that the eMMC controller on his 96Boards HiKey development board supports both HS200 data transfer speeds and 1.8v signaling, both of which it wasn’t using.
In unlocking the extra performance, he takes readers through a primer on the device tree, and is happy to report that his transfer rate has increased from 26 to 36 MB/s, a tidy return on his work.
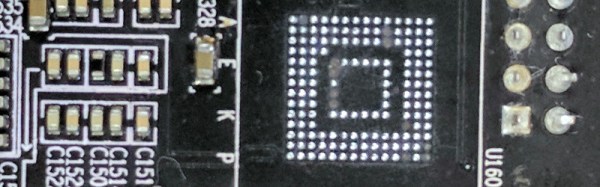
However, the story doesn’t end there. The 8GB Samsung eMMC chip wasn’t quite as roomy as he’d have liked, so it was time to replace it with a 32GB version. Even with careful desoldering, he managed to lift a few pads, though very fortunately they were ones that were either NC or power rails that were duplicated elsewhere. Some tricky reflowing of what is quite a formidable BGA package to do by hand, and he was rewarded with a working board featuring higher flash capacity. We salute him for taking it on, we probably wouldn’t have had the courage.
We’ve brought you a similar upgrade before, this time an eMMC on a Nexus 5 phone.
Thanks [darkspr1te] for the tip.