Let’s Prototype! This Filament End Needs 80 Decibels

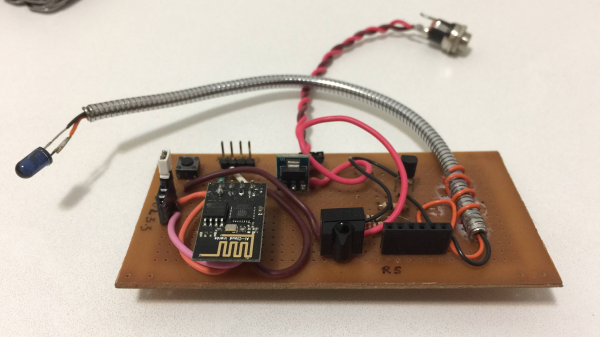
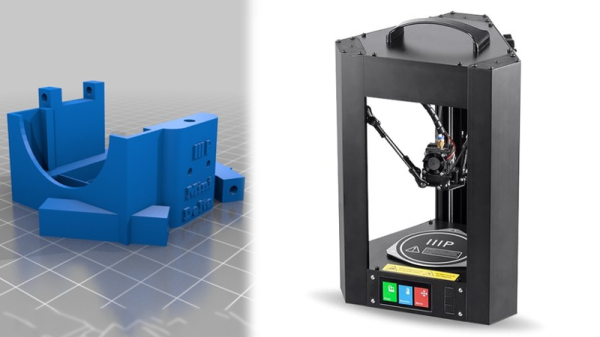
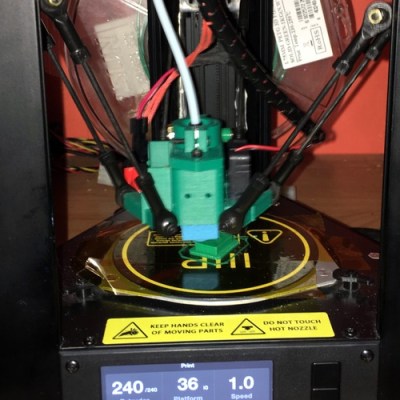
Reaching the end of a spool of filament when 3D printing is inevitable. The result ranges from minor annoyance to ruined print. Recently, I needed to print a number of large jobs that used just over half a spool of plastic each. Unwilling to start every print with a fresh spool (and shelve a 60% used one afterward), I had a problem to solve. What my 3D printer needed was filament monitor, or at least that’s what I thought.

After reviewing some projects and aftermarket options, I ended up making my own. Like most prototypes, it wasn’t an instant success, but that’s fine. One of the goals of prototyping is not only to validate that the problems you’re solving are the same ones you think exist, but also to force other problems and issues you may not have considered to the surface. Failure is only a waste if nothing is learned, and the faster and cheaper that learning happens, the better.

Sensible design steps also help minimize waste, so I started by looking at what kind of solutions already existed.

Continue reading “Let’s Prototype! This Filament End Needs 80 Decibels”

Riddle: What Metal Conducts Electricity, But Not Heat?

If you can’t answer the riddle, don’t feel bad. Metal conductors usually conduct electricity and heat. Usually, that’s true, but researchers at the Department of Energy’s Lawrence Berkeley National Laboratory and at the University of California, Berkeley, have found that vanadium dioxide can conduct electricity without conducting heat.

The Wiedemann-Franz Law states that good conductors of electricity are also good conductors of heat. Vanadium dioxide not only switches from an insulator to a conductor at 67C (152F), but it appears that it also doesn’t conduct as much heat as that law predicts while it is in its electrically conductive phase.

Continue reading “Riddle: What Metal Conducts Electricity, But Not Heat?”

The Soda Locker Vending Machine

With the rising popularity of electronic textbooks and laptops being used for schoolwork, the ubiquitous high school locker is becoming less and less necessary. So, students are left with a private storage space that they don’t really need. Why let it go to waste when you’re an enterprising young man with budding electronics and fabrication skills?

[Mistablik] is one such high school student who decided to take advantage of his unused locker. After a “wouldn’t it be cool if…” discussion with his friends, [Mistablik] decided to use his summer break to construct a soda vending machine that fit entirely within his school locker. Quite an ambitious project for a high school student, but the result speaks for itself.

Continue reading “The Soda Locker Vending Machine”

Build Your Own P-Brain

I don’t think we’ll call virtual assistants done until we can say, “Make me a sandwich” (without adding “sudo”) and have a sandwich made and delivered to us while sitting in front of our televisions. However, they are not completely without use as they are currently – they can let you know the time, weather and traffic, schedule or remind you of meetings and they can also be used to order things from Amazon. [Pat AI] was interested in building an open source, extensible, virtual assistant, so he built P-Brain.

Think of P-Brain as the base for a more complex virtual assistant. It is designed from the beginning to have more skills added on in order to grow its complexity, the number of things it can do. P-Brain is written in Node.js and using a Node package called Natural, P-Brain parses your request and matches it to a ‘skill.’ At the moment, P-Brain can get the time, date and weather, it can get facts from the internet, find and play music and can flip a virtual coin for you. Currently, P-Brain only runs in Chrome, but [Pat AI] has plans to remove that as a dependency. After the break, [Pat AI] goes into some detail about P-Brain and shows off its capabilities. In an upcoming video, [Pat AI]’s going to go over more details about how to add new skills. Continue reading “Build Your Own P-Brain”

A Heart For His Girlfriend

[Decino] made a nice LED animated blinking heart box for his girlfriend. That’s a nice gesture, but more to the point here, it’s a nice entrée into the world of custom hardware. The project isn’t anything more than a home-etched PCB, a custom 3D-printed case, a mess of LEDs and current-limiting resistors, a shift register, and a microcontroller. (OK, we’re admittedly forgetting the Fifth Element.) The board is even single-sided with pretty wide traces. In short, it’s a great first project that ties together all of the basics without any parts left over. Oh, and did we mention Valentine’s day?

Once you’ve got these basics down, though, the world is your oyster. Building almost anything you need is just a matter of refining the process and practice. And if you’ve never played around with shift registers, a mega-blinker project like this is a great way to learn hands-on.

Not everything we write up on Hackaday has to be neural nets and JTAG ports. Sometimes a good beginner project that hits the fundamentals with no extra fat is just the ticket. What’s your favorite intro project?

3D Printing Makes Electronics A Snap

For just about as long as there have been electronics, there’s been a search for a way to let students and hobbyists build projects without a lot of effort. A board with Fahnestock clips was probably the first attempt. Today, it is more often the ubiquitous solderless breadboard. In between, we’ve seen copper pipe pieces and rubber bands, components mounted on magnets that hold them and make connections, and other even less probable schemes. A few years back, a new method appeared: Snap Circuits. The name almost says it all. A baseboard has mounting holes for different components. All the components make their electrical connections and mechanical connections through a common snap like you might find on clothing. Even the wires are little segments with snaps at both ends.

One problem with any system like this is how to integrate custom components. Of course, with the snaps, that’s not very hard, but [Chuck Hellebuyck] got creative with TinkerCad and worked out how to 3D print custom modules for the system. You can see his video, below.

Continue reading “3D Printing Makes Electronics A Snap”

Add Broken Tool Detection To Your CNC Mill

A tool breaking in the midst of a CNC machining operation is always a disaster. Not only do you have a broken tool (no small expense), but if the program continues to run there is a good chance it’ll end up ruining your part too. In particularly bad cases, it’s even possible to for this to damage the machine itself. However, if the breakage is detected soon enough, the program can be stopped in time to salvage the part and avoid damage to your machine.

Many new machining centers have the ability to automatically detect tool breaks, but this is a feature missing from older machines (and inexpensive modern machines). To address this issue, [Wiley Davis] came up with a process for adding broken tool detection to an older Haas mill. The physical modifications are relatively minor: he simply added a limit switch wired to the existing (but unused) M-Function port on the Haas control board. This port is used to expand the functionality of the machine, but [Wiley] didn’t need it anyway.

Continue reading “Add Broken Tool Detection To Your CNC Mill”