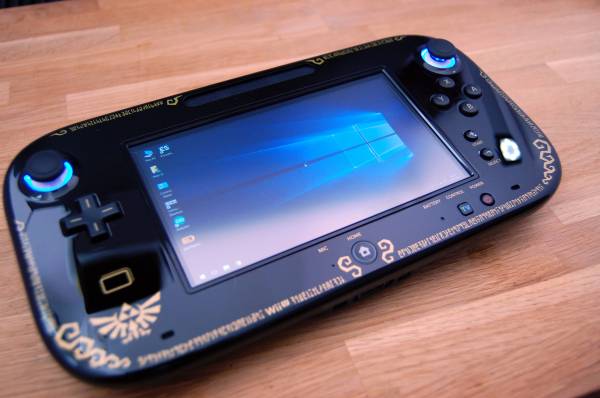
Legendary sudomod forum user [banjokazooie] has once again demonstrated their prowess in Wii U console modification — this time by transforming it into a powerhouse portable computer!
We loved [banjokazooie]’s RetroPie Wii U mod, and happy to see them back again with this build. What’s in this thing this time around? Buckle up ’cause it’s a ride: an Intel M5 processor core M on their Compute Stick, 4GBs 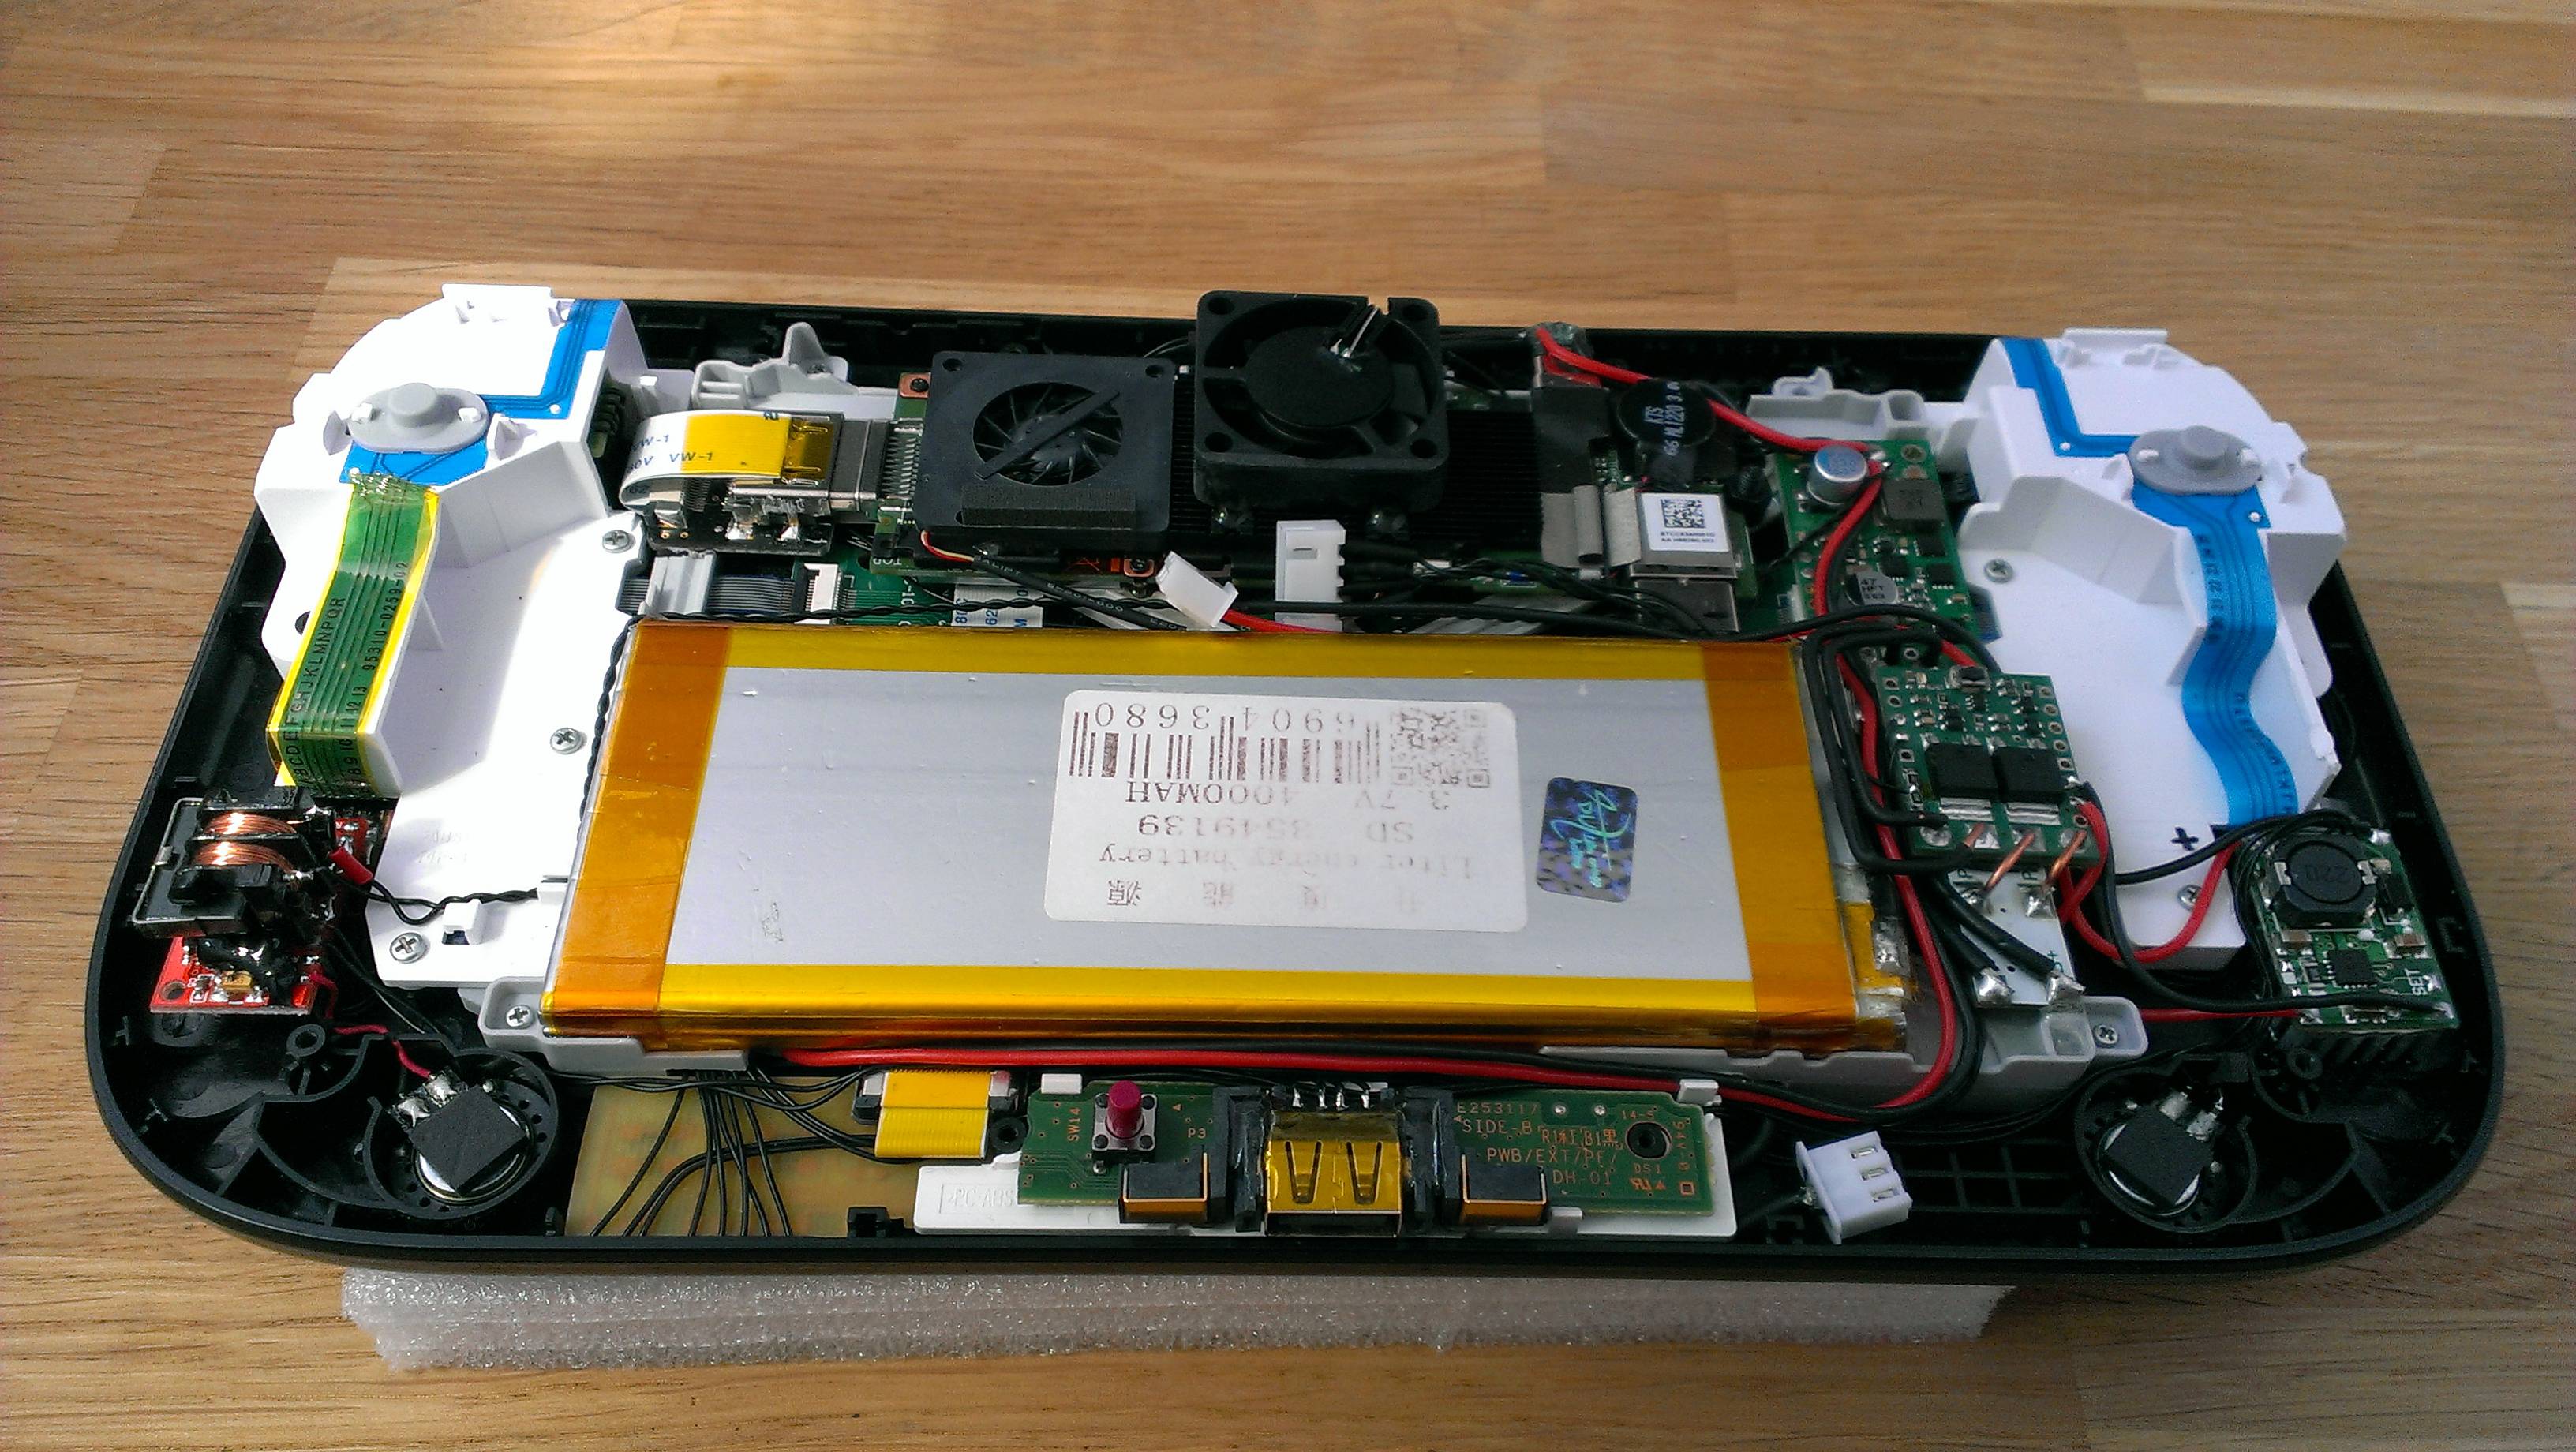 RAM, a 64GB solid-state drive, a 2K LCD touchscreen, Bluetooth, WiFi, a 128GB SD card slot, two 3.7V 4000 mAh batteries, a Pololu 5V,6A step-down voltage regulator, a Teensy 2.0++ dev board, a battery protection PCB, a USB DAC sound card, stereo amp, a USB hub for everything to plug into, and a TP5100 battery charging board. Check it out!
Continue reading “A Wii U That Is Both Computer And Console.”