For his Hackaday Prize entry, [Yann] is building something that isn’t hardware, but it’s still fascinating. He’s come up with a minimalist HTTP compliant server written in C. It’s small, it’s portable, and in some cases, it will be a bunch better solution than throwing a full Linux stack into a single sensor.
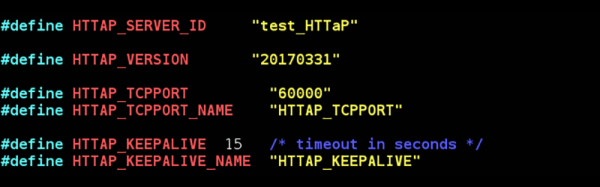
This micro HTTP server has two core modules, each with a specific purpose. The file server does exactly what it says on the tin, but the HTTaP is a bit more interesting. HTTaP is a protocol first published in 2014 that is designed to be a simpler alternative to WebSockets.
[Yann] has been experimenting with HTTaP, and the benefits are obvious. You don’t need Apache to make use of it, HTTaP can work directly with an HTML/JavaScript page, and using only GET and POST messages, you can control hardware and logic circuits.
As this is a minimalist HTTP server, the security is dubious at best. That’s not the point, though. This is just a tool designed for use in a lab or controlled environments with an air gap. Safety, scheduling, encryption, and authentication are not part of HTTaP or this micro HTTP server.