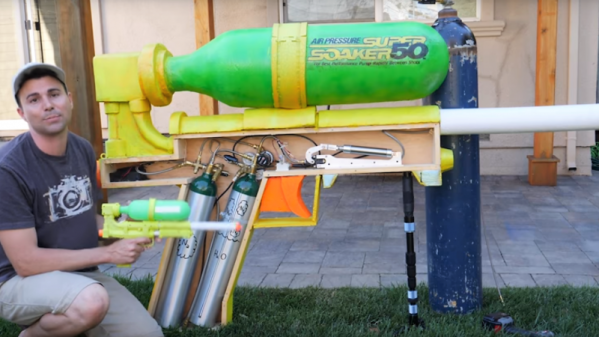
You may remember [Mark Rober] from such projects as his bullseye-catching dart board and his previous entry in the awesome uncle of the year awards, the fully automatic snowball gun. We’re not entirely sure that this seven-foot long replica of the original Super Soaker will win him any uncle or neighbor plaudits, given that it the stream it produces is not far off of what a pressure washer can manage and can literally slice a watermelon in half. Fortunately, [Mark] included swappable nozzles to reduce the pressure enough that relatively safe dousing is still on the table. The housing is a pretty accurate plywood and foam replica of the original toy, but the mechanism is beefed up considerably — a pair of nitrogen tanks, some regulators, and a solenoid valve. See the gun in all its window-smashing, kid-soaking glory in the video after the break.
We realize [Mark]’s build is just a fun way to beat the heat, but it gives us a few ideas for more practical uses. Maybe a DIY water-jet cutter that’s not built around a pressure washer?
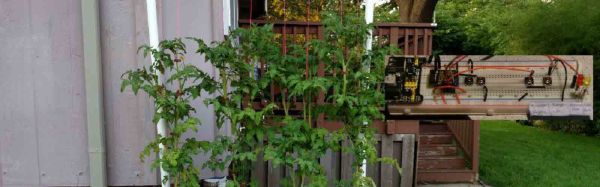
[Todd Christell] grows tomatoes in hydroponic buckets in his backyard, and recently he suffered a crop loss when a mechanical timer failed to dispense the nutrient flow as directed. He decided the solution was to add a sensor array to his home network.
[Todd]’s home automation setup runs on a Raspberry Pi loaded with Jessie OS and Node-Red, with Mosquitto as his MQTT message broker. With a sensor network in place, [Todd] would get updates on his phone alerting him if there was a problem with the pumps or if the nutrient bath was getting too low.
The proposed hydroponic setup would consist of an ESP8266-12 equipped with a DS18B20 waterproof temperature sensor, a reed sensor detecting nutrient levels, and a relay board triggering one pump to fill the grow buckets from the main sump and another to top off the sump with the solution from a reserve tank. One early problem he encountered was the electric fence (pictured above) that he employs to keep squirrels away from his tomatoes, interfered with the ESP8266’s signal.
It is easy to dismiss bash — the typical Linux shell program — as just a command prompt that allows scripting. Bash, however, is a full-blown programming language. I wouldn’t presume to tell you that it is as fast as a compiled C program, but that’s not why it exists. While a lot of people use shell scripts as an analog to a batch file in MSDOS, it can do so much more than that. Contrary to what you might think after a casual glance, it is entirely possible to write scripts that are reliable and robust enough to use in many embedded systems on a Raspberry Pi or similar computer.
I say that because sometimes bash gets a bad reputation. For one thing, it emphasizes ease-of-use. So while it has features that can promote making a robust script, you have to know to turn those features on. Another issue is that a lot of the functionality you’ll use in writing a bash script doesn’t come from bash, it comes from Linux commands (or whatever environment you are using; I’m going to assume some Linux distribution). If those programs do bad things, that isn’t a problem specific to bash.
One other limiting issue to bash is that many people (and I’m one of them) tend to write scripts using constructs that are compatible with older shells. Often times bash can do things better or neater, but we still use the older ways. For example:
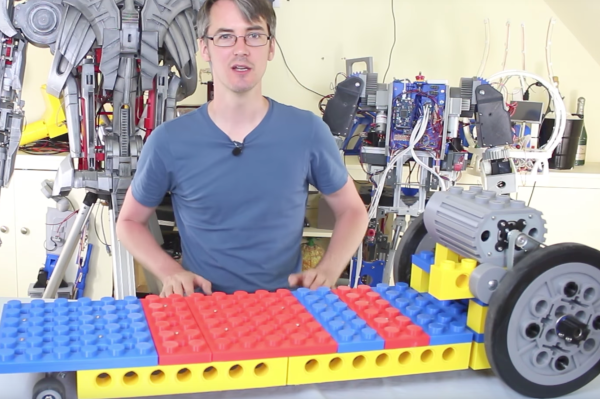
[James Bruton] built an electric skateboard out of oversized LEGO bricks he printed himself, and equipped the board with an excellent re-creation of a classic motor.
He began by downloading brick, gear, and pulley designs from Thingiverse and printing them up five times their normal size, taking 600 hours. The deck consists of 8M Technic bricks lengthwise and 4M bricks crosswise, with plates covering top. There’s even a monster 5×6 plate that’s clearly courtesy of a parametric brick design because you won’t find that configuration among LEGO’s official parts.
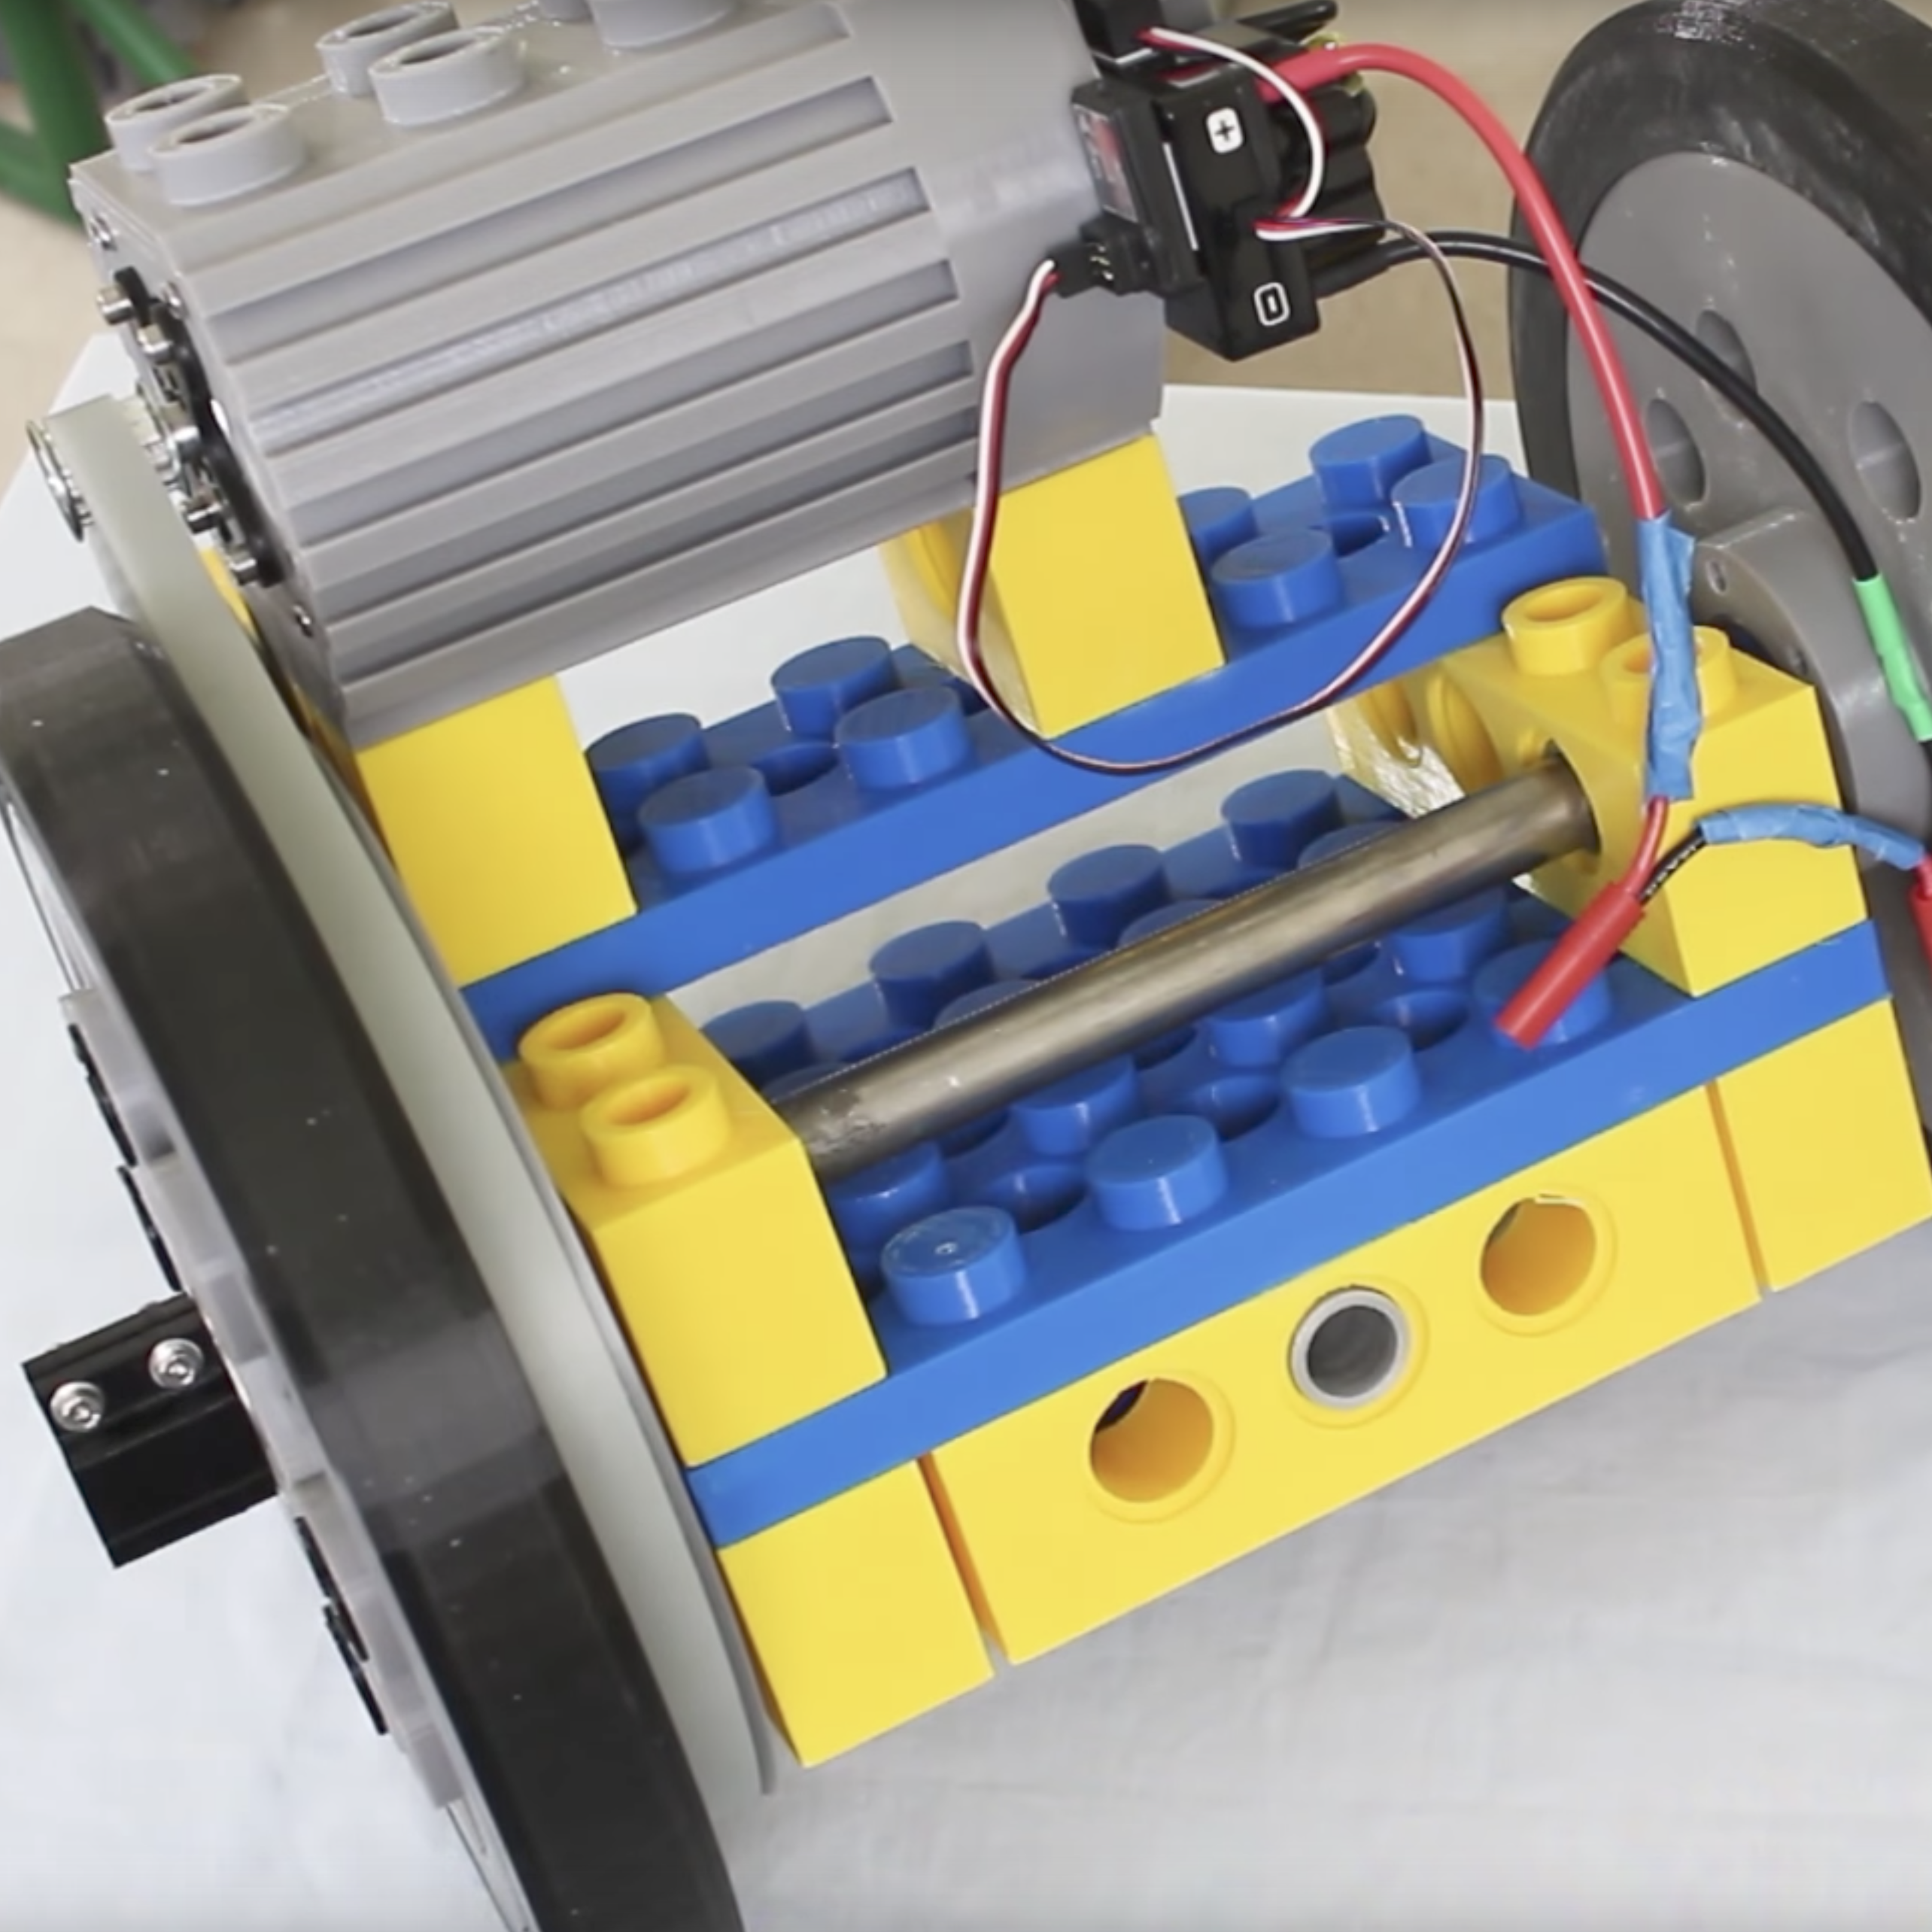
The coolest part of the project is probably [James]’ re-creation of an old school LEGO motor. He sized up a 6216M Technic motor originally rated for 4.5V swapping in a 1.5 kW, 24V motor controlled by a 120A ESC and powered pair of Turnigy 5000mAh LiPos wired in series.
[James] had to design his own casing in Blender because couldn’t find a file for the original LEGO part—pro tip for the future, LDraw has the 6216 design and it can be dropped into Blender.
Another nice touch are the wheels, with hubs based off upsized 40-tooth Technic gears with Ninjaflex tires that weigh half-a-kilo each and took 32 hours apiece to print.
Hackaday is all over this eclipse. There are thousands of members of the Hackaday community headed to a narrow swath of the United States on August 21st to revel in an incredibly rare, scientifically predictable life experience: a total eclipse of the sun.
Do not do it in solitude, get together and celebrate! Check out the Hackaday Eclipse Meetups page which shows where meetups are happening. And adding your own is simple. It’s a great day to meet up with other Hackaday readers and celebrate the day that the moon passed perfectly between you and the sun.
You can’t just stare directly at the sun, you need some eclipse glasses. We’re printing up some in black, adorned with the Jolly Wrencher and sending them out to all organized meetups, so get your event page up today and you’re on the list for a little bit of sweet swag. Look for the button on the Eclipse page that says “Host a meetup”.
I’m Too Cool to Watch an Eclipse
If you don’t get what all the hubbub is, you’re missing out. A total eclipse of the sun is an amazing life experience in so many ways. First off, they’re incredibly rare. There hasn’t been a total eclipse visible in the continental United States since 1979. The majority of the North American readership hasn’t even had the chance to see one in their lifetimes.
But of course it goes beyond the value of mere scarcity. Being able to understand, and predict an eclipse conveys a great deal about the progress of humanity. For millennia, a solar eclipse was a shocking (perhaps horrifying) experience. But through the scientific process of observation, the advances of record keeping, and the work of untold numbers of early astronomers we learned. Solar and Lunar eclipses were events that challenged thinking and became some of the earliest scientific discoveries.
This type of advancement hasn’t stopped. Even this year the application of the newest technology is present. Just one example that will turn your head is the shadow simulation that we saw in January. The moon isn’t a perfect sphere, and the combination of its landscape and that of the Earth means the outer fringes of totality will not be straight lines, but an undulating path. It’s a small detail realized in a profound way by a citizen scientist so that we may all enjoy it. Isn’t being alive now absolutely stunning?
Boil it Down for Me
So no, watching a rock cast a shadow won’t blow your mind. But understanding that the movement of this shadow isn’t random, that we didn’t always understand it, and that there are huge forces at work here will humble your modern brain and leave you awestruck. It’s a rare chance to observe with your own senses the evidence of huge masses governed by gigantic gravitational forces at incomprehensible distances through the simple act of a shadow racing across the landscape.
Be there, and make it a celebration of science, humanity, and your own life experience. Share your eclipse meetup now!
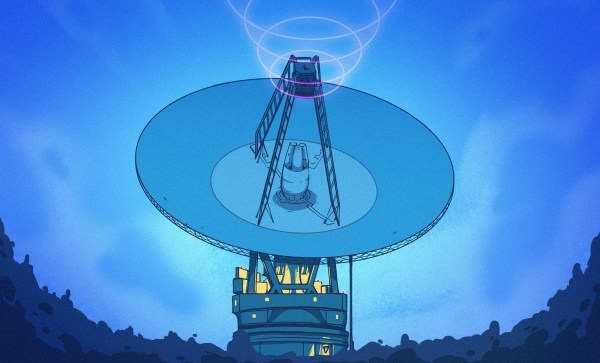
Humanity has been a spacefaring species for barely sixty years now. In that brief time, we’ve fairly mastered the business of putting objects into orbit around the Earth, and done so with such gusto that a cloud of both useful and useless objects now surrounds us. Communicating with satellites in Earth orbit is almost trivial; your phone is probably listening to at least half a dozen geosynchronous GPS birds right now, and any ham radio operator can chat with the astronauts aboard the ISS with nothing more that a $30 handy-talkie and a homemade antenna.
But once our spacecraft get much beyond geosynchronous orbit, communications get a little dicier. The inverse square law and the limited power budget available to most interplanetary craft exact a toll on how much RF energy can be sent back home. And yet the science of these missions demands a reliable connection with enough bandwidth to both control the spacecraft and to retrieve its precious cargo of data. That requires a powerful radio network with some mighty big ears, but as we’ll see, NASA isn’t the only one listening to what’s happening out in deep space. Continue reading “Serious DX: The Deep Space Network”→
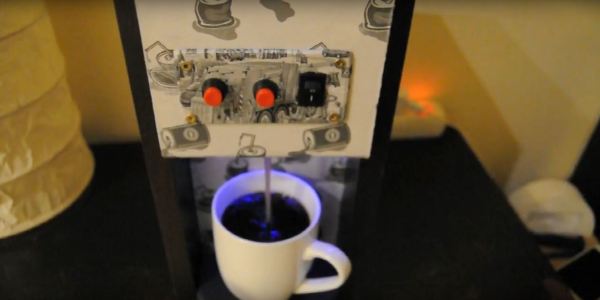
[truebassB]’s dispenser operates around a 555 timer, adjusted by a potentiometer. Push a button and a cup pours in a few seconds, or hold the other button to dispense as much as you want.
The dispenser is made from MDF and particle board glued together, with some LEDs and paper prints to spruce it up. Just don’t forget a small spill sink for any miscalculated pours. You needn’t fret over the internals either, as the parts are easily acquired: a pair of momentary switches, a 12V micro air pump, a brass nozzle, food-safe pvc tube, a custom 555 timing circuit — otherwise readily available online — a toggle switch, a power supply plug plus adapter and a 12V battery.