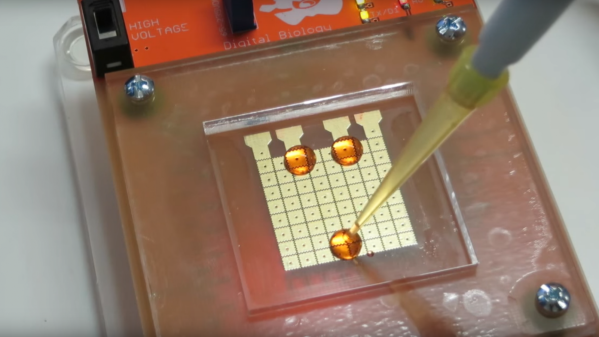
See those blue and green dots in the GIF? Those aren’t pixels on an LCD display. Those are actual drops of liquid moving across a special PCB. The fact that the droplets are being manipulated to play a microfluidics game of “Frogger” only makes OpenDrop v 2.0 even cooler.
Lab biology is mainly an exercise in liquid handling – transferring a little of solution X into some of solution Y with a pipette. Manual pipetting is tedious, error prone, and very low throughput, but automated liquid handling workstations run into the hundreds of thousands of dollars. This makes [Urs Gaudenz]’s “OpenDrop” microfluidics project a potential game changer for the nascent biohacking movement by offering cheap and easy desktop liquid handling.
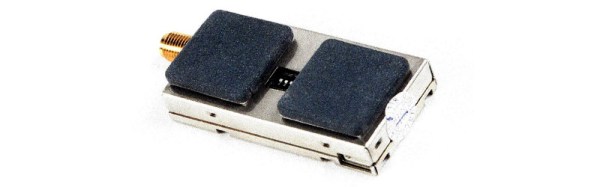
Details are scarce on the OpenDrop website as to exactly how this works, but diving into the literature cited reveals that the pads on the PCB are driven to high voltages to attract the droplets. The PCB itself is covered with a hydrophobic film – Saran wrap that has been treated with either peanut oil or Rain-X. Moving the droplets is a simple matter of controlling which pads are charged. Splitting drops is possible, as is combining them – witness the “frog” getting run over by the blue car.
There is a lot of cool work being done in microfluidics, and we’re looking forward to see what comes out of this open effort. We’ve covered other open source efforts in microfluidics before, but this one seems so approachable that it’s sure to capture someone’s imagination.
Continue reading “Microfluidics “Frogger” Is A Game Changer For DIY Biology”