1 kilobyte. Today it sounds like an infinitesimally small number. Computers come with tens of gigabytes of ram, and multiple terabytes of storage space. You can buy a Linux computer with 1 gig of RAM and secondary storage as big as the SD card you throw at it. Even microcontrollers have stepped up their game, with megabytes of flash often available for program storage.
Rapidly growing memory and storage are a great testament to technology marching forward to the beat of Moore’s law. But, we should be careful not to forget the techniques of past hackers who didn’t have so much breathing room. Those were the days when code was written in assembly. Debugging was accomplished with an expensive ICE (an In Circuit Emulator… if you were working for a big company), or a few LEDs if you were hacking away in your basement.
To keep these skills and techniques in play, we’ve created The 1 kB Challenge, a contest where the only limit is what you can do with 1 kB of program memory. Many Hackaday contests are rather loose with constraints — anyone can enter and at least make the judging rounds. This time 1 kB is a hard limit. If your program doesn’t fit, you’re disqualified, and that is a challenge worth stepping up to.
That said, this is Hackaday, we want people to be creative and work around the rules. The important thing to remember is the spirit of the design constraints: this is about doing all you can with 1 kB of program space. Search out the old and wise tricks, like compressing your code and including a decompression program in your 1 kB. Crafty hacks to squeeze more into less is fine. Using the 1 kB as a bootloader to load more code from an SD card is not fine.
Prizes
Any Hackaday contest needs some awesome prizes, and this one is no different.

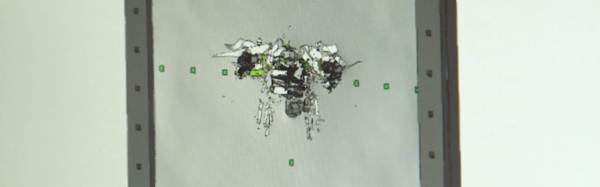
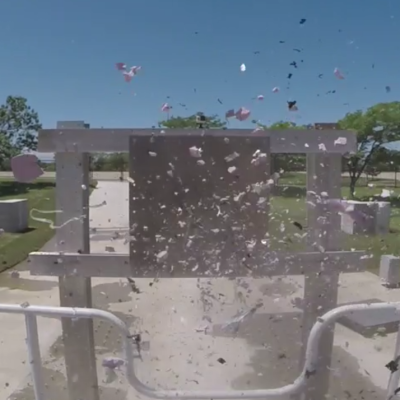 Airplanes are apparently armored to withstand a strike from an 8lb bird. However, even if in a similar weight class, a drone is not constructed of the same stuff. To understand if this mattered, step one was to exactly model a
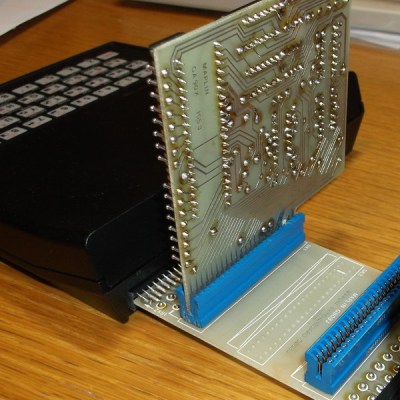 The ZX81 had a single port: a PCB edge connector at its rear that exposed all the Z80 processor’s lines. It was notorious for unreliability, as the tiniest vibration when a peripheral was connected would crash the machine. Maplin’s expansion system featured a backplane with a series of edge connector sockets, and cards with bare PCB edge connectors. Back in the 1980s it was easy to find edge connectors of the right size with the appropriate key installed, but not these days. [Alan] had to make one himself for his build.