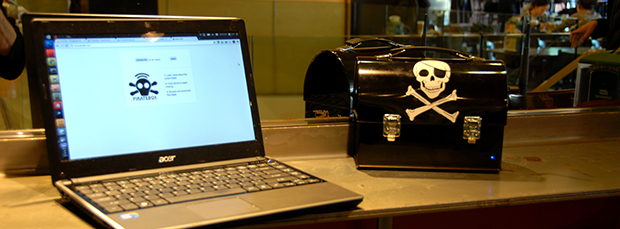
Here’s an interesting idea: get a router, Android device, or Raspberry Pi, put it on its own wireless network, and allow anyone to upload and download files. That’s a PirateBox, a small node in the web of digital culture and also a really great way to distribute files at a LAN party.
We’ve seen these type of things before, but now, thanks to [David] and [Matthias], and a bunch of other people, there’s now an easy way to turn a Raspi, Android, or anything that runs OpenWrt into a wireless dead drop. Also included in the software is an image board (think chan) a chat room, UPnP media server, and a browser-based file sharing system. Want to share a “linux distro”? Just upload it to the box over WiFi and it’s available to anyone in range.
Installers are available for devices you probably have sitting around in a junk drawer. Great for that Pi you’re trying to find a use for, and figuring out how to run one of these completely off the grid is an interesting challenge, to boot.


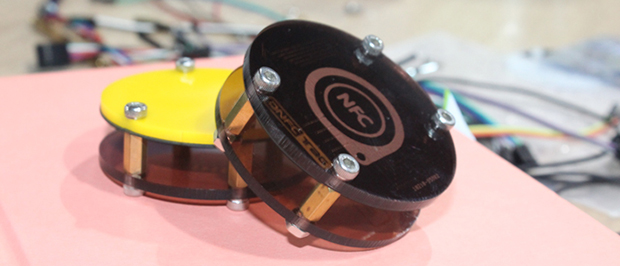 NFC tags are cool, but programming them to do your bidding – whether unlocking your computer, making an Arduino vending machine, or a smart home application – requires using an NFC device to program the tag over the air. An NFC tag programmable with any ‘ol microcontroller would certainly have some interesting applications, and


