![]()
Ever need a cheap motion tracker for very basic object following? Did you know you can throw one together with a few IR distance sensors and a PIC?
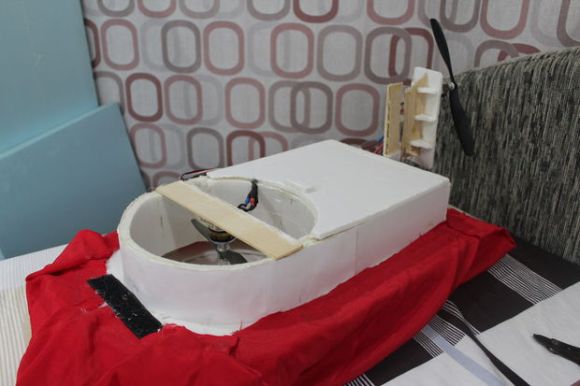
The setup is fairly simple. [Aron Horan] is using a dsPIC30F4011 PIC, a SHARP infrared distance sensor, an RC servo, and a PICkit2 for testing. It works by scanning left and right using the servo motor. When the edge of an object is detected, it will turn away from the object until it can no longer detect the edge — then it turns back. Unfortunately this does mean it will always be twitching, even when it’s tracking an object.
Like many of the other projects [Aron] has documented, he’s included everything you need to know to be able to recreate the project yourself. Flowcharts, wiring diagrams, and the code — written in C of course! The following video includes an excellent demonstration, but if you want to skip straight to the action, you can see it start tracking a multimeter at about 0:39 in.