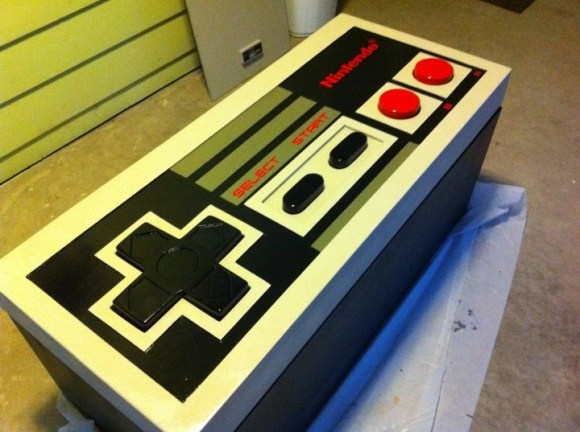
For reddit user [the_masked_cabana], button mashing has taken on a whole new meaning. His gigantic NES controller coffee table makes it hard to punch in the Konami code without breaking a sweat.
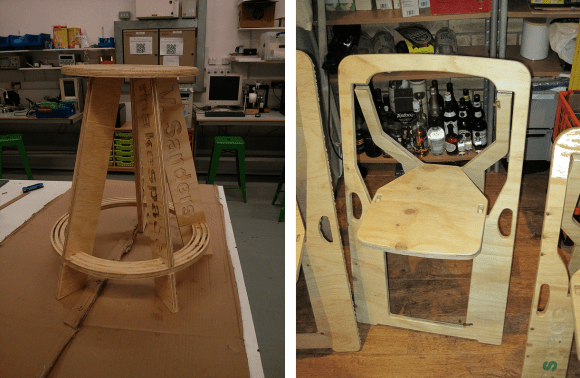
Even before discussing the electricals, this is one impressive build. Each component was cut from multiple layers of MDF and assembled with screws, glue, and putty. Once they were sanded smooth, he used layers of carefully applied Krylon paint to achieve a plastic sheen that is remarkably faithful to its 5″ counterpart. For the more precise lettering, custom cut vinyl stickers did the trick.
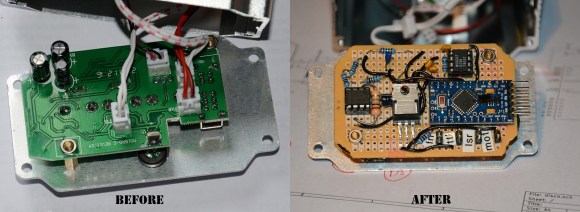
Of course, looking the part is only half the battle. Tearing apart an original NES controller, he soldered wires to the button connections and ran them to eight arcade style buttons located under the replica button covers. A collection of bolts and springs keep everything aligned and produce the right kind of tactile feedback to the user. A removable cable in the back provides the connection to the console.
If a four foot NES controller isn’t practical enough for you, he also added some storage space in the base and a removable glass cover that converts the controller into a coffee table. For more details on the build, check out the reddit discussion. You can also find an eerily similar working NES controller table in this geeky coffee table roundup from five years ago.