![]()
His space agency hardware might be in Southern Appalachia, but he can control it from anywhere in the world. That’s right, [Travis Goodspeed] started his own space agency — well kinda. The first piece of hardware operated by the organization is this dish for tracking moving targets in near space.
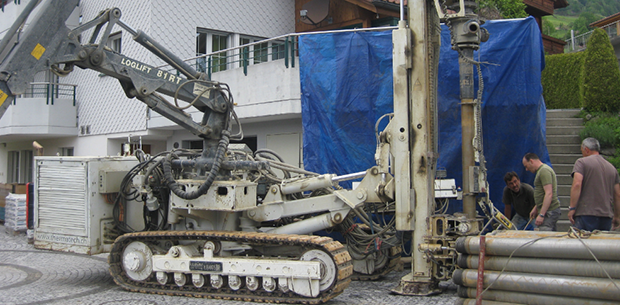
The main part of the build is a Felcom 82B dish which was designed to be a satellite link for naval vessels. The image showing the back side of it exposes all of the extras he built into the system. Don’t worry though, a dome goes over the top to keep the weather out without encumbering its operation.He uses an SDR dongle to handle the radio communications. That connects to a BeagleBone which pipes the data to his handheld over the Internet.
It’s amazing to see this type of hobby project. It wasn’t that long ago that you needed an entire room of hardware to communicate with satellites.