When we think about machine learning, our minds often jump to datacenters full of sweating, overheating GPUs. However, lighter-weight hardware can also be used to these ends, as demonstrated by [Nikodem Bartnik] and his latest robot.
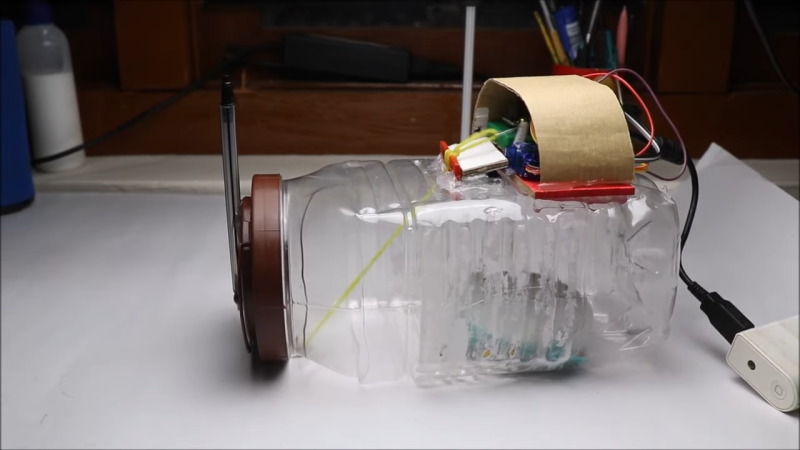
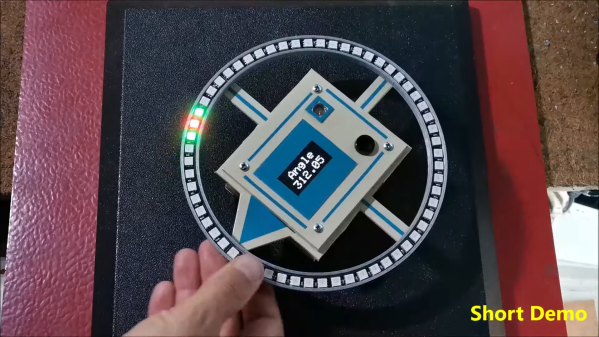
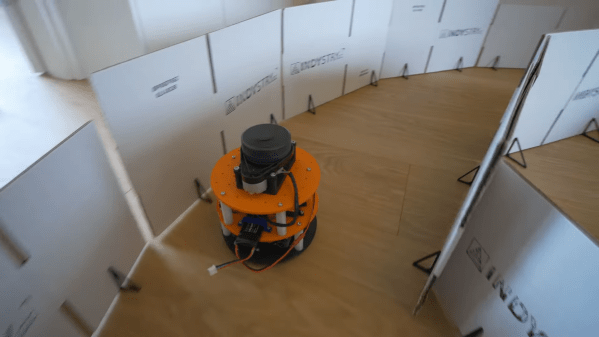
The robot is charged with autonomously navigating a simple racetrack delineated by cardboard barriers. The robot is based on a two-wheeled design with tank-style steering. Controlled by an Arduino Uno, the robot uses a Slamtec RPLIDAR sensor to help map out its surroundings. The microcontroller is also armed with a Bluetooth link and an SD card for storage.
The robot was first driven around the racetrack multiple times under manual control, all the while collecting LIDAR data. This data was combined with control inputs to help create a data set that could be used to train a machine learning model. Feature selection techniques were used to refine down the data points collected to those most relevant to completing the driving task. [Nikodem] explains how the model was created and then refined to drive the robot by itself in a variety of race track designs.
It’s a great primer on machine learning techniques applied to a small embedded platform.