Pass The Bomb Electronic Drinking Game

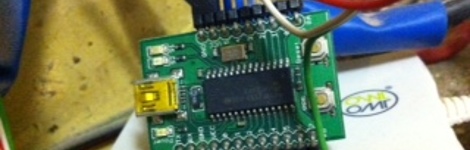
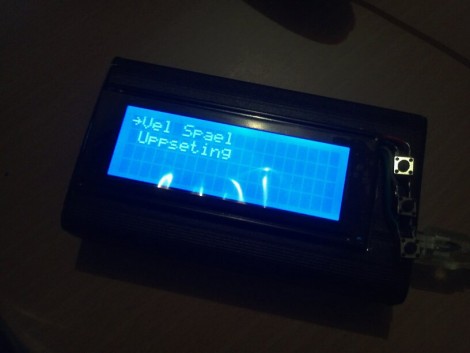
[Ragnar] and his friends were getting tired of the usual Friday night drinking games. They went through dice games, card game, and TV show based games before [Ragnar] retired to his workbench to whip up an electronic solution that would randomly pick a player and assign a certain number of drinks. That’s a novelty at first but not really a game. After letting the project sit for some time he revisited it and came up with a more advanced solution. The box seen above is his second attempt; a game called pass the bomb.

The case is a black aluminum project box. The user interface includes a 20×4 character LCD and three buttons. Check the video after the break for the menu system as well as english translations. Once turned on you can set the sensitivity for the accelerometer and choose the game. For now, pass the bomb is the only option – a game that counts down to a digital explosion. Carefully pass the device to the next player without upsetting the accelerometer or it’ll go BOOM and you’ll have to drink.

We’d prefer to enjoy a nice frothy beverage rather than searching for reasons to throw back some shots, but whatever floats your boat.

Continue reading “Pass The Bomb Electronic Drinking Game”

Going A Long Way For Game Boy Advanced Video Out

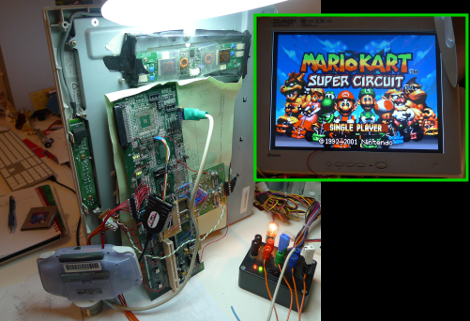
Here’s an intense hack that lets [Matt Evans] play Game Boy Advanced on a larger LCD monitor. He didn’t take the easy way out during any step of the process.

He’s using an FPGA to translate the LCD signals from the GBA hardware into a 1280×960 picture that is then pushed to the large monitor. But did he use an FPGA development board? No, instead he picked up an old PCI card at a surplus store because it had a Xilinx Virtex-E FPGA. So the first thing he had to do there was to remove unneeded components and figure out how to make the connections to reprogram that chip.

So next you’d grab a working monitor and hook it up to the FPGA signal, right? Wrong, [Matt] had a slightly borked monitor, getting rid of the LVDS section and wiring up his own connections to push the RGB signals through in parallel.

Yeah, that’s a lot of work. But as you can see in the clip after the break, it works like a charm. If you’re looking for some other gnarly video-out hacks, check out this one that lets you play Game Boy on an oscilloscope.

Continue reading “Going A Long Way For Game Boy Advanced Video Out”

Hackaday Links: July 24, 2011

Plasma speakers

Apparently if you run AC and DC currents through a welding torch flame you can use the resulting plasma as a loudspeaker. [Thanks Cody]

Power metering

The Google Power Meter API is no longer in development but that didn’t stop [Pyrofer] from finishing his metering hardware. It uses a reflectance sensor to read the meter instead of using clamp-based current sensing.

Music videos from inside the instrument

Filming from inside of a guitar creates the camera effect seen above which looks like the waveform you’d see on an oscilloscope. [Thanks Philleb]

Hidden messages in audio files

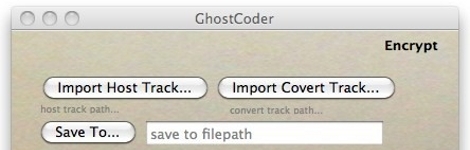
GhostCoder lets you encrypt and hide audio files within other audio files. The thought is, you can piggyback your own data into Torrents that are circling the interwebs.

2×4 Chair

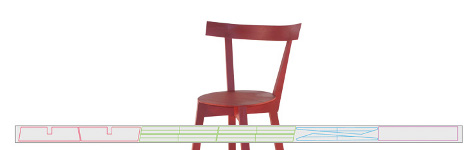
If you’re skilled with a Skill saw you can make a chair out of one 2 by 4. You can see the pattern you’ll have to cut out from the board in the image above, wow!

Desktop Email Notification Bell

email_notification_bell

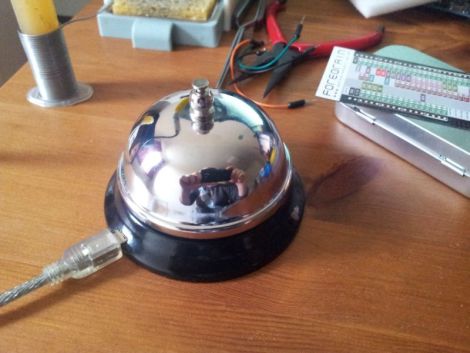
Instructables user [meseta] wanted an audible notification whenever he received an email, but must have thought that his computer’s built-in sounds were lacking in some regard. To get the perfect sound that he desired, he built himself a USB-powered notification bell.

Using an off the shelf “front desk bell” and a hand made electromagnet, he constructed a bell that could be triggered whenever a message showed up in his desktop email client. The electromagnet can be triggered by a quick pulse from a microcontroller, and in [meseta’s] case, he used a Forebrain dev board. He created a filter in his email client that runs an executable each time a message is received. This executable in turn sends a message to his microcontroller via USB, triggering the bell.

While we think that the notifier could have been put together using a far less powerful microcontroller, it’s a neat idea regardless. People seem to love alternative notification systems, so we’re pretty sure this bell will appeal to many in that crowd.

Keep reading to see a short video demonstration of his email notifier in action.

Continue reading “Desktop Email Notification Bell”

Guitar Becomes An Improved Color Organ

[Charles] wanted to put some LEDs in his guitar. He also wanted individual notes to output certain colors, but he couldn’t find any projects with tone-based algorithms to convert sound into colors. After about a year of work, his ColorChord guitar was born.

Unlike every other color organ build we’ve seen, the color of a note does not relate to the absolute pitch of the note. Instead, the colors are mapped within a musical key. A I chord will always be Yellow, a IV chord will always be purple, and a V chord will always be blue. Playing in the key of C will have the LEDs output yellow, purple, and blue for a C, F and G chord, respectively.

Continue reading “Guitar Becomes An Improved Color Organ”

All About Accelerometers

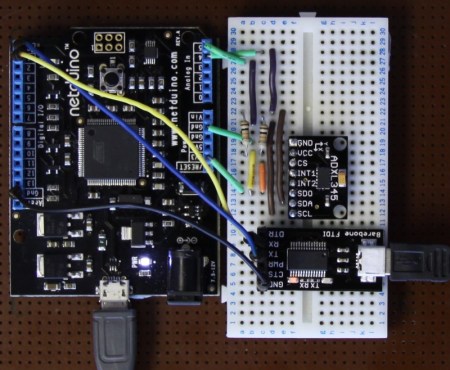
If you’ve ever wondered about the use of or theory behind or the use of accelerometers, this tutorial by Love Electronics is a very good resource. In this article, Love takes one through how to hook up an ADXL345 accelerometer and use it with a Netduino processor. Before the subject of hooking everything up is broached, a very good discussion is given on the general theory and operation of accelerometers.

Information is given about installing all the required software and libraries. Additionally, a mini tutorial about writing a “hello” application using the .NET framework is given. Finally, the application gives the [Windows Presentation Foundation] tools necessary to visualize the raw data that the Netduino produces.

One could really start using this processor and accelerometer from scratch with this tutorial and some basic electronics knowledge.  This could add a great new feature to your next robot or allow measurement that couldn’t be done with simpler sensors.

Using An Arduino To Measure Inductance

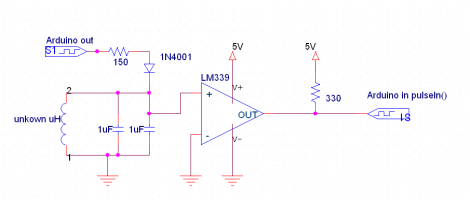
Measuring an inductor is not something that most multi-meters can do. You usually need a high precision resistor (1% or better) in series with the inductor, a function generator to put a signal through the circuit, and an oscilloscope to measure the result. But what can you do if you don’t have these tools on hand? [Andrew Moser] has a method that lets you pull it off with an Arduino and an LM339 quad comparator.

The circuit works by feeding a signal in from the Arduino. This waveform is affected by the LC circuit, filtered by the comparator chip, then read back out the other side by the Arduino. That resulting signal is a square wave, which is an easy target for the Arduino to measure. That timing measured from the square wave can then be used to calculate the inductor’s value.

This is quite handy if you’re winding your own inductors. Now you can precisely tune that Joule Thief you’ve been working on.

[via Dangerous Prototypes and Adafruit]