Revive Your Tired Dremel Battery Pack

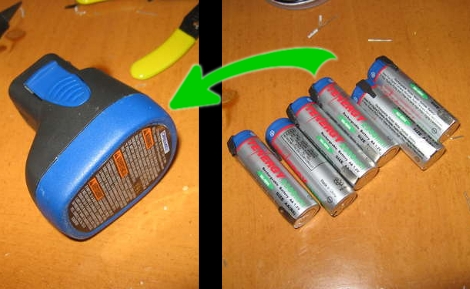
It turns out there’s nothing more than six Nickel Cadmium AA rechargeable batteries inside of that cordless Dremel battery pack. Yep, standard rechargeable AA’s that you can buy most anywhere, and now you can revive that aging battery pack by following [Stuuf’s] guide. Since you’re already at it, a few more bucks will yield a real upgrade by using the superior Nickel Metal Hydride batteries which should yield around three times as much use between charging. We totally understand having a battery pack, since the shape of the case is part of the handheld tool, and it should be easy to interchange the battery as one unit. We just wish that the battery pack had been designed to have the AA cells swapped out by the user once they had reached the end of the line.

Do you have other cordless tools in need of a pick-me-up? Check out this Makita battery pack repair hack for a point in the right direction.

[Thanks Bluewraith]
Turning Music Into A Light Show

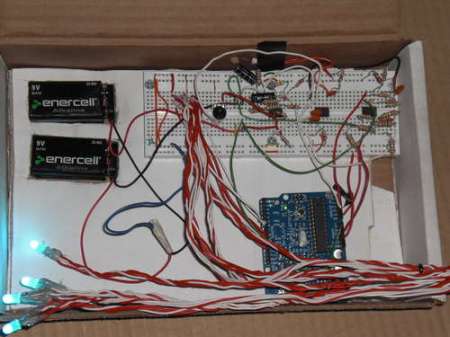
[nickinoki] Made a light show using some amplifiers and an arduino. First he created a microphone circuit based around a LM386 Audio Amplifier. After amplifying the output of the microphone a second time, he uses three bandpass filters to block all but a few desired frequencies from reaching the arduino.  By only letting a few frequencies through the arduino is able to determine if the song is louder at higher or lower frequencies.  Then using the three analogue inputs he created a scheme for generating the light show on an arduino. While he was unable to achieve the exact target frequencies with his bandpass filters they worked well enough to allow him to successfully generate the light show.

Reverse Engineering A PCB

Occasionally when a device breaks, the defect is obvious. Whether it is a blown fuse or a defective capacitor, generally the easy to see stuff is easy to fix. When a problem is more subtle, or when doing some more advanced tasks like adding functionality to a device, greater knowledge about a circuit board is required. While there might be details hidden in lower levels of PCB, often just knowing the mounted components and layout of the outside layers can be enough to create a rough schematic of a device. [Throbscottle] has put together an excellent guide for procedurally breaking down a photo of a board and turning it in to something useful. The guide utilizes some open source image processing software such as the GIMP, Inkscape, and Dia, all of which are widely available. Keep in mind this reverse engineering can be a time consuming process, but will almost definitely reward those patient enough to work through it.

[Thanks to everyone who sent this in!]

High Voltage Etch A Sketch

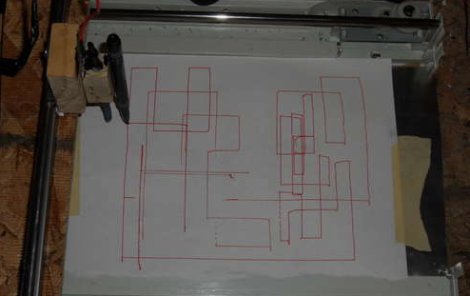
What do you get when you mix a simple X/Y plotter, a Flyback transformer, and an unhealthy disregard for safety? Possibly the worlds most dangerous jumbo Etch a Sketch! [Kalboon] started off by making an imprecise X/Y movement device, similar to a CNC machine setup, but with less emphasis on precision. This rig is powered by some commonly salvagable materials, including an old scanner, a remote control car, and some hobby servos. We like this approach because most of these materials could be scrounged from a parts bin, surplus sale, or craigslist for little to no actual cost. The flyback transformer comes from an old TV or monitor, though if you have common sense safety concerns, we would recommend just mounting a dry erase marker and a dry erase board to substitute out the high voltage bits. For people wanting a low cost introduction project to making a CNC or Makerbot style build, this isn’t a bad place to start.

No More Blurry Pictures

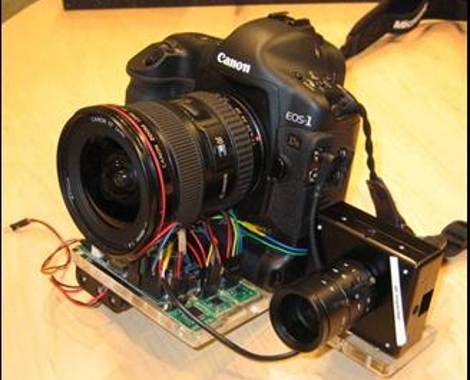
Say goodbye to ruined images thanks to this add-on hardware. It measures the movement of the camera when a picture is taken and corrects the image to get rid of motion blur. Above you see a high-speed camera which is just there for testing and fine-tuning the algorithm that fixes the photos. Once they got it right, the setup that the camera is attached to only includes an Arduino board, Bluetooth modem, 3-axis accelerometer, gyroscope, and a trigger for the camera. You use the new hardware to snap each image and it takes care of triggering the SLR’s shutter in order to ensure that the inertial data and the image are synchronized correctly.

[Thanks Rob]

Fertilizing A Planted Aquarium Using Air Freshener Hardware

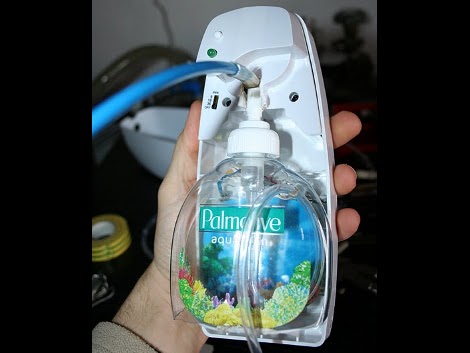
Keeping live plants in an aquarium happy can be quite a chore. One of the frequent rituals is adding fertilizer, which is called dosing. [Majstor76] came up with a creative way to automatically dose using an air freshener. He got rid of the canister that holds the scent and re-purposed a hand soap pump to move the nutrient-rich liquid. After the break you can see that there’s no shortage of power to actuate the pump and the powered air freshener base has a delay circuit, allowing for a few different time-release options. As long as the volumetric output is fairly consistent we figure you can dilute your fertilizer to fine-tune the dose.

Continue reading “Fertilizing A Planted Aquarium Using Air Freshener Hardware”

Magnetic Digital Scale

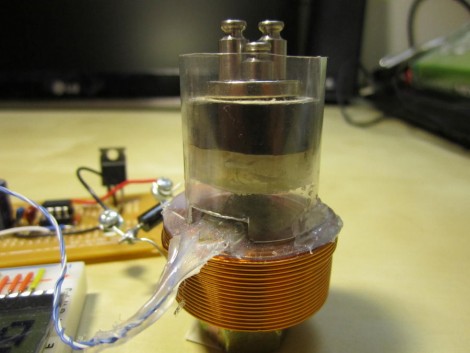
Above you see a solenoid being used as a digital scale. The magnetic field from the coil in the base levitates the platform above, where a load to be measured is place. This floating platform has a permanent magnet in it, hovering above a hall effect sensor in the base. As the distance between that magnet and the sensor changes, the measurable magnetic field changes as well. The hall effect sensor is linear so the measured value can easily be correlated with a weight. In the video after the break [Vsergeev] demonstrates the device using test weights to show off its 0.5 gram resolution. He thinks that with a few hardware improvements he could easily achieve 0.1g accuracy.

Continue reading “Magnetic Digital Scale”