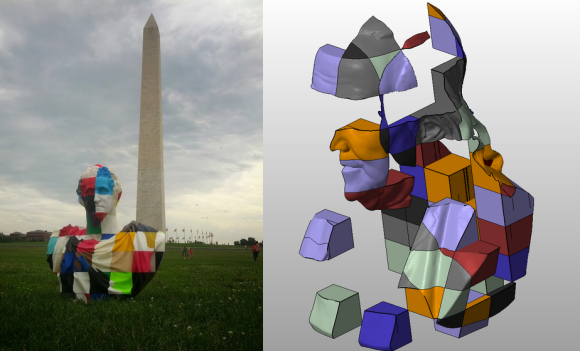
Macro 3D printing is some cool stuff — but it’s extremely time consuming and can be very expensive. Introducing We The Builders, a 3D printing crowd source site which creates large scale projects the whole country can enjoy.
Their first project was George Crowdsourcington — a 1:1 copy of the Baltimore George Washington statue made out of 110 individual pieces. They chopped the model up into 4″ cubes and created the website in order to organize and distribute the files. One of their sponsors, Tinkerine Studio, reimbursed the shipping costs for makers who helped print out parts! Since his creation, Crowdsourcington has traveled all over the country, making stops at 3D printing shows in New York, mini-Maker Faires, art galleries, science centers and more — he even did a short residency in the Adafruit office in Manhattan!
It was quite the success, so they’re starting a new statue called the Distributed Ben Franklin. This one has a whopping 198 pieces, and they hope to have it built in time for the Silver Spring and World Maker Faires.
Continue reading “George Crowdsourcington: A 3D Printed, Community Built Statue”

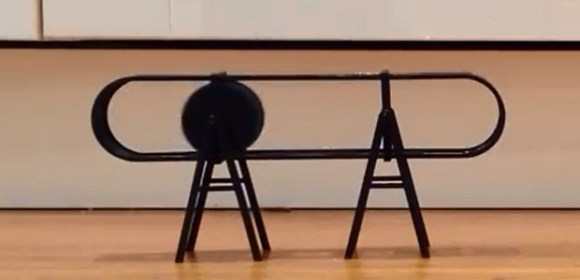
 Building electronics with 3D printers is something we see hitting the tip line from time to time, but usually these are printed circuits, not electromechanical parts like motors, solenoids, and relays. [pitrack] thought he could do better than printing out a few blinking LED circuits and
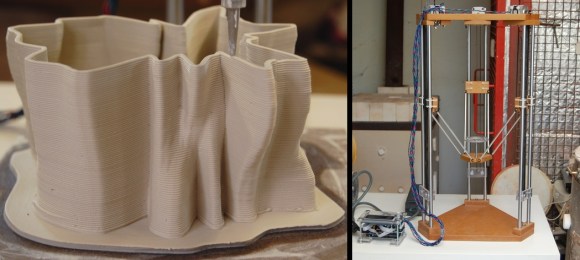
 For [Tony]’s entry for The Hackaday Prize,