Changing colors during a 3D print is notoriously difficult. Either you need multiple heads ready to go during the print which increases operating and maintenance costs for your printer, or you need to stop the print to switch the filament and then hope that everything matches up when the print is resumed. There are some workarounds to this problem, but not many of them are as smooth an effortless as this one which uses erasable pen ink to add colors to the filament on the fly.
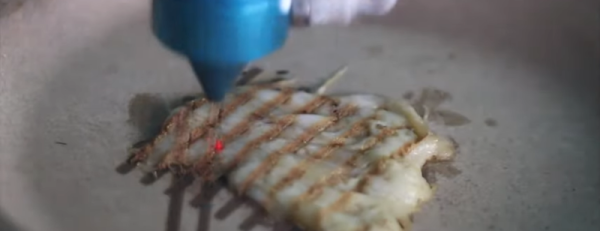
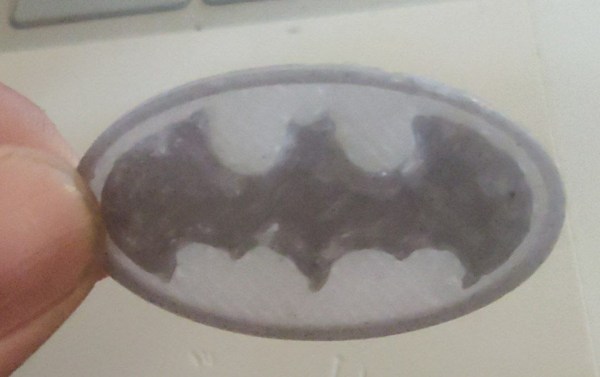
Erasable pen ink is a thermochromic material that doesn’t get removed from paper when erased like graphite from a pencil. Instead the heat from the friction of erasing causes it to become transparent. By using this property for a 3D print, the colors in the print can be manipulated simply by changing the temperature of the hot end. Of course the team at [Autodrop3d] had quite a learning curve when experimenting with this method, as they had to run the extruder at a much lower temperature than normal to have control over the ink’s color, had to run the print much slower than normal, and were using a very sticky low-temperature plastic for the print.
With all of these modifications to the print setup, there are bound to be some limitations in material and speed, but the results of the project speak for themselves. This allows for stock 3D printers to use this method with no hardware modifications, and the color changes can be done entirely in software. While everyone catches up with this new technology, there are some other benefits to a 3D printer with multiple print heads, though, and some clever ways of doing the switching without too much interruption.
Continue reading “Erasable Pen Ink Adds Colors To 3D Prints”