What we want is a Star Trek-style replicator. What we have are a bunch of different machines that can spew out various 2D and 3D shapes. For the foreseeable future, you’ll still need to post-process most of what you build in some way. [Stuff Made Here] had a challenge. He often uses his plasma cutter to create complex sheet metal items. But the cutter is two dimensional so the piece doesn’t look right until you bend it at just the right places. If you are doing a simple box, it is easy to figure out, but getting just the right spot on a complex bend can be a challenge. His answer? Attach a marker to the gantry so the machine can draw the lines right on the sheet metal.
Sounds easy and if you were willing to do a pen pass separately and then remove the pen and do the plasma cutting it would be relatively easy. However, that seems kind of crude. Mounting it permanently requires a way to raise it up when cutting — and it needs to survive the noisy environment near the torch. The pen would also dry out if you left in uncapped. The answer was using a permanent marker with a click retractor and let the mechanism extend and retract the pen point on command.
Every fisherman has a secret. A secret spot, a secret technique, or a secret bait. Maybe that’s why tying flies is so popular. [Steve] certainly has is own special lures, although he’s not keeping it a secret. (Video, embedded below.) He designs lures in Simplify3D, 3D prints molds, and then casts them.
The 3D printing part is interesting, but it is also kind of neat to see the lures and the natural prey he uses for inspiration. If you want to catch fish, you have to use bait that looks like real food.
The implied takeaway from all the coverage is that 3D printers are a solution to critical equipment shortages, but the fact that 3D printers are involved isn’t really the important part. We all know printers can make plastic parts, so what should be the real takeaway? The biggest lessons we can learn about Prusa’s ongoing effort are related to how they’ve gone about it.
Nowadays, resin printers are highly accessible and can do some great stuff. But between isopropyl alcohol for part rinsing and the fact that some resins have a definite smell to them, ventilation can get important fast. The manufacturers don’t talk much about this part of the resin printing experience, but it’s there nevertheless. So what can be done when smells become a problem?
I recently had to deal with this when I printed several liters of resin worth of parts. That’s a lot of resin, and a lot of alcohol for part washing. Smells — which had never been much of a problem in my work area — suddenly became an issue.
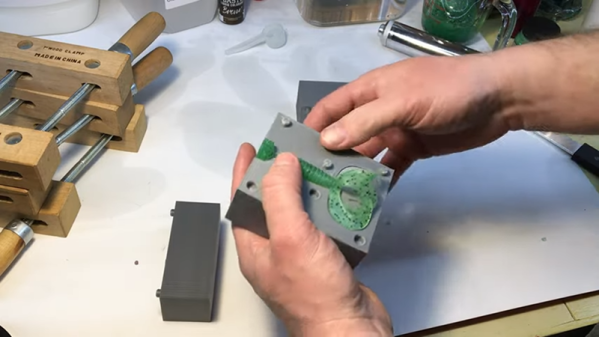
Flexible steel sheets as the foundation for build platforms are used to great advantage in FDM 3D printers. These coated sheets are held flat by magnets during printing, and after printing is done the sheet (with print attached) can be removed and flexed to pop the prints free. This got [Jan Mrázek] thinking. He was pretty sure the concept could extend to the build platform on his Elegoo Mars resin printer. With a flexible build platform, troublesome prints could be more easily removed, so he non-destructively modified his printer to have a similar system. [Jan] is clear that this is only a proof of concept, but the test results were good! He printed several jobs that were known to be trouble, and they were all a piece of cake to remove.
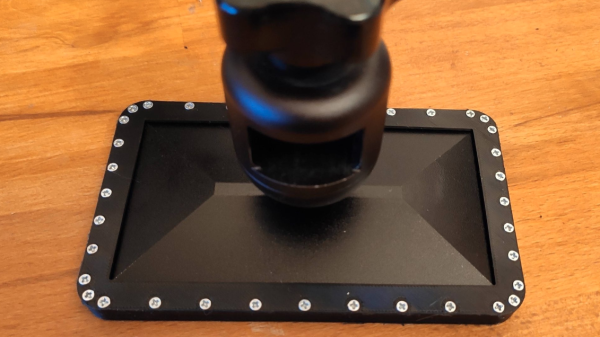
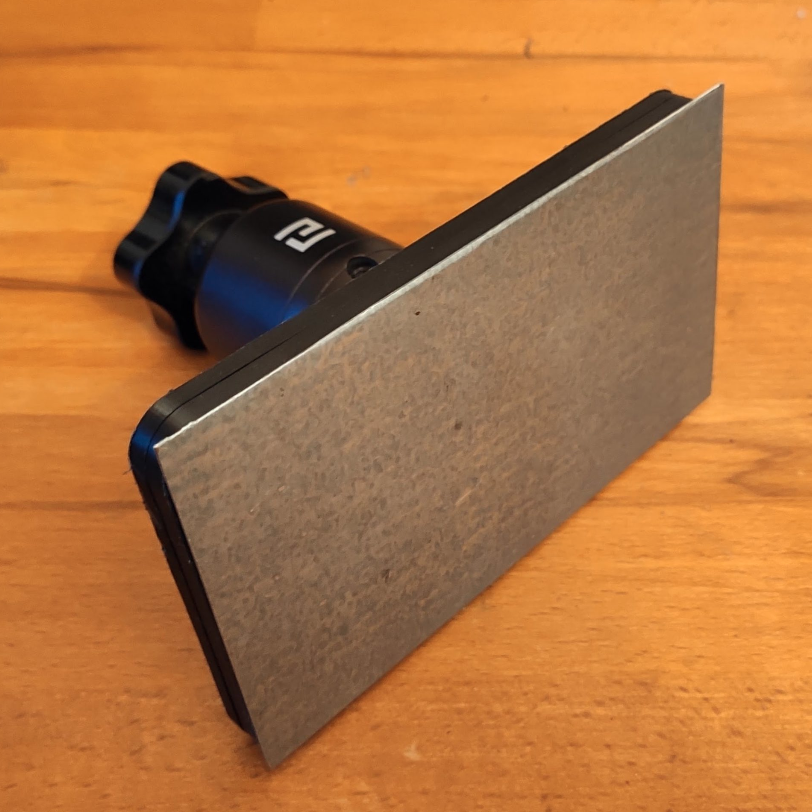
[Jan]’s mod consists of a 3D printed, two-piece unit that encapsulates the normal build platform and contains a few strong magnets. A thin sheet of steel sticks flat to this new piece, held in place by the magnets within, and becomes the new build platform. After a print is done, the sheet is removed and [Jan] reports that its flexibility is a big help in removing otherwise troublesome prints, such as the 3D printed solder stencil we covered recently.
[Jan] provides his CAD model but doesn’t really recommend using it for anything other than development work. Results were promising, but there are a number of drawbacks to the prototype. For one thing, it makes the build platform thicker and the Z-axis limit switch needs to be physically lowered in order to zero the unit. Also, the thicker build platform means the volume of resin the build tank can hold is reduced. Still, the idea clearly has merit and shows there absolutely is value in hardware having a hackable design.
The main components are an Adafruit CLUE, Stemma GPS, and a lithium-polymer battery. No soldering required.
[Jay Doscher] shares a quick GPS project he designed and completed over a weekend. The device is called the CLUE Tracker and has simple goals: it shows a user their current location, but also provides a compass heading and distance to a target point. The idea is a little like geocaching, in that a user is pointed to a destination but must find their own way there. There’s a 3D printed enclosure, and as a bonus, there is no soldering required.
[Jay] did a nice job of commenting and documenting the code, so this could make a great introductory CircuitPython project. No soldering is required, which makes it a little easier to re-use the parts in other projects later. This helps to offset costs for hackers on a budget.
The fact that a device like this can be an afternoon or weekend project is a testament to the fact that times have never been better for hobbyists when it comes to hardware. CircuitPython is also a fast-growing tool, and projects like this can help make it easy and fun to get started.
If you’ve seen both a fused filament fabrication (FFF) printer and a wire welder, you may have noticed that they work on a similar basic principle. Feedstock is supplied in filament form — aka wire — and melted to deposit on the work piece in order to build up either welds in the case of the welder, or 3D objects in the case of the printer. Of course, there are a number of difficulties that prevent you from simply substituting metal wire for your thermoplastic filament. But, it turns out these difficulties can be overcome with some serious effort. [Dominik Meffert] has done exactly this with his wire 3D printer project.
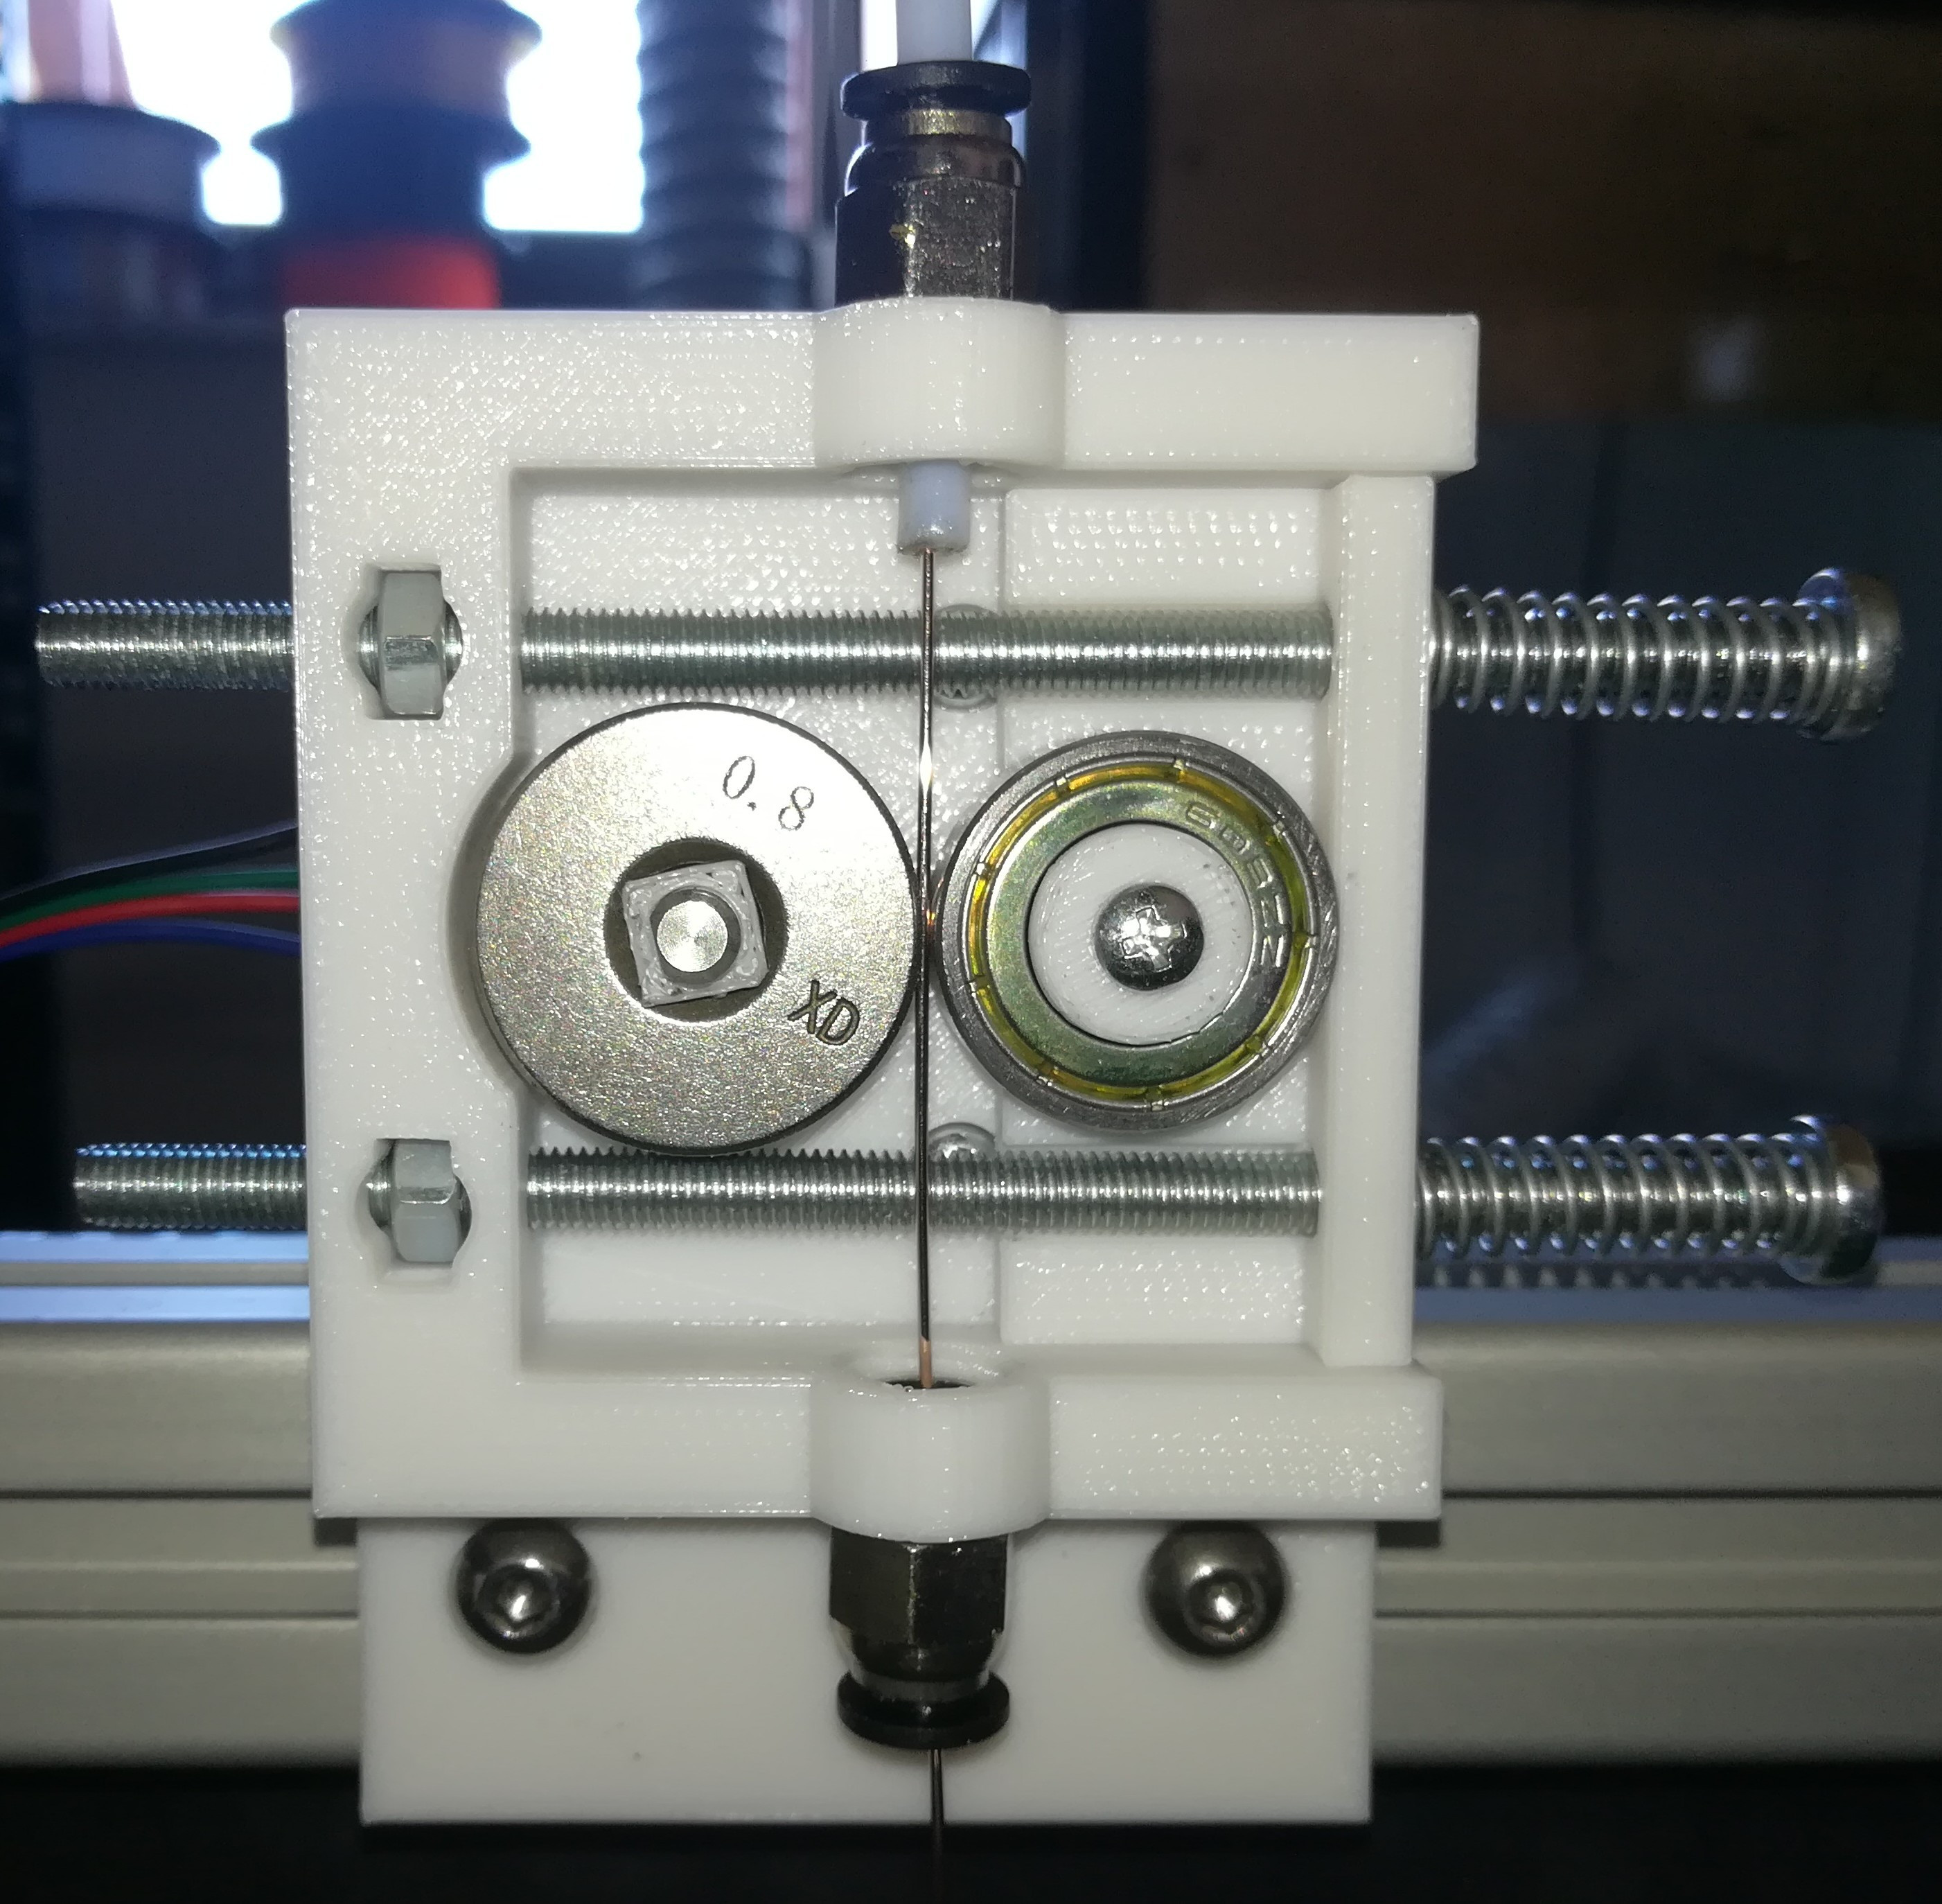
Extruder cold end using a standard feeder roller
For his filament, [Dominik] chose standard welding wire, and has also experimented with stainless steel and flux-cored wires. Initially, he used a normal toothed gear as the mechanism in the stepper-driven cold end of his Bowden-tube extrusion mechanism, but found a standard wire feeder wheel from a welder worked better. This pinch-drive feeds the wire through a Bowden tube to the hot end.
In thermoplastic 3D printers, the material is melted in a chamber inside the hotend, then extruded through a nozzle to be deposited. Instead of trying to duplicate this arrangement for the metal wire, [Dominik] used a modified microwave oven transformer (MOT) to generate the low-voltage/high-amperage required to heat the wire restively. The heating is controlled through a phase-fired rectifier power controller that modulates the power on the input of the transformer. Conveniently, this controller is connected to the cooling fan output of the 3D printer board, allowing any standard slicer software to generate g-code for the metal printer.
To allow the wire to heat and melt, there must be a complete circuit from the transformer secondary. A standard welding nozzle matching the wire diameter is used as the electrode on the hot end, while a metal build plate serves as the other electrode. As you can imagine, getting the build plate — and the first layer — right is quite tricky, even more so than with plastic printers. In this case, added complications involve the fact that the printed object must maintain good electrical continuity with the plate, must not end up solidly welded down, and the fact that the 1450 °C molten steel tends to warp the plate.
Considering all the issues that have to be solved to make this all work, we are very impressed with [Dominik’s] progress so far! Similar issues were solved years ago for the case of thermoplastic printers by a group of highly-motivated experimenters, and it’s great to see a similar thing starting to happen with metal printing, especially using simple, readily-available materials.