Things are cooler when rack-mounted, and [KellerLab] aims to make that all far more accessible with the HomeRacker, a modular and 3D-printable rack building system designed to let you rack-mount to your heart’s content. While it can handle big things, it seems especially applicable to tasks like mounting one’s home network equipment and Raspberry Pi machines.
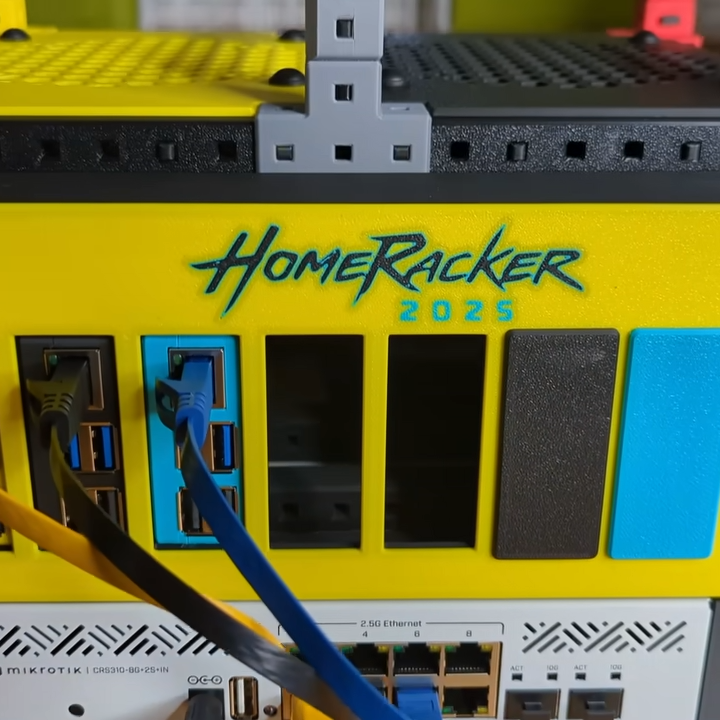
The basic system (or core) consists of three different parts: supports, connectors, and lock pins. The supports are the main structural bars, the connectors mostly go at the corners, and the lock pins ensure everything stays put. The nominal sizing is a 15 mm x 15 mm profile for the supports, with lengths being a multiple of 15 mm.
All is designed with 3D printing in mind, and requires no tools to assemble or disassemble. There are design elements we really appreciate, like how parts are printed at an angle, which improves strength while eliminating the need for supports. The lock pins (and the slots into which they go) are designed so that they are effective and will neither rattle nor fall out.
But the core system is just the foundation. There’s plenty of modularity and expansions to handle whatever one may need, from Gridfinity shelves and drawers to various faceplates and other modules. There are some example applications available from [KellerLab]’s HomeRacker models page, like CD shelf, under-desk drawer, or filament rack.
[KellerLab] welcomes any collaboration, so check out the GitHub repository for CAD references and design files.
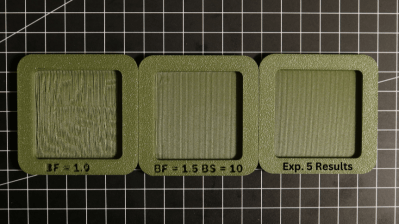
One last point to make about the value of printing objects like this at an angle: not only can the resulting layer lines provide better strength and reduce or eliminate the need for supports, but printing at an angle can help hide layer lines.
Continue reading “Stack N’ Rack Your Hardware With The HomeRacker Project”