3D Printed Fabric Stiffens On Demand

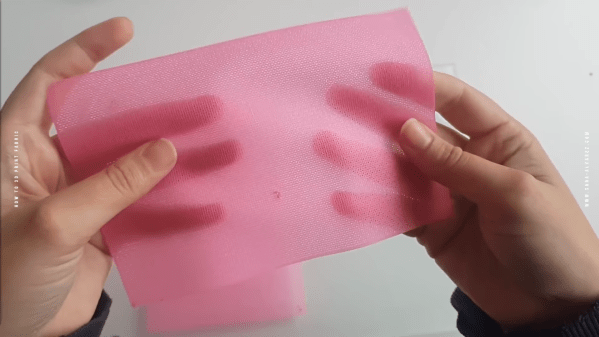
Researchers in Singapore and at CalTech have developed a 3D printed fabric with an interesting property: it is generally flexible but can stiffen on demand. You can see a video about the new fabric, below.

The material consists of nylon octahedrons interlocked. The cloth is enclosed in a plastic envelope and vacuum-packed. Once in a vacuum, the sheet becomes much stiffer and can hold many times its own weight.

Continue reading “3D Printed Fabric Stiffens On Demand”

Filtering Coffee Through 3D Printed Glass

Typically, when we think of 3D printing, we think of gooey melted plastics or perhaps UV-cured resins. However, there’s a great deal of research going on around printing special impregnated filaments with alternative materials inside. [Ahron Wayne] has been working on these very materials, and decided to make himself a brew with a prototype print.

Tasty, but [Ahron] notes you shouldn’t drink in the lab.
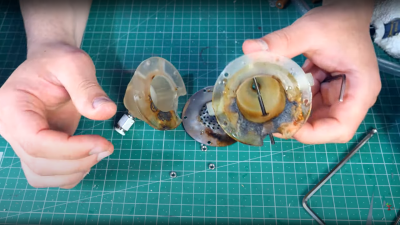
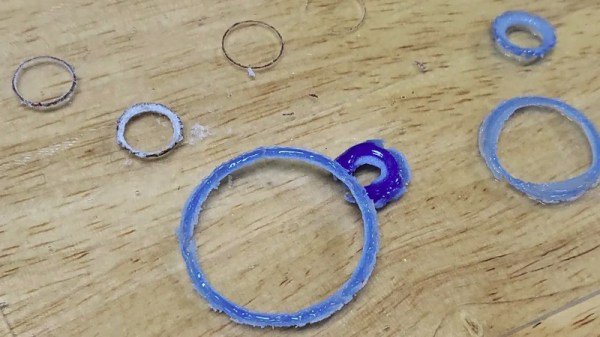
The subject of [Ahron]’s experimentation is a glass-impregnated filament under development by The Virtual Foundry. The filament is full of tiny glass particles, and the idea is that it can be printed like any regular plastic filament. From there, it’s heated in what’s known as a debinding process, which removes the plastic in the print. Then, it’s heated again in a sintering process to bond the remaining glass particles together.

It’s a complex process, and one that leads to some shrinkage in dimensions as well as porosity in the final part. However, where some might see failure, [Ahron] saw opportunity. The porous printed part was used to filter coffee, with the aid of a little vacuum from what sounds like a water venturi.

[Ahron] notes it’s not a particularly efficient way to make coffee but it did work. We’ve seen exciting work with steel-impregnated filaments, too. Video after the break.

Continue reading “Filtering Coffee Through 3D Printed Glass”

3D Prints Of Steel — Um — PLA, Rather

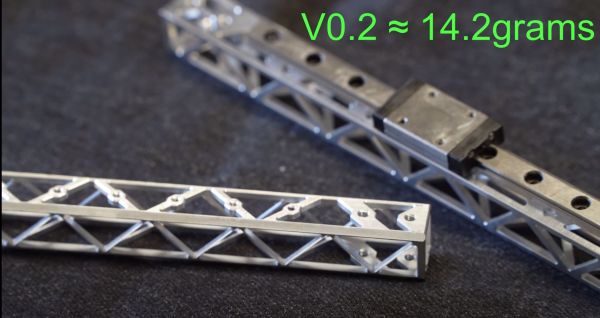
Need a steel beam? You can 3D print PLA beams that are as strong as a steel beam of equivalent weight according to [RepRap]. The Python code for FreeCAD generates a repeating structure especially well suited for belt printers that can print a beam of any length. Keep in mind, of course, given two things that weigh the same, if one is made of steel and the other PLA, the steel one will be physically smaller.

The beams are repeating tetrahedrons which are quite strong with a lot of material on the outer faces to resist bending. Each beam end has a neat block with a wiring hole and a ring of small holes that allow you to mount the beams to things or each other with 30 degree increments of rotation.

Continue reading “3D Prints Of Steel — Um — PLA, Rather”

3D Printing Steel Parts At Home Via Special Filaments

Rocket engines are great for producing thrust from fire and fury, but they’re also difficult to make. They require high-strength materials that can withstand the high temperatures involved. [Integza], however, has tried for a long time to 3D print himself a working rocket engine. His latest attempt involves printing an aerospike design out of metal.

Even steel couldn’t hold up to the fury of the rocket exhaust!

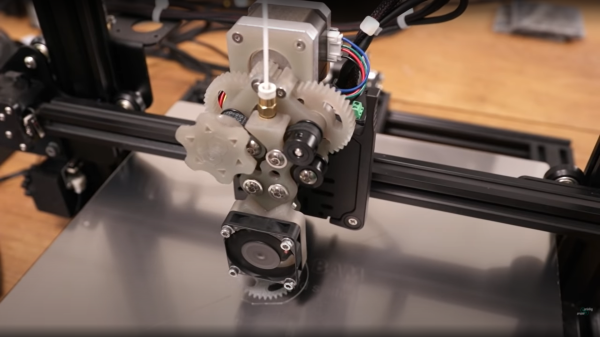
The project relies on special metal-impregnated 3D printer filaments. The part can be printed with a regular 3D printer and then fired to leave just the metal behind. The filament can be harsh, so [Integza] uses a ruby nozzle to handle the metal-impregnated material. Processing the material requires a medium-temperature “debinding” stage in a kiln which removes the plastic, before a high-temperature sintering process that bonds the remaining metal particles into a hopefully-contiguous whole. The process worked well for bronze, though was a little trickier for steel.

Armed with a steel aerospike rocket nozzle, [Integza] attempts using the parts with his 3D printed rocket fuel we’ve seen before. The configuration does generate some thrust, and lasts longer than most of [Integza]’s previous efforts, though still succumbs to the intense heat of the rocket exhaust.

Overall, though, it’s a great example of what it takes to print steel parts at home. You’ll need a quality 3D printer, ruby nozzles and a controllable kiln, but it can be done. If you manage to print something awesome, be sure to drop us a line. Video after the break.

Continue reading “3D Printing Steel Parts At Home Via Special Filaments”

RAMPS Rebuild Keeps Robox 3D Printer Out Of Junk Bin

A 3D printer is a wonderful invention, but it needs maintenance like every machine that runs for long hours. [Rob Ward] had a well-used Robox 3D printer that was in need of some repairs, but getting the necessary replacement parts shipped to Australia was cost-prohibitive. Rather than see a beloved printer be scrapped as e-waste, he decided to rebuild it using components that he could more easily source. Unfortunately the proprietary software and design of the Robox made this a bit difficult, so it was decided a brain transplant was the best path forward.

Step one was to deduce how the motors worked. A spare RAMPS 1.4 board and Arduino Mega2560 made short work of the limit switches and XYZ motors. This was largely accomplished by splicing into the PCBs themselves. The Bowden filament driver motor had a filament detector and an optical travel sensor that required a bit of extra tuning, but now the challenging task was next: extruding.

The printer’s new custom hotend.

With a cheap CR10 hot end from an online auction house, [Rob] began modifying the filament feed to feed in a different direction than the Robox was designed for (the filament comes in at a 90-degree angle on the stock Robox). A fan was needed to cool the filament feed line. Initial results were mixed with lots of blockages and clogs in the filament. A better hot end and a machined aluminum bracket for a smoother path made more reliable prints.

The original bed heater was an excellent heater but it was a 240 VAC heater. Reluctant to having high voltages running through his hacked system, he switched them out for 12 VDC adhesive pads. A MOSFET and MOSFET buffer allowed the bed to reach a temperature workable for PLA. [Rob] upgraded to a GT2560 running Marlin 2.x.x.

With a reliable machine, [Rob] stepped back to admire his work. However, the conversion to the feed being perpendicular to the bed surface had reduced his overall build height. With some modeling in OpenSCAD and some clever use of a standard silicone sock, he had a solution that fed the wire into the back of the hot end, allowing to reclaim some of the build height.

It was a long twelves months of work but the write-up is a joy to read. He’s included STL and SCAD files for the replacement parts on the printer. If you’re interested in seeing more machines rebuilt, why not take a look at this knitting machine gifted with a new brain.

Pen Plotter Is About As Simple As It Can Get

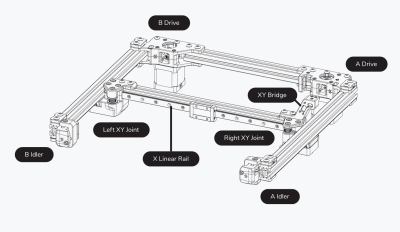
Sure, we see quite a few plotters and other motion machines, but the one from [DAZ Projects] has the virtual of looking dead simple. The Arduino and CNC shield are old hat, of course. But some 3D printed pulleys and a very simple-looking core XY arrangement looks like this could be a pretty quick build.

You might ask; if you have a 3D printer, why you wouldn’t just mount a pen on it and call it a day? Well, you could do that, of course, but what fun is that? Besides, that will tie up your printer, too. You can see a video of the project, below.

Continue reading “Pen Plotter Is About As Simple As It Can Get”

Vintage Test Equipment Addiction Justified

Recore 3D printer board developer [Elias Bakken] has posted about the automatic test procedure he developed using a stack-up of four (at least) pieces of vintage HP test equipment. In addition, his test jig and test philosophy is quite interesting.

Besides making a bed-of-nails test jig, he also designed a relay multiplexing board to that selects one of the 23 different voltages for measurement. We like his selection of mechanically latching relays in this application — not only does it save power, but it doesn’t subject the test board to any magnetic fields (except when switching state).

In [Elias]’s setup, the unit under test (UUT) actually orchestrates the testing process itself. This isn’t as crazy as it might sound. The processor is highly integrated in one package plus external DRAM. If the CPUs boot up at all, and pass simple self-test routines, there’s no reason not to utilize the on-board processor as the main test control computer. This might be a questionable decision if your processor was really small with constrained resources and connectivity. But in the case of Recore, the processor is a four-core ARM A53 SoC running Debian Linux — an arrangement that itself could well serve as an automated test computer in other projects.

In the video down below, [Elias] walks us through the basic tests, and then focuses on the heart of the Recore board tests: calibrating the input signal conditioning circuits. Instead of using very expensive precision resistors, [Elias] selected more economical 1% resistors to use in the preamp circuitry. The tradeoff here is the need to calibrate each channel, perhaps at multiple temperature points. This is a situation where using a test jig, automated test scripts, and and stack of programmable test equipment really shines.

[Elias] is still pondering some issues he found trying to calibrate thermocouples, so his adventure is not quite over yet. If you are wondering what Recore is, check out this article from back in June. Have you ever used the microprocessor on a circuit board to test itself, either standalone or in conjunction with an external jig? Let us know in the comments below.

Continue reading “Vintage Test Equipment Addiction Justified”