Illustrated Kristina with an IBM Model M keyboard floating between her hands.

Keebin’ With Kristina: The One With The Death Metal Macro Pad

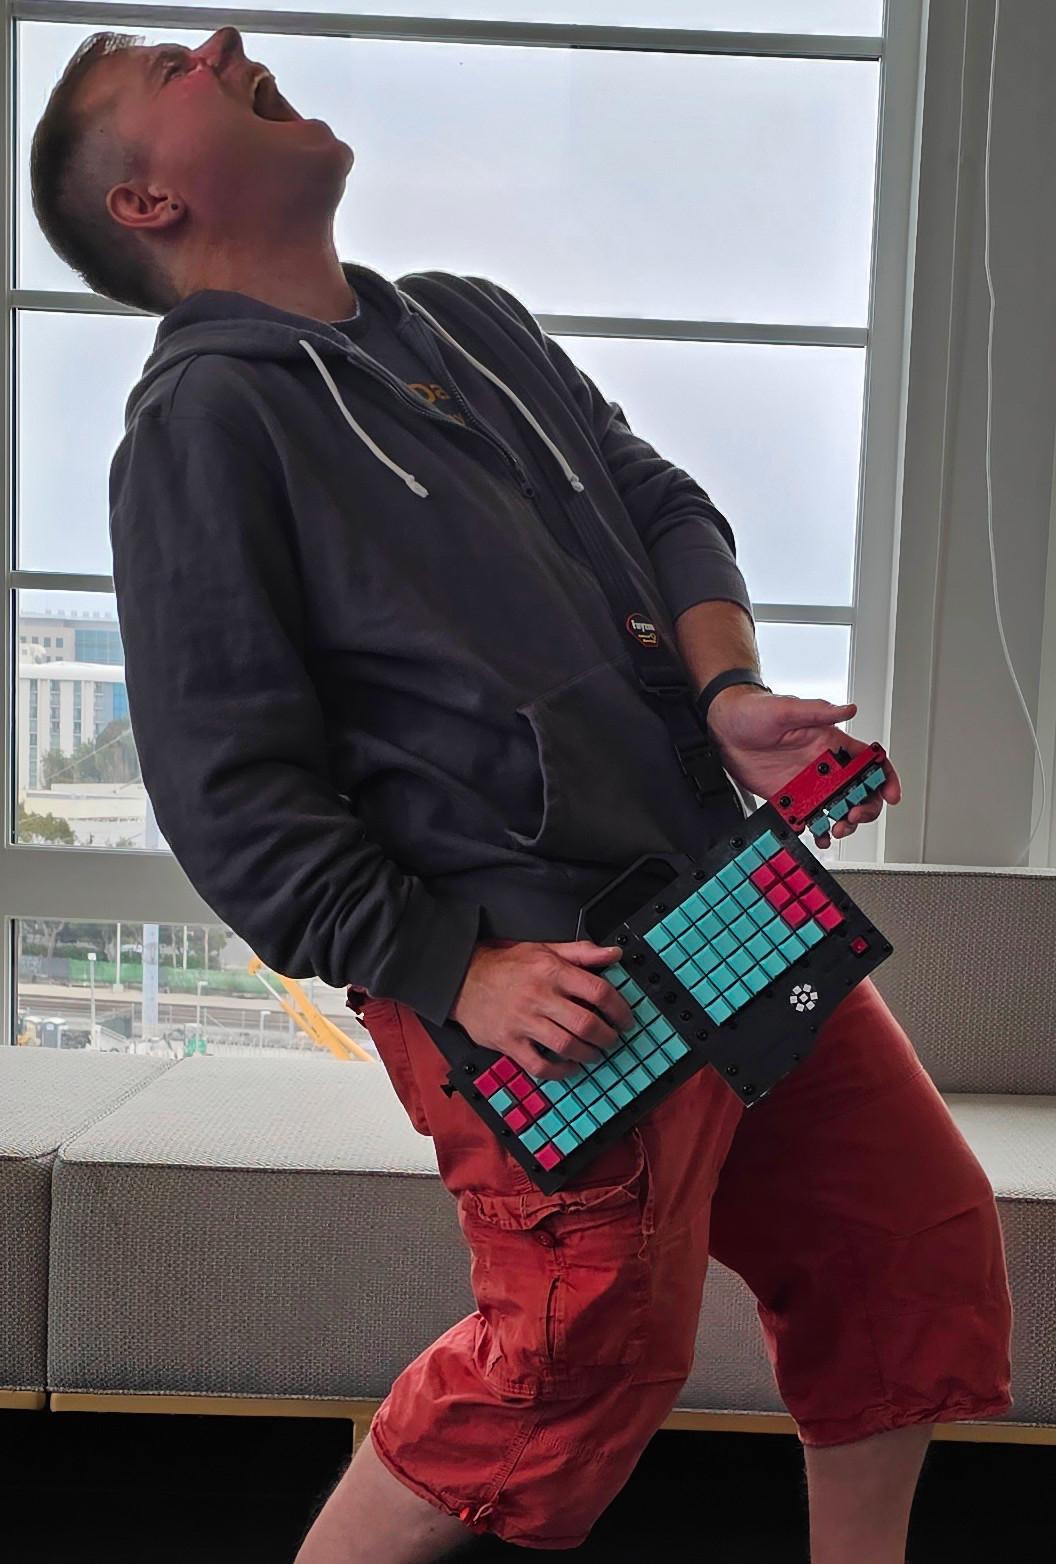
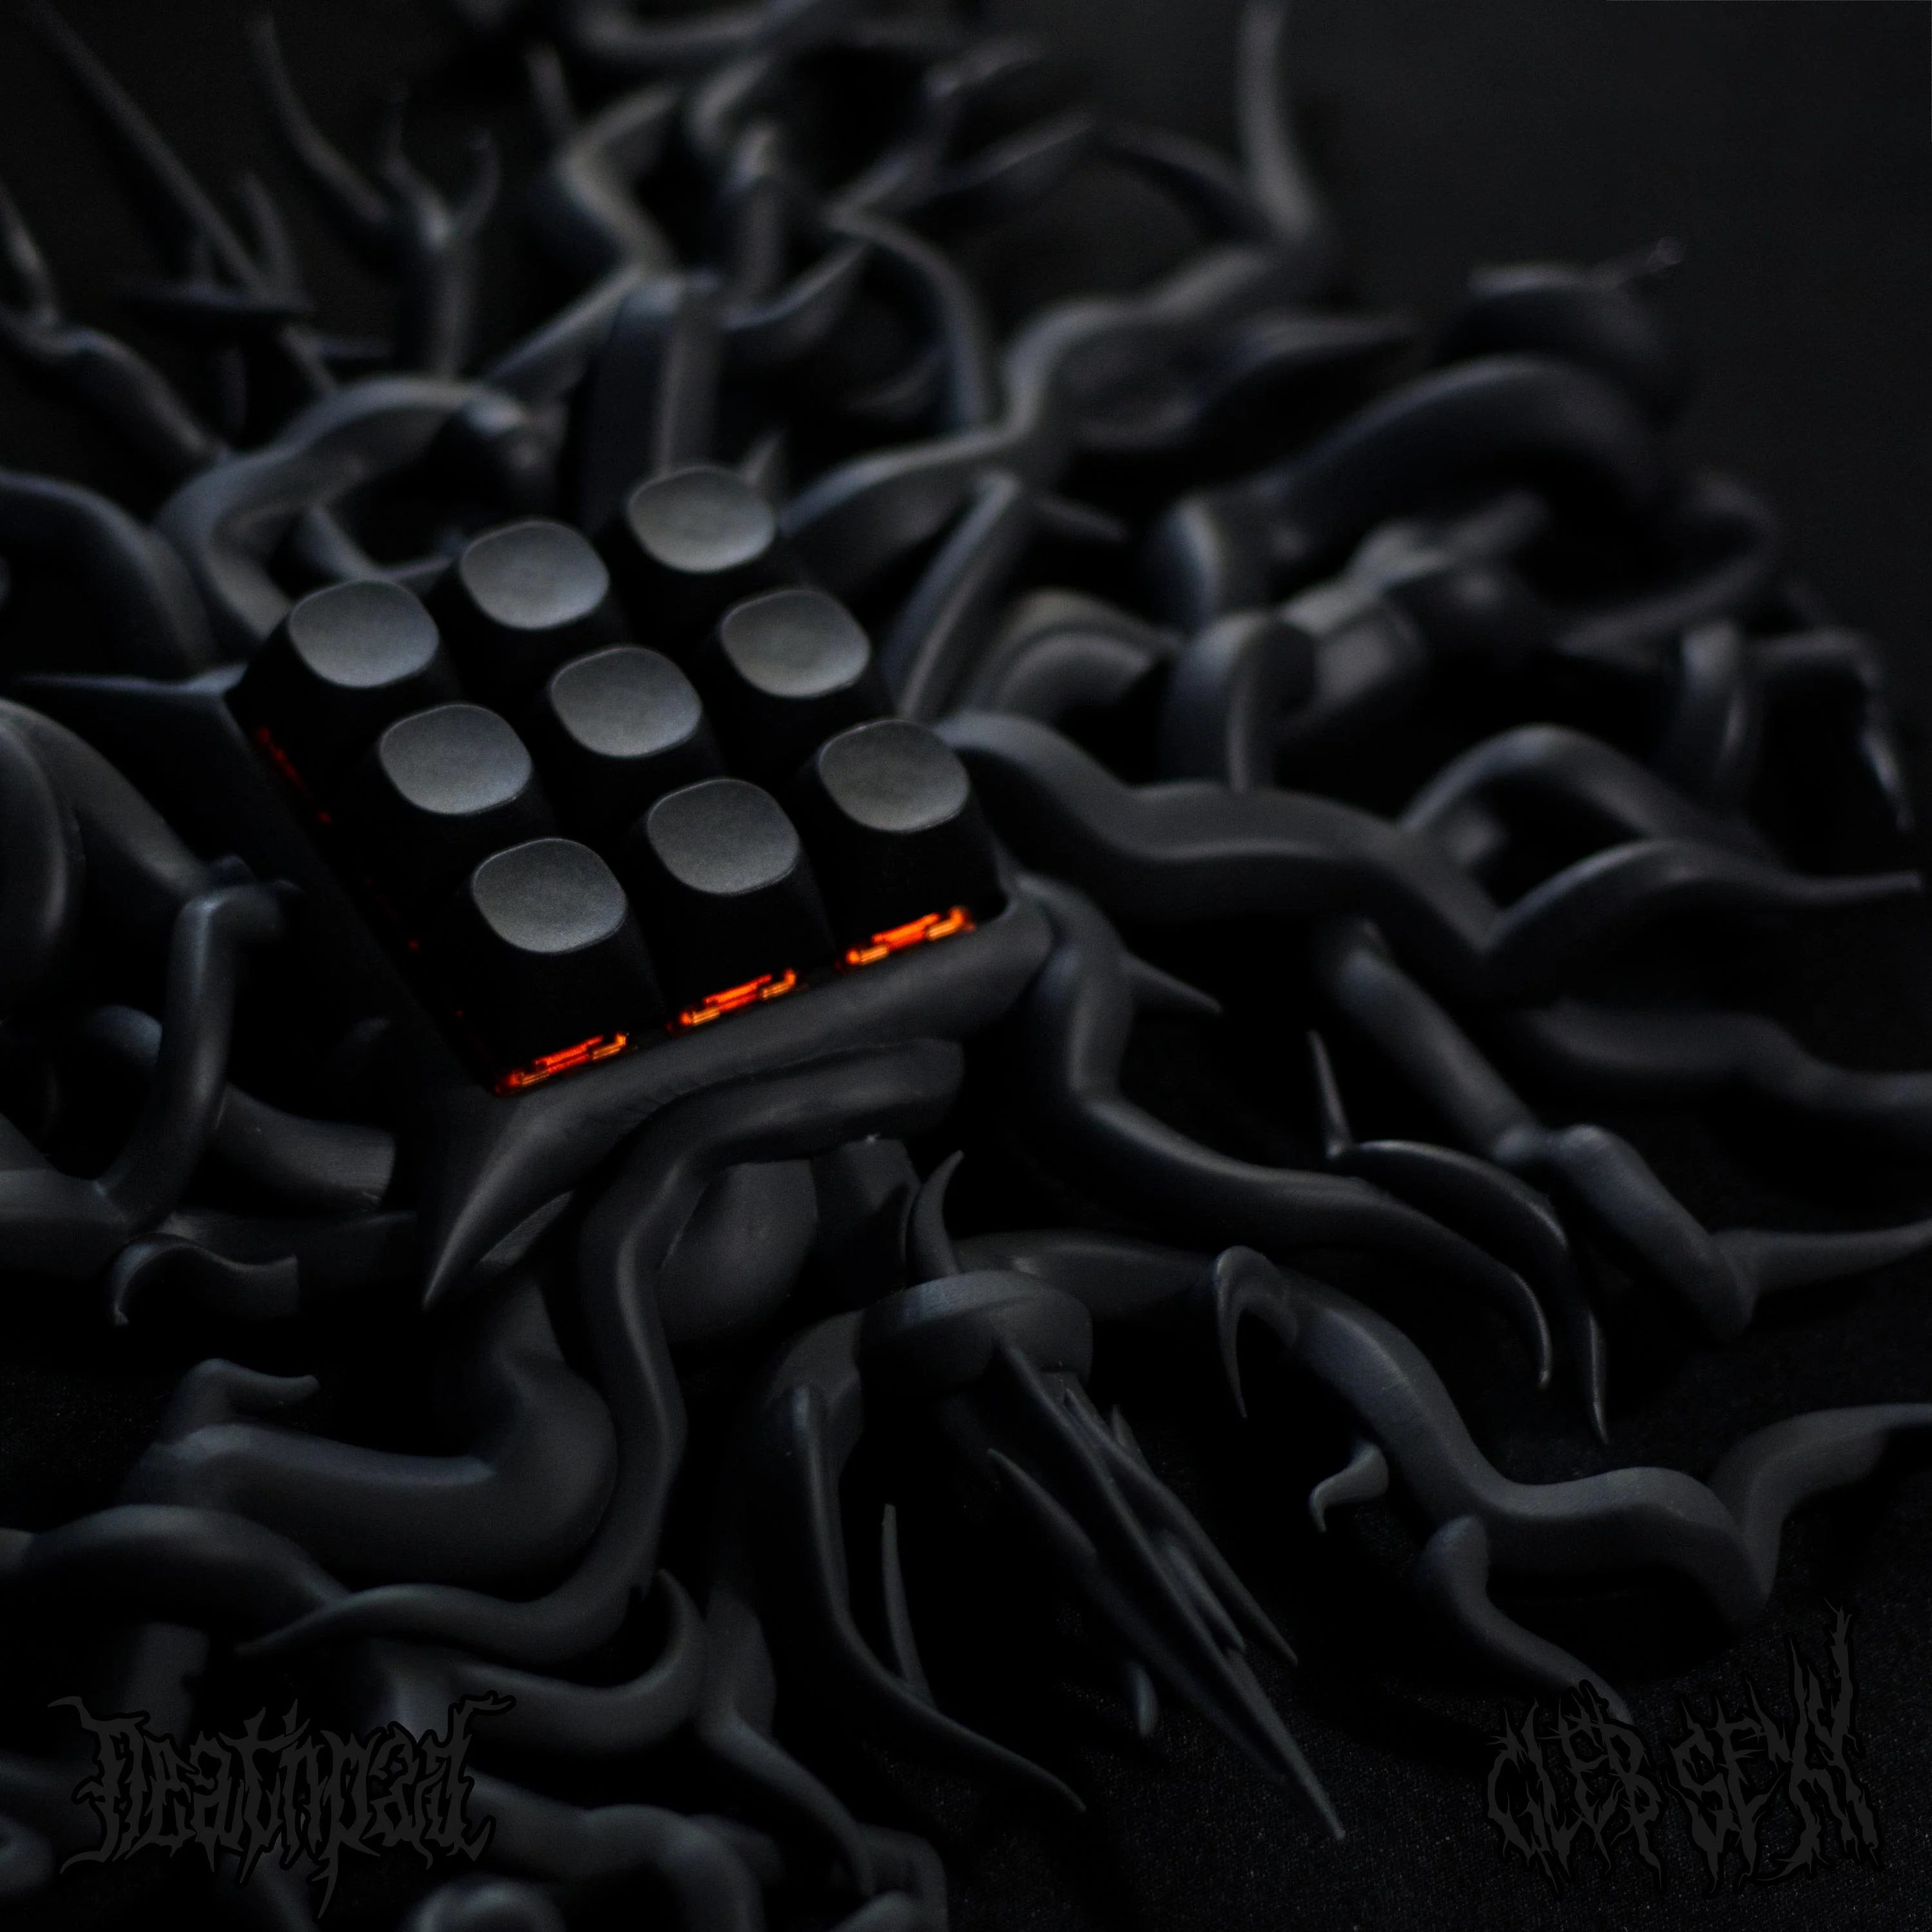
At “the size of three 60% keyboards (put together)” or approximately one Cannibal Corpse record on vinyl, this beautifully-executed death metal font-inspired macro pad by [zyumbik] may be better off hanging on the wall than hanging out on the desktop.

But let’s say you did have room for the 9-key Deathpad on your desktop. Wouldn’t you just play with the tentacles (?) all the time like I would? Yeah, that’s what I thought. They’re pretty inviting.

So why does this look so fantastic? It’s an SLA print, for one thing. For another, [zyumbik] spent over 1,000 hours designing the thing. Unfortunately it’s not open-source, but you can buy the only other one in existence for a cool $1,000.

Rubik’s Cube Keyboard

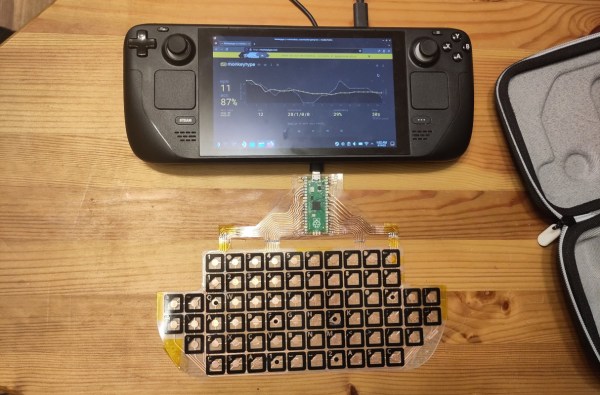
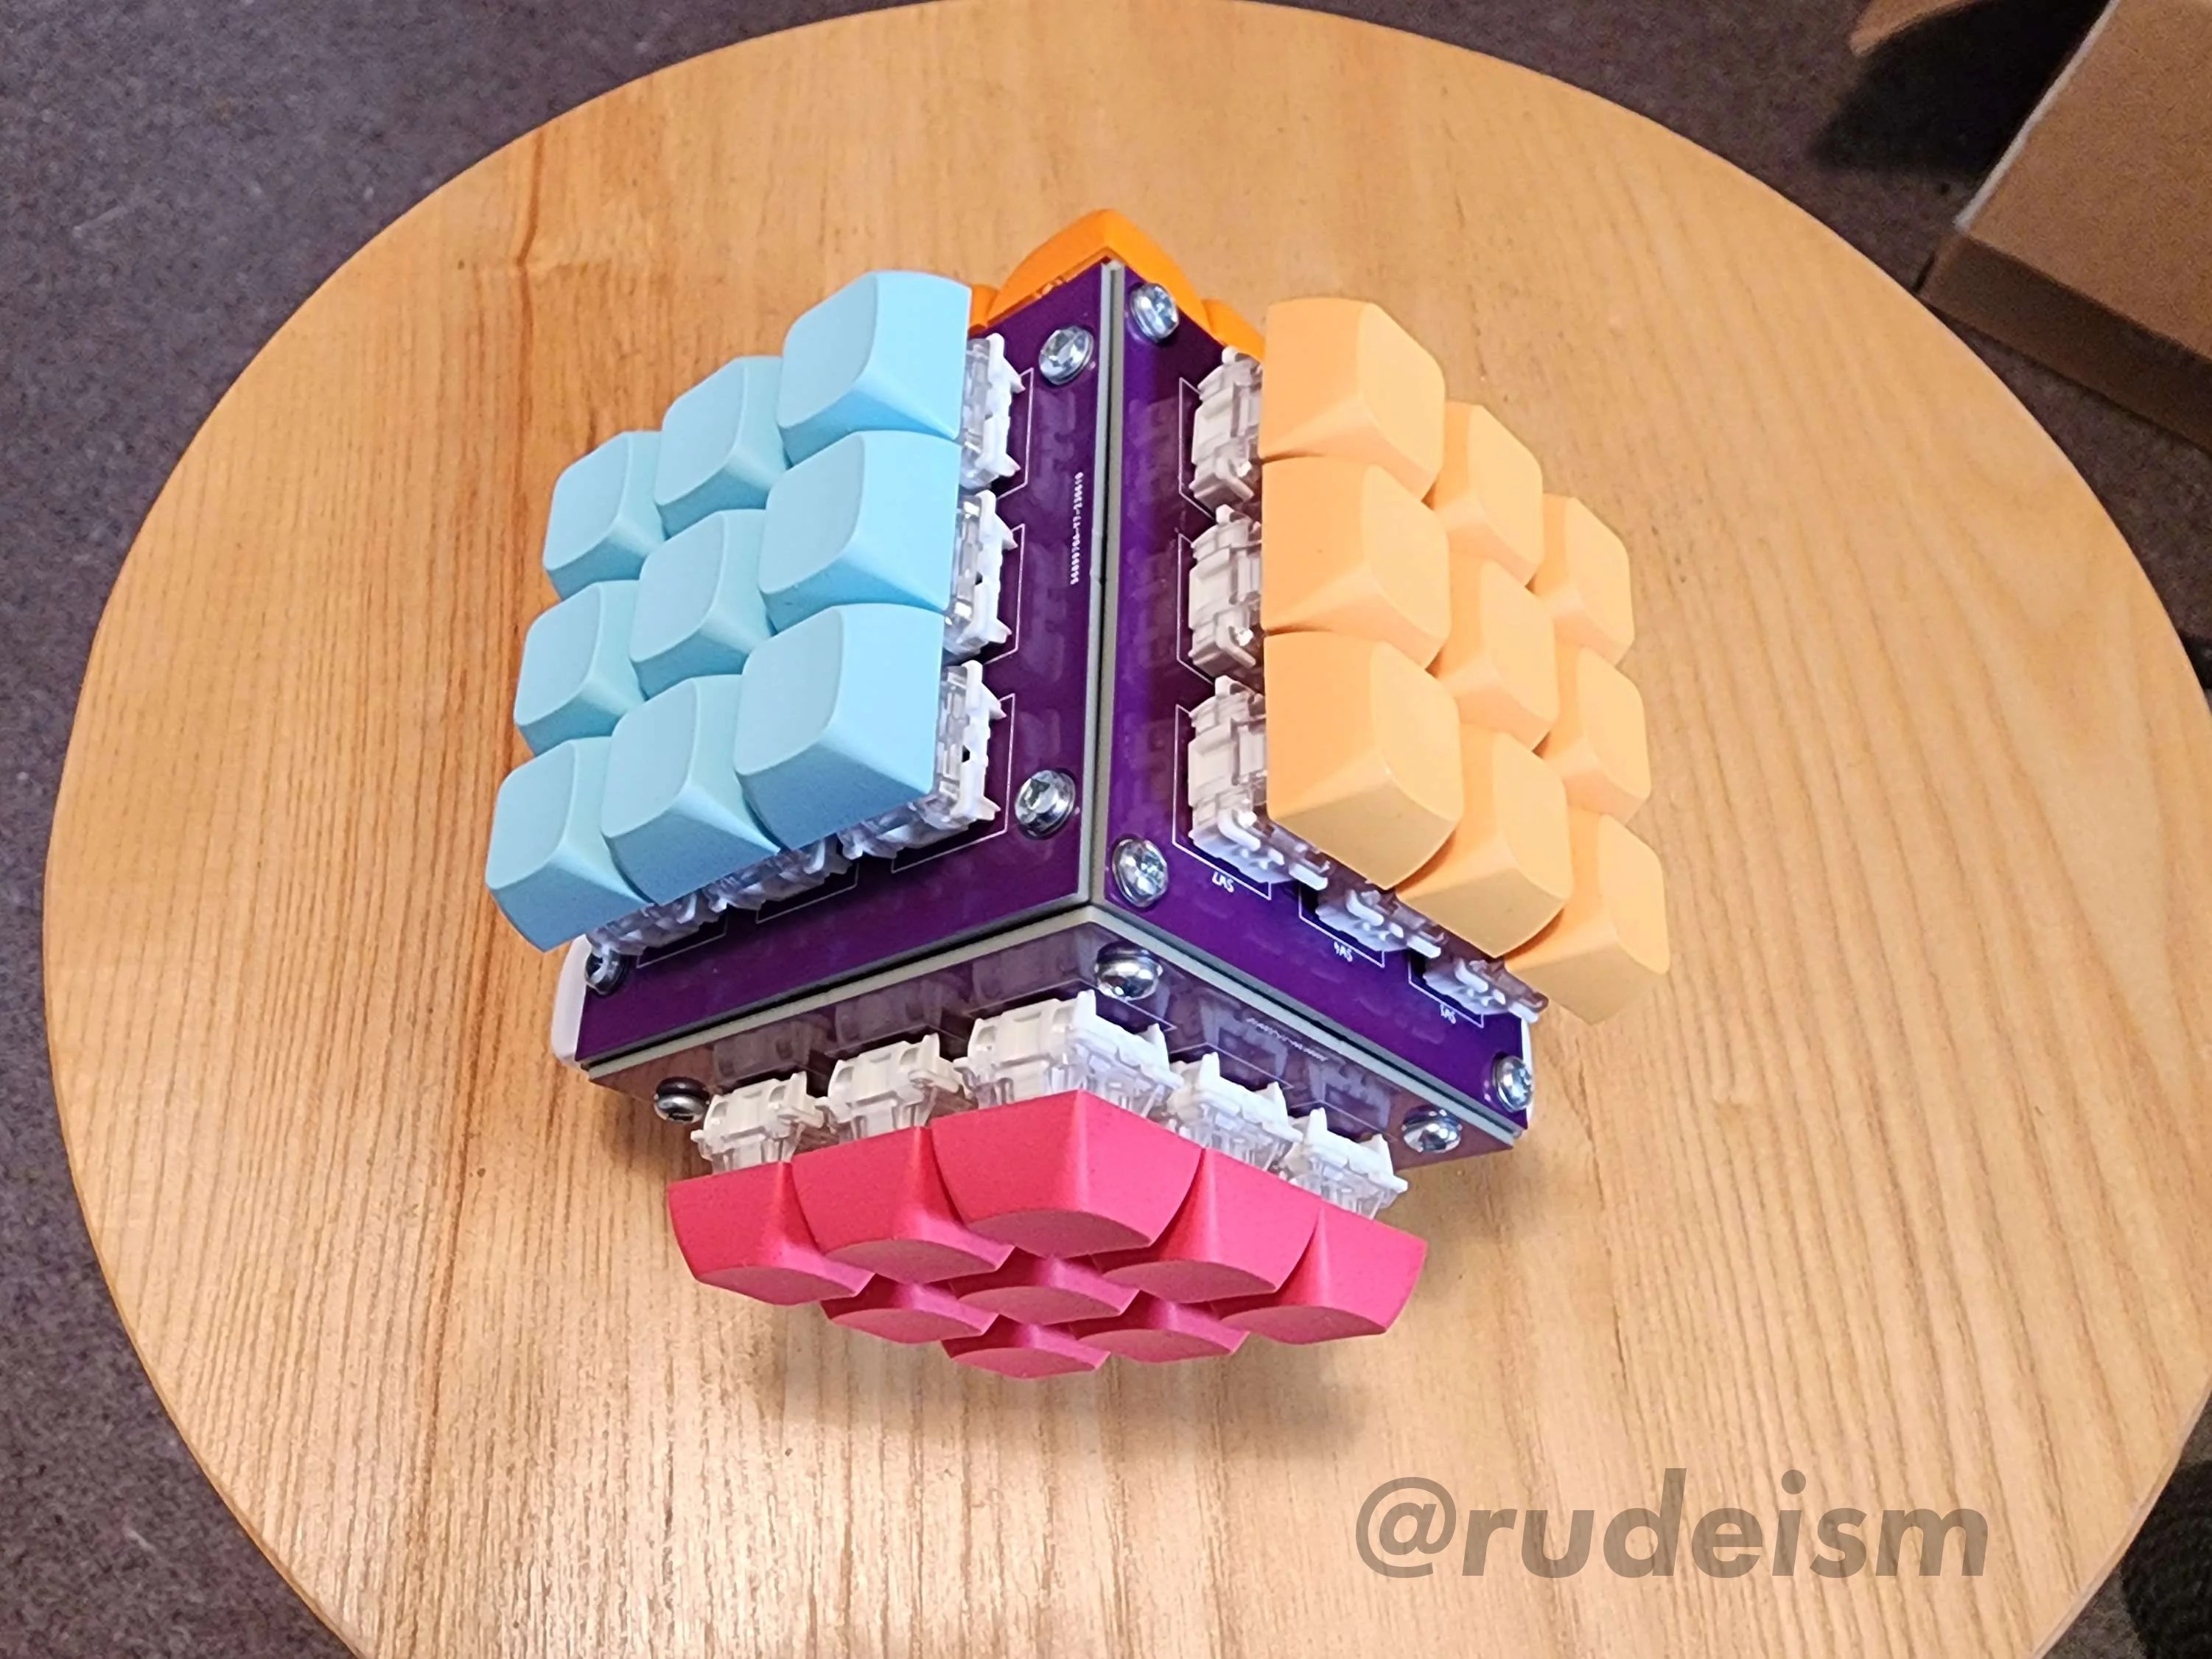
Although it doesn’t rotate (yet), creator [_Rudeism] is calling this the Rubik’s Cube Keyboard. Fine with me, though any type of actual rotation would be insanely difficult to pull off. The plan is to do it with RGB LEDs.

The layout is QWERTY-adjacent — the white side is the num pad, yellow has the modifiers, and the other four sides house all the letters. As you might imagine, this uses a custom frame and PCBs. The switches are Glorious Gateron Clears, which definitely supports the blinkenlights planned for V2.

This thing reminds me a bit of of the SafeType™ vertical keyboard, or even [Aaron Rasmussen]’s spherical keyboard. Be sure to check it out in Monkeytype action, where [_Rudeism] manages to pull off about 20WPM. Continue reading “Keebin’ With Kristina: The One With The Death Metal Macro Pad”

Flip The Switch On This I2C Controlled USB Hub

You’ve probably seen USB hubs with physical switches for each port, they provide a handy way to cut the power to individual devices, but only if you’re close enough to flip them. They won’t do you much good if you want to pull the plug on a USB gadget remotely.

That’s why [Jim Heaney] created the I2C-USB-Hub. The device takes your standard USB 2.0 hub circuit, and adds in a MT9700 P-MOSFET load switch for each port. The enable pin on each of these switches is in turn connected to one of the output pins of a PCA9557PW I2C I/O chip. That means controlling each port is as easy as sending the proper sequence of bits over the wire, though [Jim] says he does plan on writing up an Arduino library to make flipping the digital switches a little more user friendly.

Since the 8-bit chip had a few extra pins left over, [Jim] wired one up to serve as a master control for the LED indicator lights on the PCB. Another is used to adjust the current limit on the MT9700 between 500 mA and 1 A.

While naturally we’re big fans of spinning up your own hardware here at Hackaday, we’ve also seen similar results achieved by modifying an off-the-shelf USB hub.

Building Up Unicode Characters One Bit At A Time

The range of characters that can be represented by Unicode is truly bewildering. If there’s a symbol that was ever used to represent a sound or a concept anywhere in the world, chances are pretty good that you can find it somewhere in Unicode. But can many of us recall the proper keyboard calisthenics needed to call forth a particular character at will? Probably not, which is where this Unicode binary input terminal may offer some relief.

“Surely they can’t be suggesting that entering Unicode characters as a sequence of bytes using toggle switches is somehow easier than looking up the numpad shortcut?” we hear you cry. No, but we suspect that’s hardly [Stephen Holdaway]’s intention with this build. Rather, it seems geared specifically at making the process of keying in Unicode harder, but cooler; after all, it was originally his intention to enter this in last year’s Odd Inputs and Peculiar Peripherals contest. [Stephen] didn’t feel it was quite ready at the time, but now we’ve got a chance to give this project a once-over.

The idea is simple: a bank of eight toggle switches (with LEDs, of course) is used to compose the desired UTF-8 character, which is made up of one to four bytes. Each byte is added to a buffer with a separate “shift/clear” momentary toggle, and eventually sent out over USB with a flick of the “send” toggle. [Stephen] thoughtfully included a tiny LCD screen to keep track of the character being composed, so you know what you’re sending down the line. Behind the handsome brushed aluminum panel, a Pi Pico runs the show, drawing glyphs from an SD card containing 200 MB of True Type Font files.

At the end of the day, it’s tempting to look at this as an attractive but essentially useless project. We beg to differ, though — there’s a lot to learn about Unicode, and [Stephen] certainly knocked that off his bucket list with this build. There’s also something wonderfully tactile about this interface, and we’d imagine that composing each codepoint is pretty illustrative of how UTF-8 is organized. Sounds like an all-around win to us.

Thin Keyboard Fits In Steam Deck Case

Although some of the first Android-powered smartphones had them and Blackberries were famous for them, physical keyboards on portable electronics like that quickly became a thing of the past. Presumably the cost to manufacture is too high and the margins too low regardless of consumer demand. Whatever the reason, if you want a small keyboard for your portable devices you’ll likely need to make one yourself like [Kārlis] did for the Steam Deck.

Unlike a more familiar mechanical keyboard build which prioritizes the feel and sound of the keyboard experience, this one sacrifices nearly every other design consideration in order to be thin enough to fit in the Steam Deck case. The PCB is designed to be flexible using copper tape cut to size with a vinyl cutter with all the traces running to a Raspberry Pi Pico which hosts the firmware and plugs into the Steam Deck’s USB port. The files for the PCB are available in KiCad and can be exported as SVG files for cutting.

In the end, [Kārlis] has a functioning keyboard that’s even a little more robust than was initially expected and which does fit alongside the Deck in its case. On the other hand, [Kārlis] describes the typing experience as “awful” due to its extreme thinness, but either way we applaud the amount of effort that went in to building a keyboard with this form factor. The Steam Deck itself is a platform which lends itself to all kinds of modifications as well, from the control sticks to the operating systems, and Valve will even show you how.

Illustrated Kristina with an IBM Model M keyboard floating between her hands.

Keebin’ With Kristina: The One With The QWERTY Drum Set

What does portability in a keyboard mean to you? For Hackaday’s own [Brian McEvoy], the image evokes that quintessential 80s instrument, the keytar.

But those left-hand keys aren’t just for show — they’re macro keys. It runs on an Adafruit Feather 32u4 Bluefruit, so [Brian] can forego the cord and rock out all over the room.

I love the construction of this keyboard, which you can plainly see from the side. It’s made up of extruded aluminum bars and 2 mm plywood, which is stacked up in layers and separated with little wooden donuts acting as spacers. Unfortunately, [Brian] accidentally made wiring much harder by putting the key switches and the microcontroller on different planes.

Although you could theoretically use any key switches for this build, [Brian] chose my personal and polarizing favorite, browns. If you’re going to use a travel keyboard, you’re probably going to be around people, so blues are probably not the best choice. With browns, you kind of have yourself a middle ground, best-of-both-worlds thing going on. The keycaps are among the best parts of this build, and it seems [Brian] chose them because the legends are on the sides, which makes it much easier to type on while wearing it. Kismet!

Continue reading “Keebin’ With Kristina: The One With The QWERTY Drum Set”

Bench Power Supply Turned Realistic Flight Sim Panel

Flight simulator software has been available for about as long as desktop PCs have been a thing, but modern incarnations such as 2020’s Microsoft Flight Simulator have really raised the bar — not only graphically, but in terms of interactivity. There’s a dizzying array of switches and buttons that you can fiddle with in your aircraft’s virtual cockpit, but doing it with the same keyboard that you use to hammer out code or write Hackaday articles doesn’t do much for immersion.

Looking to improve on the situation without having to shell out for an expensive sim panel, [Michael Fitzmayer] decided to convert a broken Manson SSP-8160 lab power supply into a fairly good approximation of the KAP 140 autopilot system which is used in one of his favorite aircraft, the Pilatus PC-6 Turbo-Porter.

[Michael] gutted the piece of equipment pretty thoroughly, only leaving behind the case itself and the illuminated button panel on the front. The original displays were replaced with TM1637 seven-segment LEDs, and a pair of new rotary encoders are mounted where the stock knobs were. The whole show is run by a STM32F103 Blue Pill, which conveys the button pressing and knob spinning to the game by mimicking a USB Human Interface Device.

A fascia applied to the front of the power supply blocks the original text and labels, and really makes the finished unit look the part. [Michael] admits it’s not 100% accurate to the layout of the real hardware, but it’s certainly better than trying to enter heading and altitude information with the controller.

Oh that’s right, did we mention he’s actually using this on the Xbox Series S? While we generally see this sort of sim hardware hooked up to a tricked out gaming computer, we appreciate that he’s trying to bring some of that same experience to the console world. While the one-way communication of USB HID does bring with it some limitations — for example the hardware needs to be manually reset at the beginning of each flight to make sure the physical displays match what’s shown in the virtual cockpit– there’s still a lot of potential here.

For example, you could design and build your own flight yoke, pedals, and throttles rather than spending hundreds on a commercial version. It sounds like [Michael] is just getting started in the world of affordable console-based flight simulation, and we’re very eager to see where he goes from here.

Force Feedback Steering Wheel Made From Power Drill

When it comes to controllers for racing games, there is perhaps no better option than a force feedback steering wheel. With a built-in motor to push against the wheel at exactly the right times, they can realistically mimic the behavior of a steering wheel from a real car. The only major downside is cost, with controllers often reaching many hundreds of dollars. [Jason] thought it shouldn’t be that hard to build one from a few spare parts though and went about building this prototype force feedback steering wheel for himself.

Sourcing the motor for the steering wheel wasn’t as straightforward as he thought originally. The first place he looked was an old printer, but the DC motor he scavenged from it didn’t have enough torque to make the controller behave realistically, so he turned to a high-torque motor from a battery-powered impact driver. This also has the benefit of coming along with a planetary gearbox as well, keeping the size down, as well as including its own high-current circuitry. The printer turned out to not be a total loss either, as the encoder from the printer was used to send position data about the steering wheel back to the racing game. Controlling the device is an Arduino, which performs double duty sending controller information from the steering wheel as well as receiving force feedback instructions from the game to drive the motor in the steering wheel. Continue reading “Force Feedback Steering Wheel Made From Power Drill”