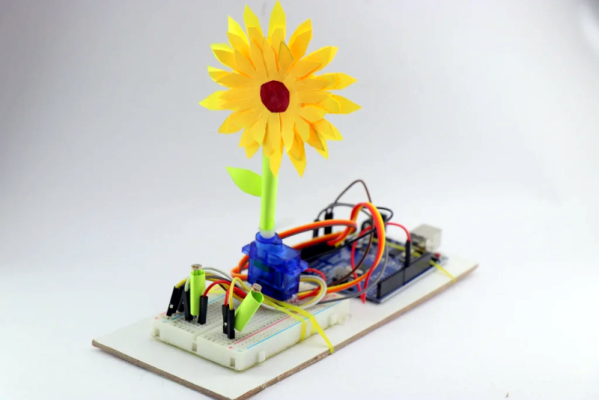
Real flowers do it, and even the Beatles did it. [Robo Hub] now has a plastic sunflower that tracks the sun using, of course, an Arduino. It may not qualify as a real robot, but it does mimic a real sunflower. The electronics aren’t earth-shattering, of course. An Arduino, a light sensor, and a servo motor are all you really need. But we enjoyed the whimsy and the artistic sensibility. This would be a great school project, for example. Interesting enough to get kids interested but not so hard as to be undoable. You can see a video of the ersatz flower below.
There are actually a pair of light sensors, as you might expect. That way you can determine which sensor is getting the most light. Obviously, these can’t be on-off sensors. They are, in fact, light-dependent resistors, so you get a nice analog reading.
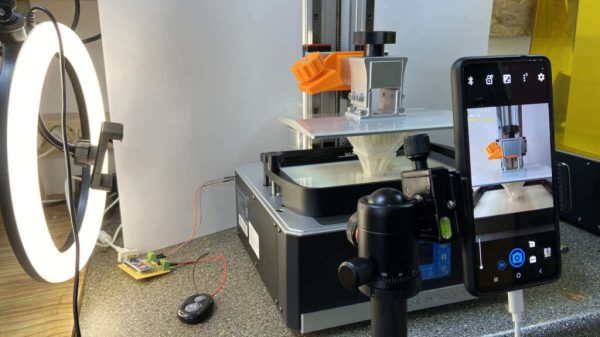
Of course, you might not need an Arduino for this. A 555 driving a servo and a handful of discrete components could measure a bridge with the photoresistors and get the same effect. On the other hand, a microcontroller these days is inexpensive and versatile, so why not?
Usually, people tracking the sun are trying to get more energy. That doesn’t have to be any more complicated, though.