[Ben Jones] just started a new site called Maker-Guide, where he makes some very informative and well produced DIY videos on anything from homemade photography hacks, to controlling an outlet using a solid-state relay.
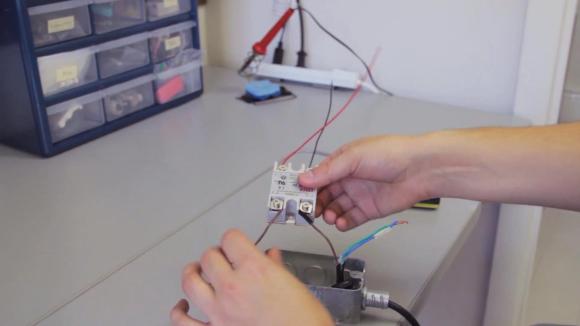
It’s not the first time we’ve seen a relay controlled outlet, or this one… but it’s certainly one of the cleanest jobs we’ve seen. In his video guide, [Ben] shows us exactly how to fit a standard solid state relay into a regular outlet box, and easily control it with an Arduino Uno.
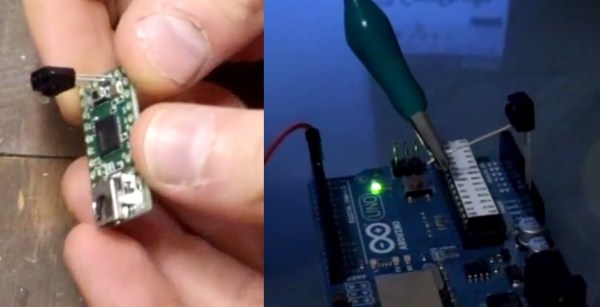
It even looks like there might be enough space inside the box for a small wireless setup — maybe using a Trinket even? What about using Power-Line networking to control each box via LAN? Could be the easiest home automation implementation yet! Well, aside from certain NEC (national electrical code) concerns of running high and low voltage in the same box…
Anyway if that wet your whistle, check out the great video guides after the break!