Mythological legend has it that Tempestas, the Roman goddess of storms and sudden weather, saved the consul Scipio when his fleet of ships got caught in a storm off of Corsica. In return, she demanded that a temple be dedicated to her.
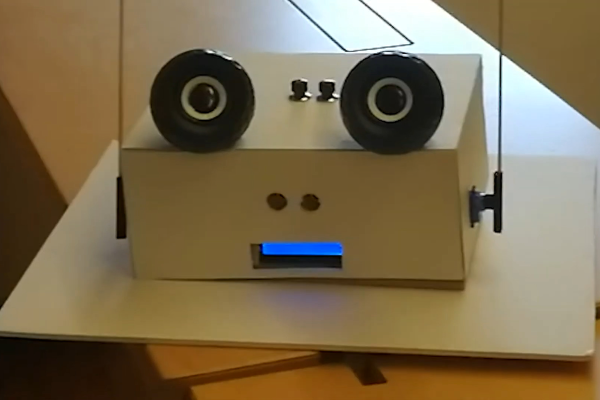
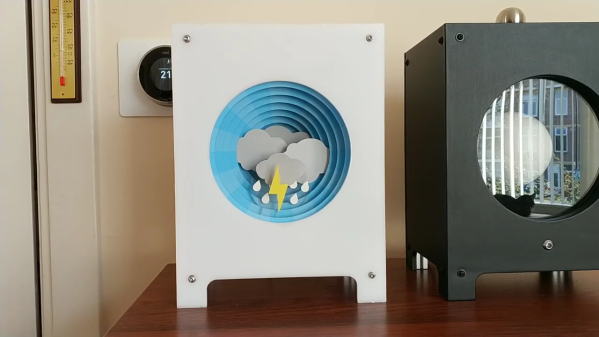
 [SephenDeVos]’ beautiful barometer, dubbed Tempestas II, demands nothing of the viewer, but will likely command attention anyway because it looks so cool. If the weather is anything but clear and sunny, the appropriate sun-obscuring weather actor, be it clouds, more clouds, rain, or lightning will swing into place, blocking out the blue sky in layers, just like real life.
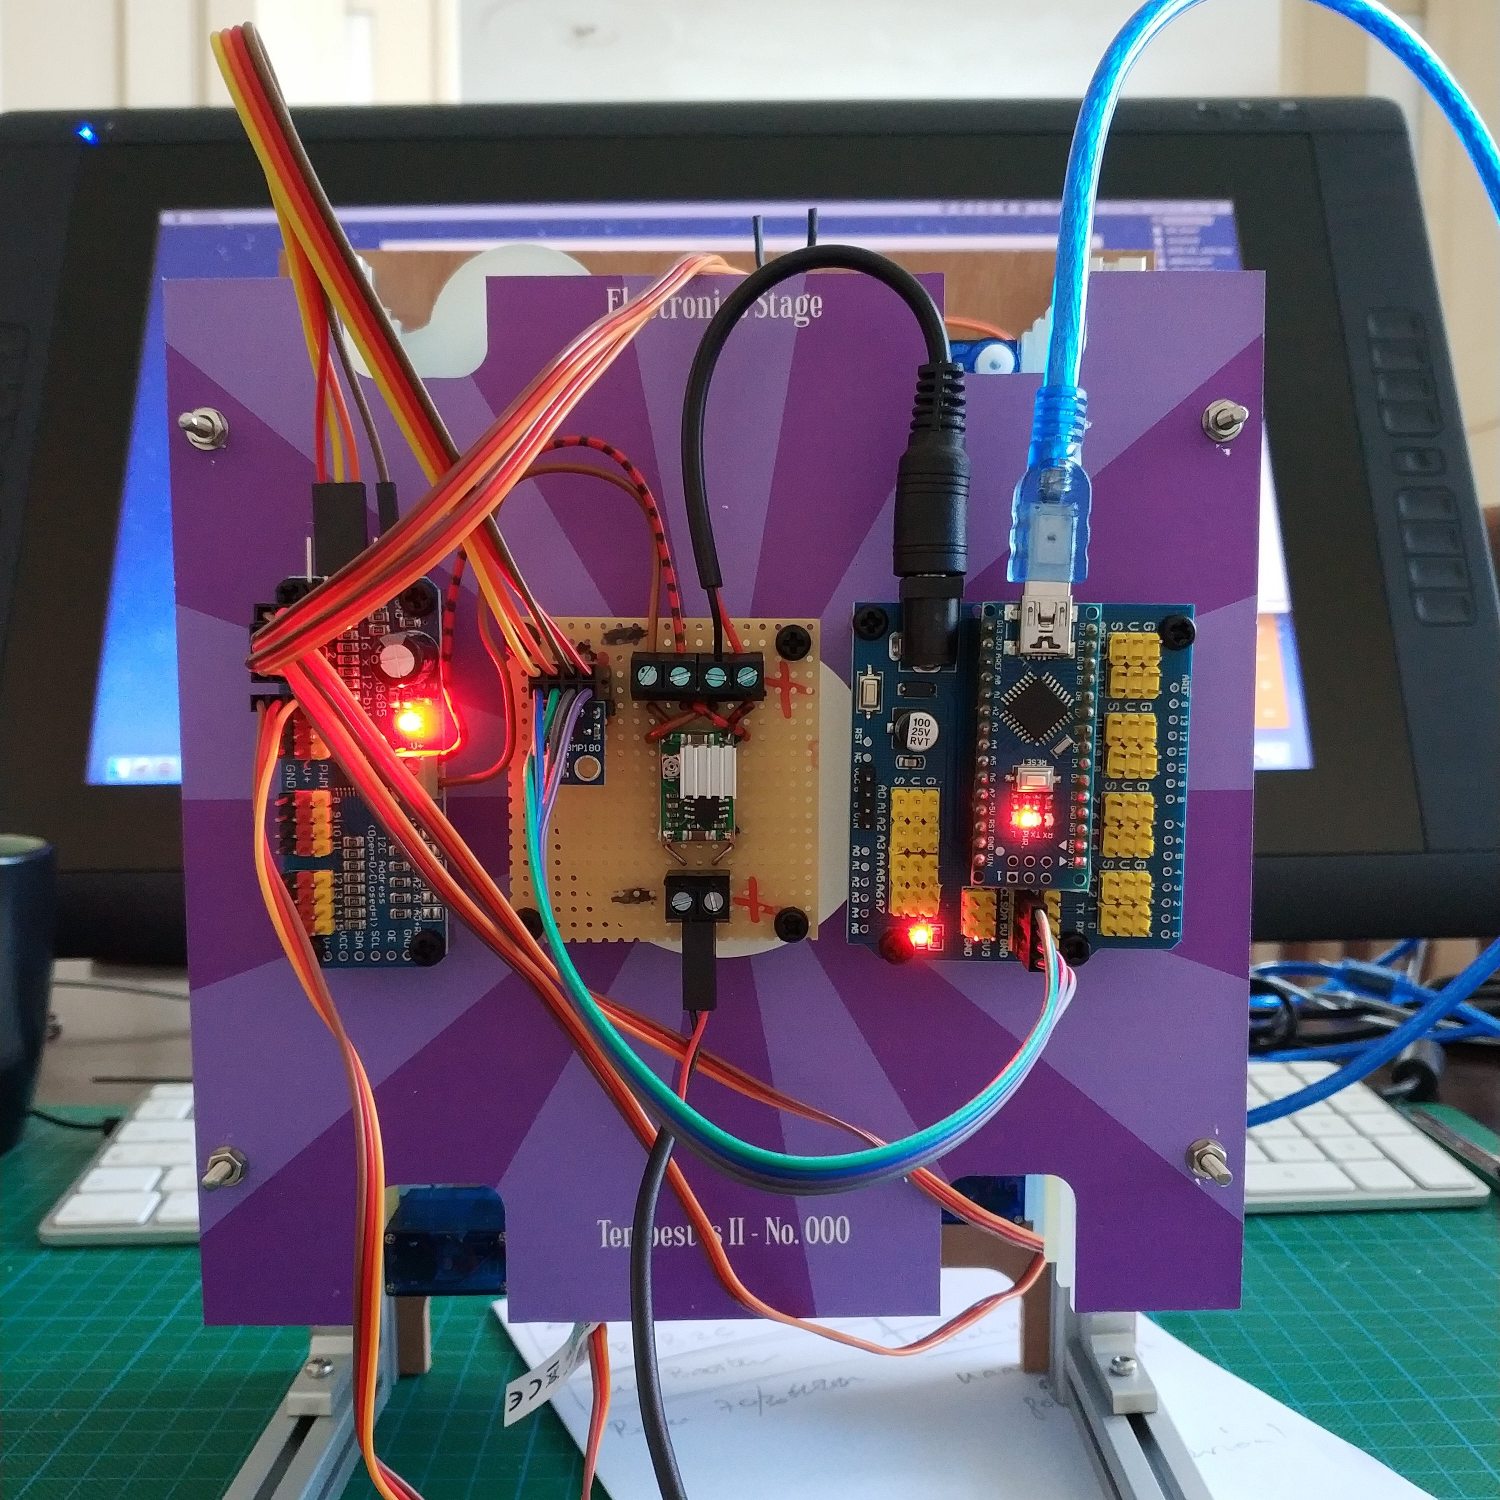
There’s a total of five weather-serving servos, and they’re all controlled by an Arduino Nano through a 16-channel PWM driver. The Nano gets the news from a BMP280 barometric pressure/temperature sensor and drives the servos accordingly.
Nine layers of nicely-decorated Plexiglas® hide the clouds and things in the wings while it’s nice outside. We totally love the way this looks — it’s even pretty on the back, where the sun don’t shine. This one is new and ongoing, so it seems likely that [Sephen] will post the code before the sun sets on this project. In the meantime, check out the demo after the break.
We don’t see too many barometers builds around here — maybe there’s too much pressure. This one tells you to lay off the coffee when the pressure’s too low.
Continue reading “This Barometer Looks Mighty Fine, Rain Or Shine”