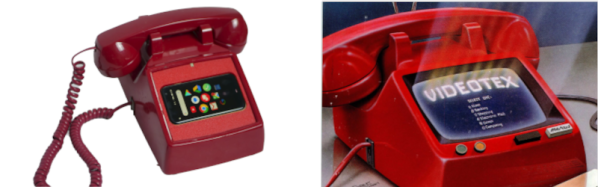
If you read Byte magazine in 1983, you might have expected that, by now, you’d be able to buy the red phone with the video screen built-in. You know, like the one that appears on the cover of the magazine. Of course, you can’t. But that didn’t stop former Hackaday luminary [Cameron] from duplicating the mythical device, if not precisely, then in spirit. Check it out in the video, below.
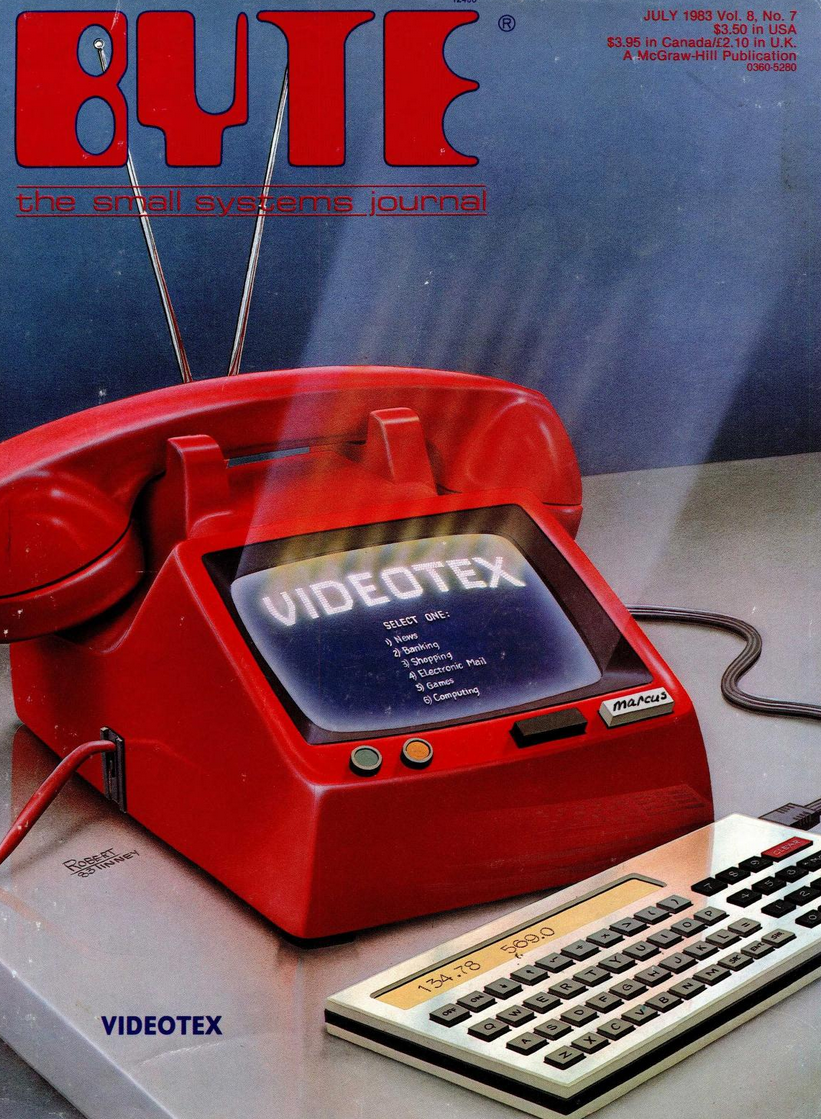
While the original Byte article was about VideoTex, [Cameron] built a device with even more capability you couldn’t have dreamed of in 1983. What’s more, the build was simple. He started with an old analog phone and a tiny Android phone. A 3D-printed faceplate lets the fake phone serve as a sort of dock for the cellular device.
That’s not all, though. Using the guts of a Bluetooth headset enables the fake phone’s handset. Now you can access the web — sort of a super Videotex system. You can even make video calls.
There isn’t a lot of detail about the build, but you probably don’t need it. This is more of an art project, and your analog phone, cell phone, and Bluetooth gizmo will probably be different anyway.
Everyone always wanted a video phone, and while we sort of have them now, it doesn’t quite seem the same as we imagined them. We wish [Cameron] would put an app on the phone to simulate a rotary dial and maybe even act as an answering machine.