
If you are a gamer of A Certain Age, it’s probable that you retain a soft spot for 8-bit computers and consoles of your youth. For a time when addictive gameplay came through the most minimal of graphics, and when gaming audio was the harshest of square waves rather than immersive soundscapes.
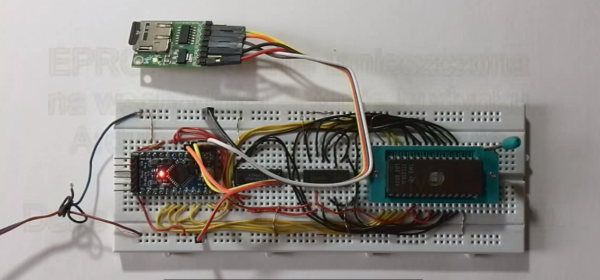
Does the previous paragraph sound familiar? Then we may just have the device for you. The Dodo is a handheld console that harks back to that era with a 6502 processor and a 128×64 pixel OLED screen. Games are loaded from plug-in EEPROM cartridges, and sounds are suitably period-digital square wave tones. It’s the brainchild of [Peter Noyes], and he says he will consider it complete when it sports a game fun enough to entertain his 4-year-old.
The prototype Dodo is a handheld form-factor made from two stacked PCBs. The upper one has the display and buttons while the lower has the classic 6502 and associated chipset in through-hole DIP format. A Game Boy Micro it ain’t, but miniaturization is not the name of the game with these consoles. Best of all though, all the console’s resources are available in a GitHub repository, so you can all have a play too.
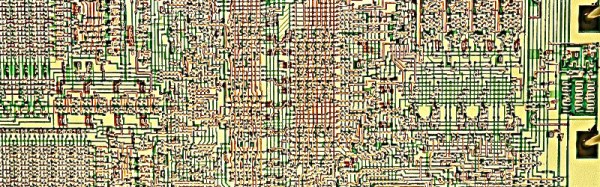
The 6502 has featured in a huge number of projects here on Hackaday over the years. Now it’s turned up in the Hackaday Prize.


 Hackaday reader [gratian] tipped us off about the course available from


