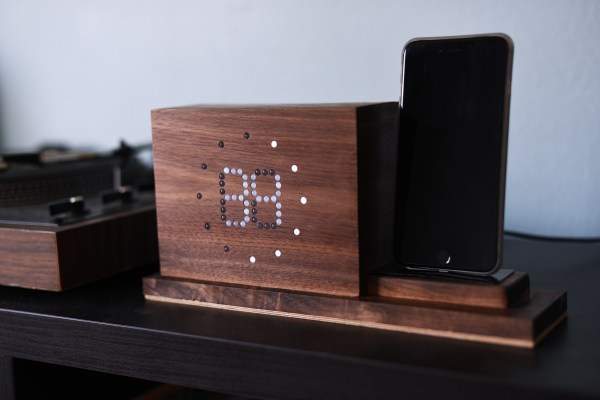
[Pinky_chi] was looking for a project to make for his girlfriend, and settled on a rather fantastic piece of woodworking — a digital clock, with an iPhone dock for her phone.
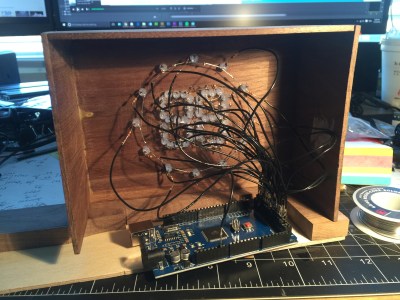 He built the enclosure completely out of walnut, which gives it a very refined and polished look; we’re quite impressed with his woodworking skills. The cool thing about this digital clock is that he used individual LEDs to create both the digital 7-segment displays, and a ring of LEDs around it to denote the hour.
On the back are three buttons. One to change the hour, the minute, and a temperature button. By holding down the temperature button, the display will display the current room temperature — he added this because the RTC device (a DS3231) has a built-in thermometer — so why not?
Choosing a favorite LED clock on Hackaday is like picking a favorite child — we love them all — but this Star Gate themed clock from a few years ago is great — check it out!
[via r/DIY]
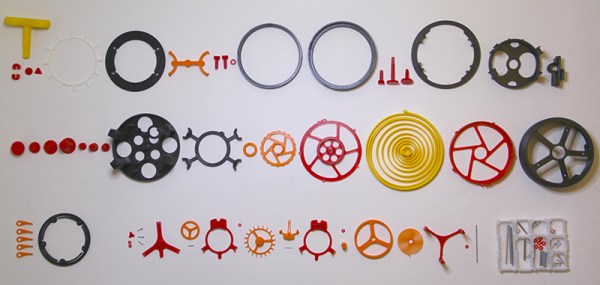
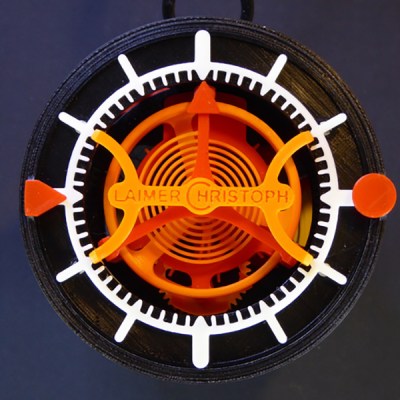 [Christoph Lamier] designed this tourbillon clock in Autodesk Fusion 360, with 50 printable parts, and a handful of pins, screws, and washers. The most delicate parts – the hairspring, anchor, escapement wheel, and a few gears were printed at 0.06 layer height. Everything else was printed at a much more normal resolution with 0.1mm layer height.
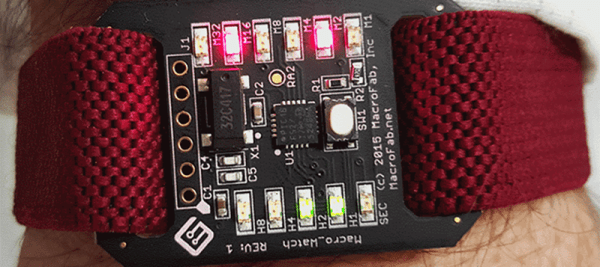
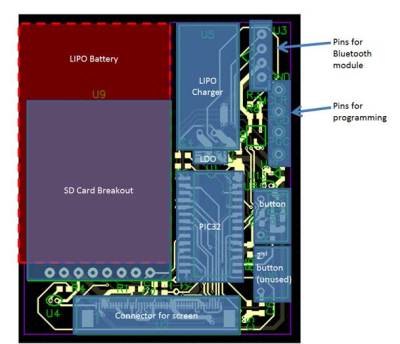 and meant one shot at getting his custom PCB right.